New year, new diary
So, you’ve got a blank-paged journal and would like to use it as a diary… what do you do? Where do you start? All those empty pages can feel quite daunting!
I’ve put together a quick guide with some ideas to help you out.
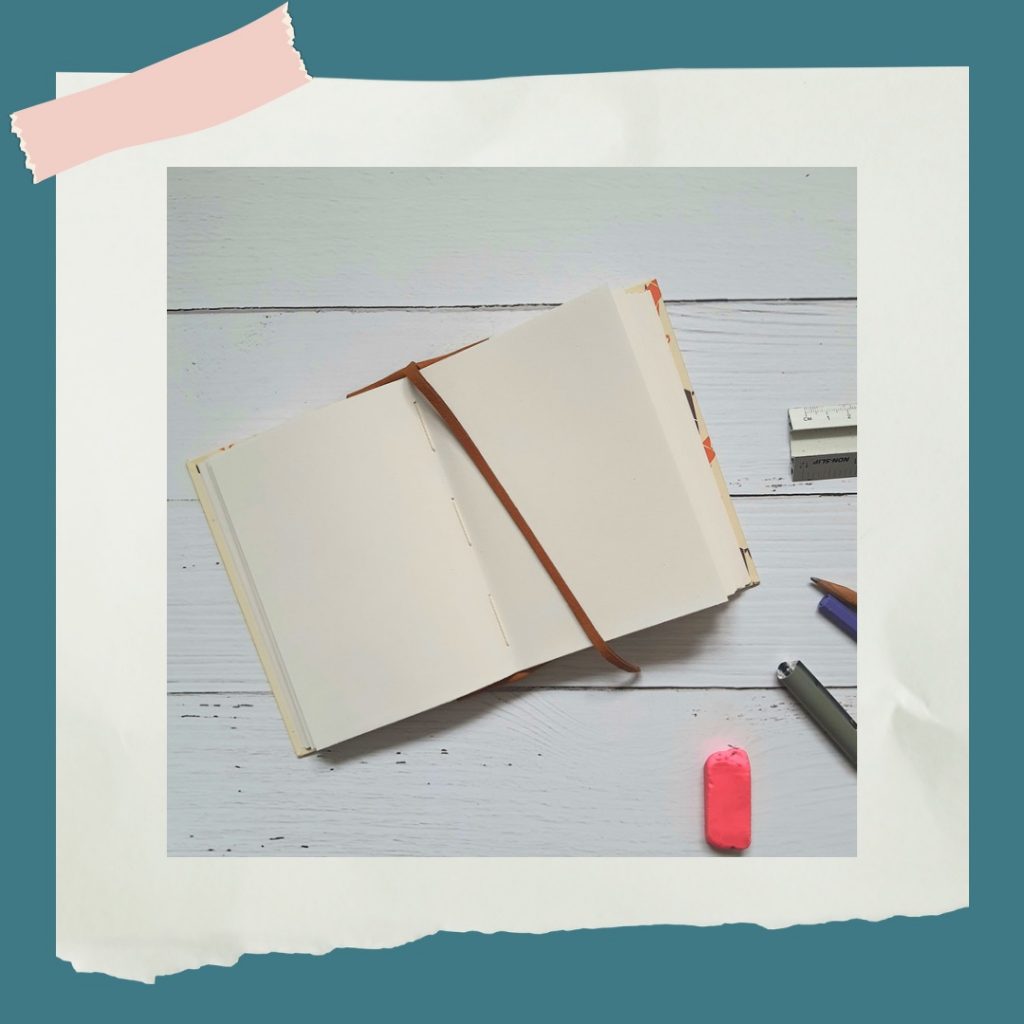
If you’re looking to turn your blank journal into a diary, you’ll need to make sure you’ve got enough pages to last the year. My journals are 128 pages (sides) – here’s an idea of how you could use them.

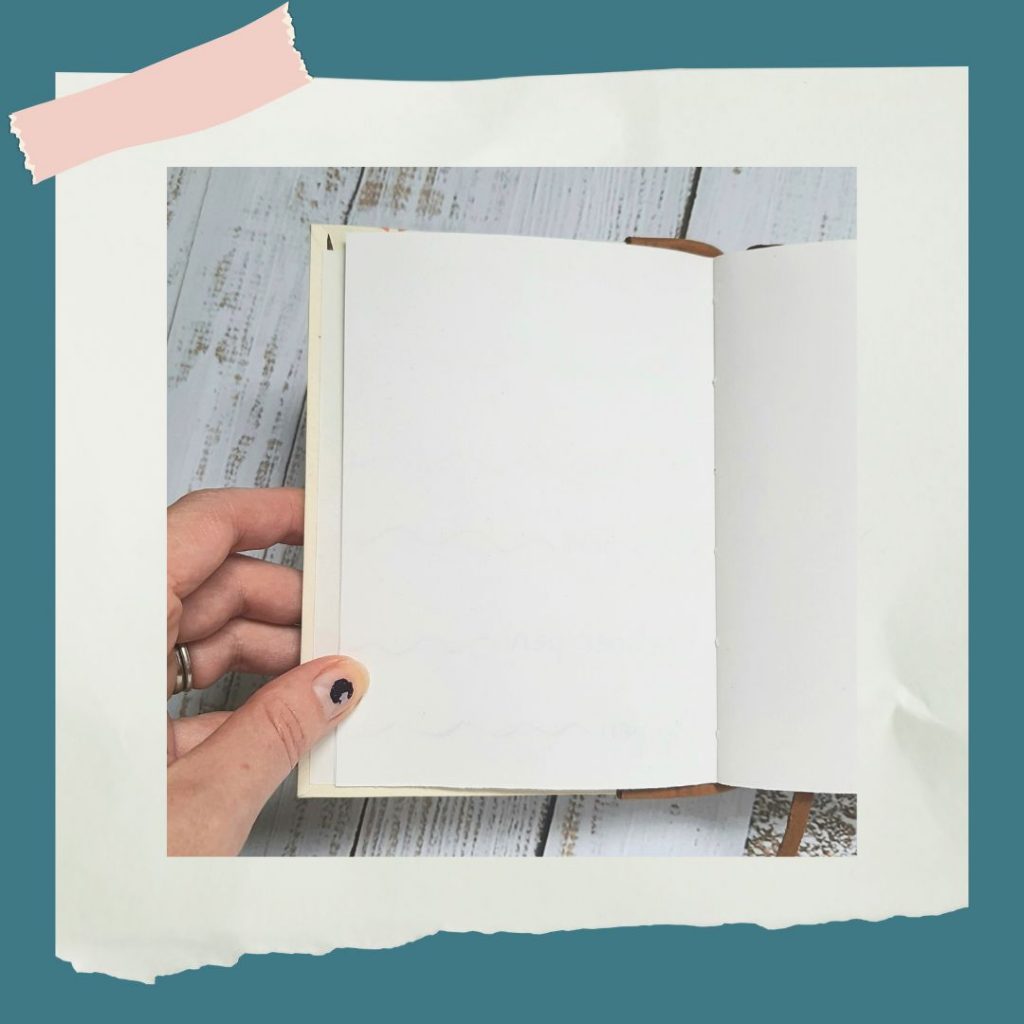
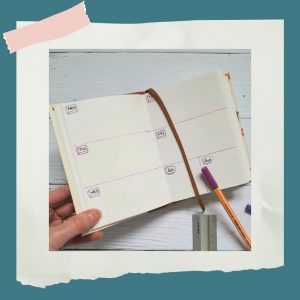
If you create weekly spreads and do each one over 2 pages, it would make up 104 of the pages (see above image, created in an A6 journal). You could then allocate 1 page per month for a monthly spread, creating it at the start of each set of weeks.
You’ll need more weeks in some months; if you have each monthly layout on a right-hand page, the the next 4 or 5 sets of double pages can be weekly spreads for that month (you’d then end up with a spare blank left-hand page, opposite the next month).

To do the monthly layout, start with a 7×5 grid (days of the week x weeks in the month; it’s easiest to do 5 weeks for all months, because of how the dates fall).
For an A6 journal, make the grid from squares that are roughly 1.5 x 1.5 cm; for A5 they can be around 2 x 2 cm (it might be a good idea to make a template to copy/trace every month). Write the days above the grid, then add the dates in the boxes.
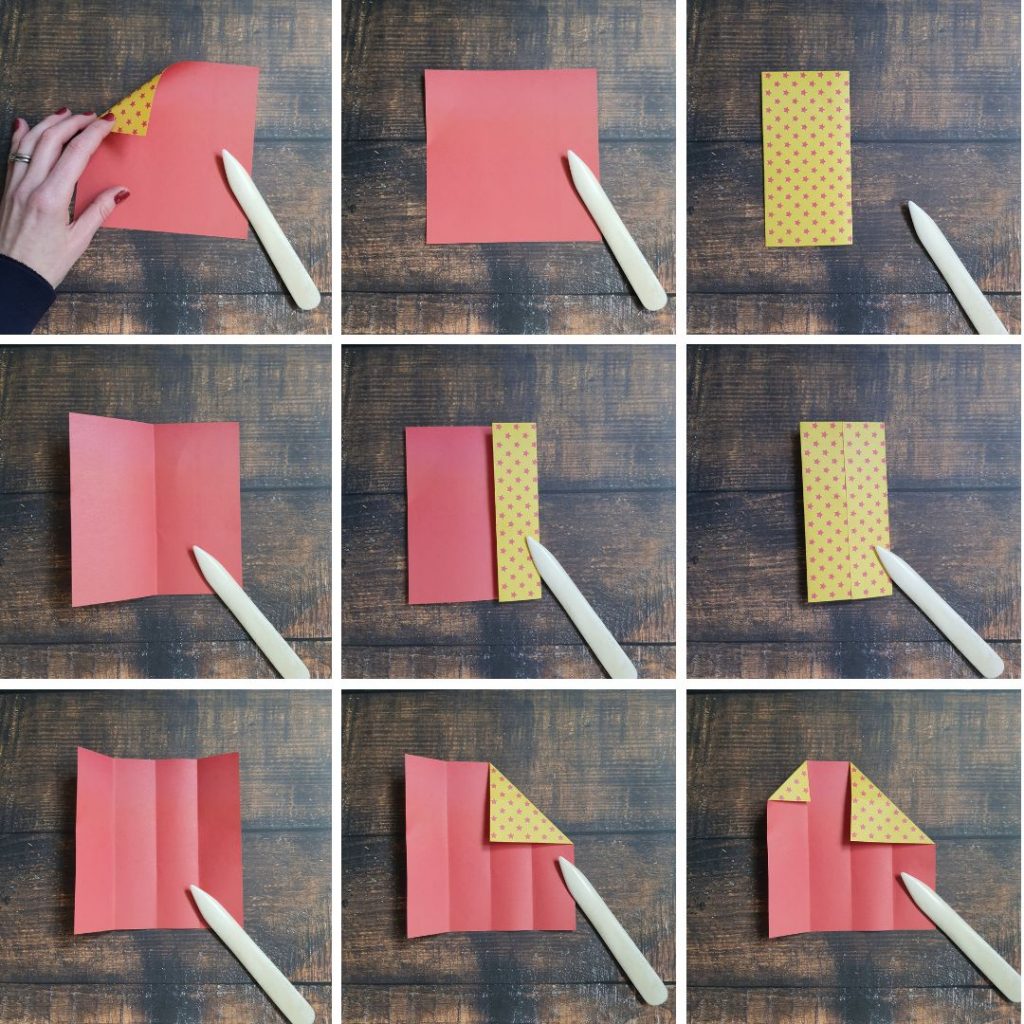
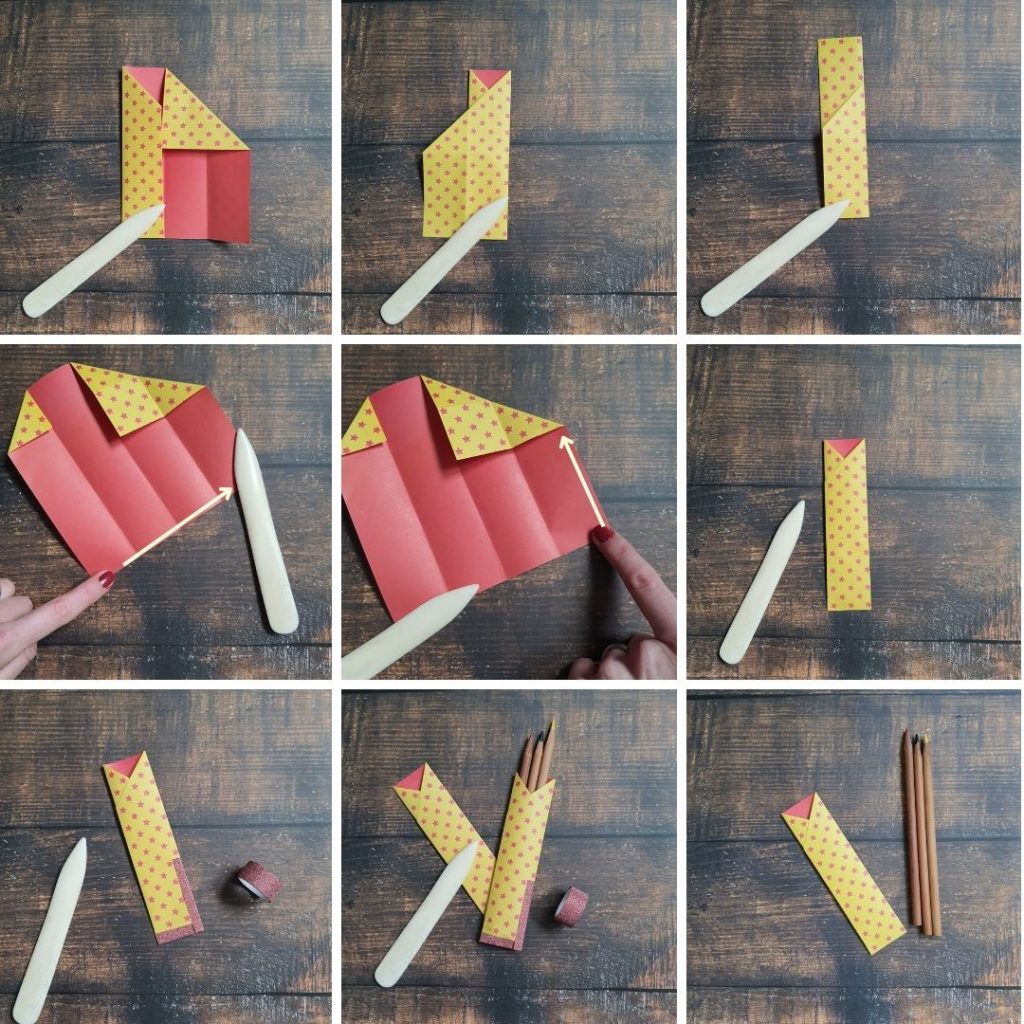
Add a title for the month at the top of the page, as fancy as you like – make it into a banner, flag, or decorate the word. Here are some ideas:

That’s the main structure taken care of… what else will you need? Maybe a title page at the start, or a couple of pages for a yearly outlook? A page to list birthdays/important dates? You could have ideas/note pages each month, or have a few blank pages at the end for jotting things down.
You can create your diary however you want, with whatever pages you’d like to add, but hopefully I’ve given you some ideas for a way to start it off.
Happy journaling!
Don’t forget, you can shop my range of blank handmade journals and notebooks in my Etsy shop 👇