Do you love lists? Organising your thoughts on paper? Tracking your goals? Bullet journaling might be for you!

Bullet journaling isn’t a new trend – in fact, it started to become popular around 10 years ago, so most likely you’ve heard of it. It can be used to focus your tasks, track your goals and generally organise your life; often done on dotted paper, but you can use blank or even lined. The point is to customise it your way.

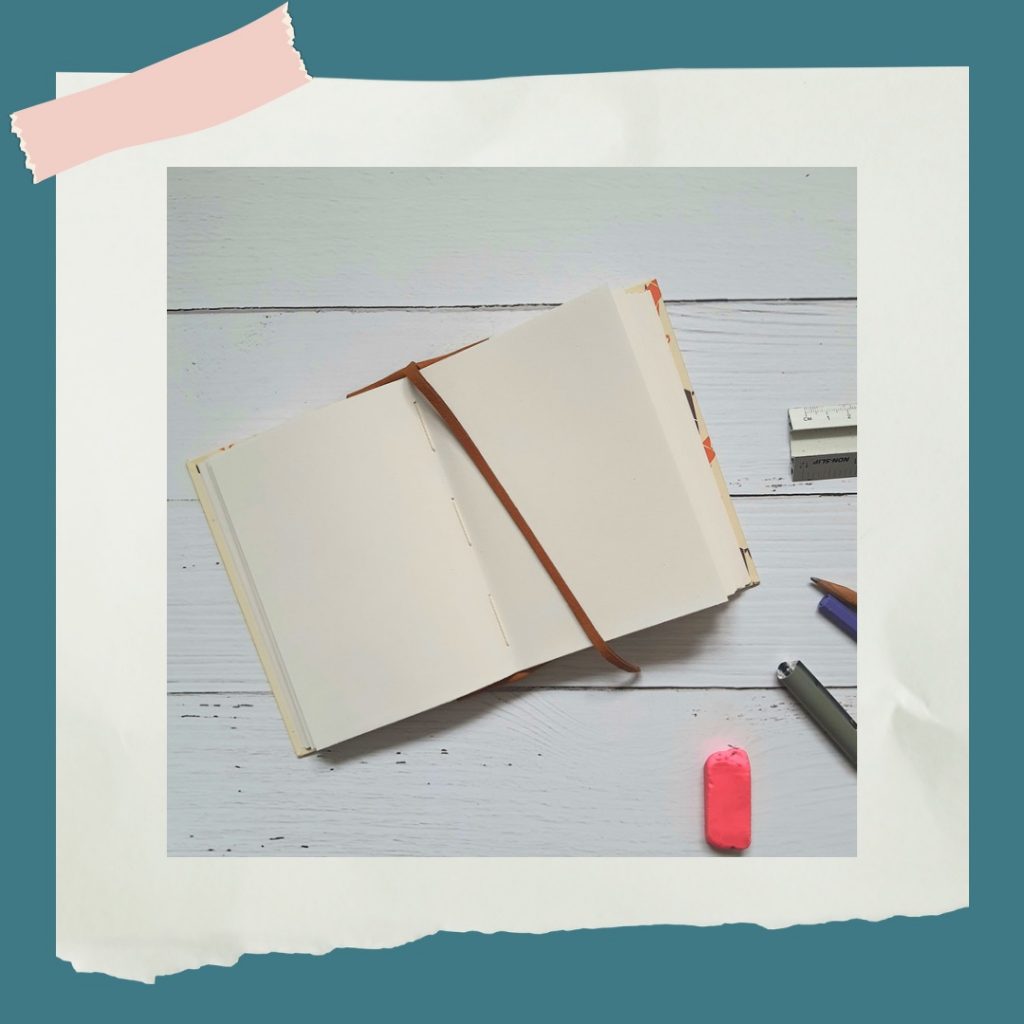
As with starting any new notebook, it’s easy to feel overwhelmed with all those empty pages. Some people use bullet journals a bit like an extension of a diary or planner – often with a key or index for reference.
However, this can be a big undertaking at first, so my advice would be to start with one or two things and go from there; make them something you like, something fun – books you want to read, top films etc. or tracking your favourite exercise (if you have one!).
To get yourself started, you only need a few basics.
Essentials:
- Journal/notebook
- Pen/pencil
Nice to have:
- Coloured pens or pencils
- Ruler
- Rubber
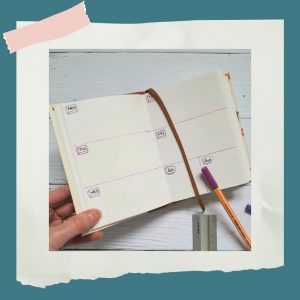
What about paper type? A dot grid allows you to easily draw neater lines & boxes, create charts & tables, and gives you guides to draw banners and embellishments – without hindering your creativity too much. If you want to use blank, lined or graph paper, that’s fine too!

The biggest task is setting up the pages; using templates and guides can help, especially if you’re using blank paper – draw out a guide on a spare piece of paper and you can use it to trace again and again.
It can be as simple or as complicated as you’d like to make it. Tailor it to your strengths and needs. If all you need from it is a title and some bullet points for lists – perfect. If you want to decorate every inch of paper – go for it!
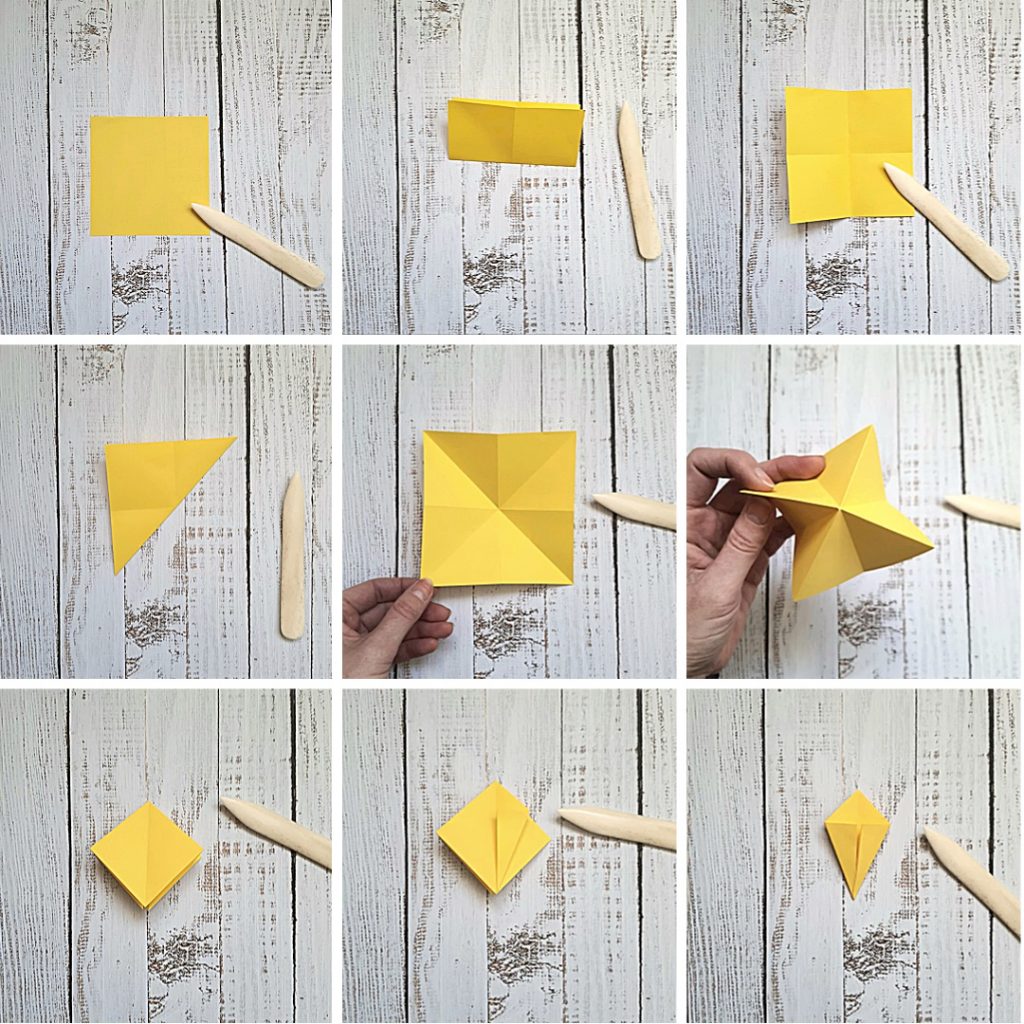
These simple flags can be made any size you want, and can be used for things like titles or tabs for section headers, or just to decorate the page.

To do/To buy
This is a great one to start with: nice and simple, easy to repeat and can be customised each week/month. (It’s one I use all the time!). I used the dot grid to draw the outlines, then decorated the edges with coloured fine liners. Stars make a fun alternative to round bullet points.
Books books books 📚Aiming to read a certain number of books each month, or just to track your reading for the year? This bookshelf layout can help do that! The “shelf” was created on plain paper, using a ruler and pencil, before going over in pen. You can then sketch out the books in pencil, and outline or colour them in as you finish each book.


Fancy having a go? I’ve got two styles of dot grid journal in stock:
Moon Phases and Smoky Keys.
Shop plain paper journals and notebooks here.