Ahoy there, Journalers!
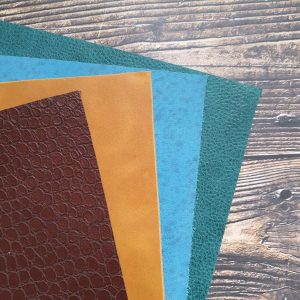
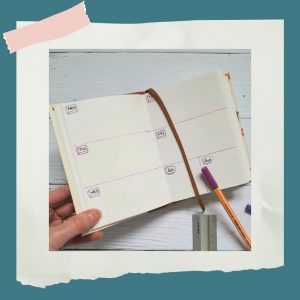
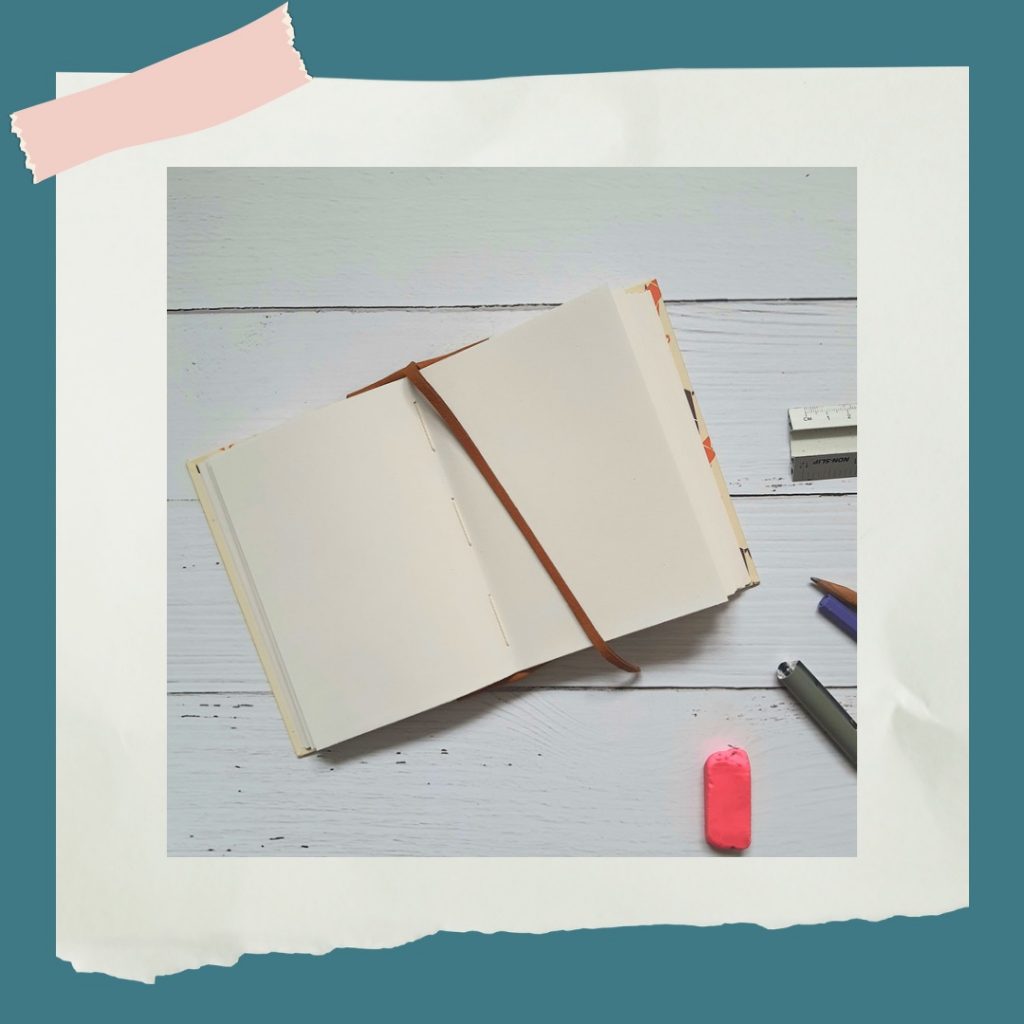
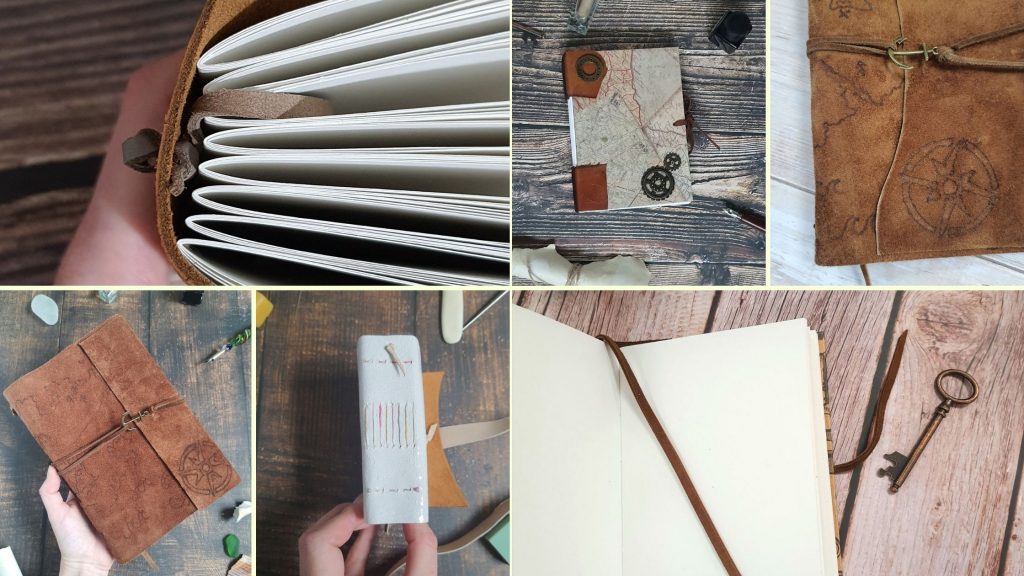
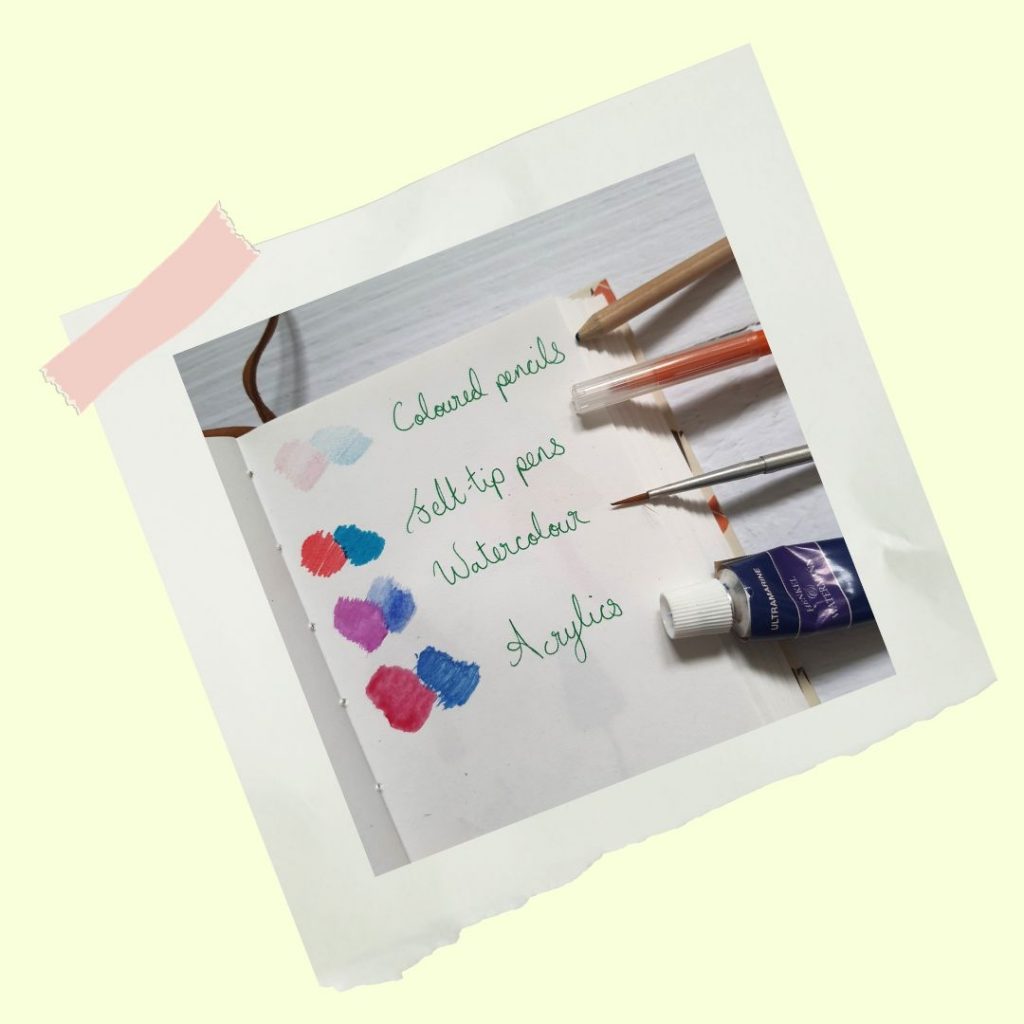
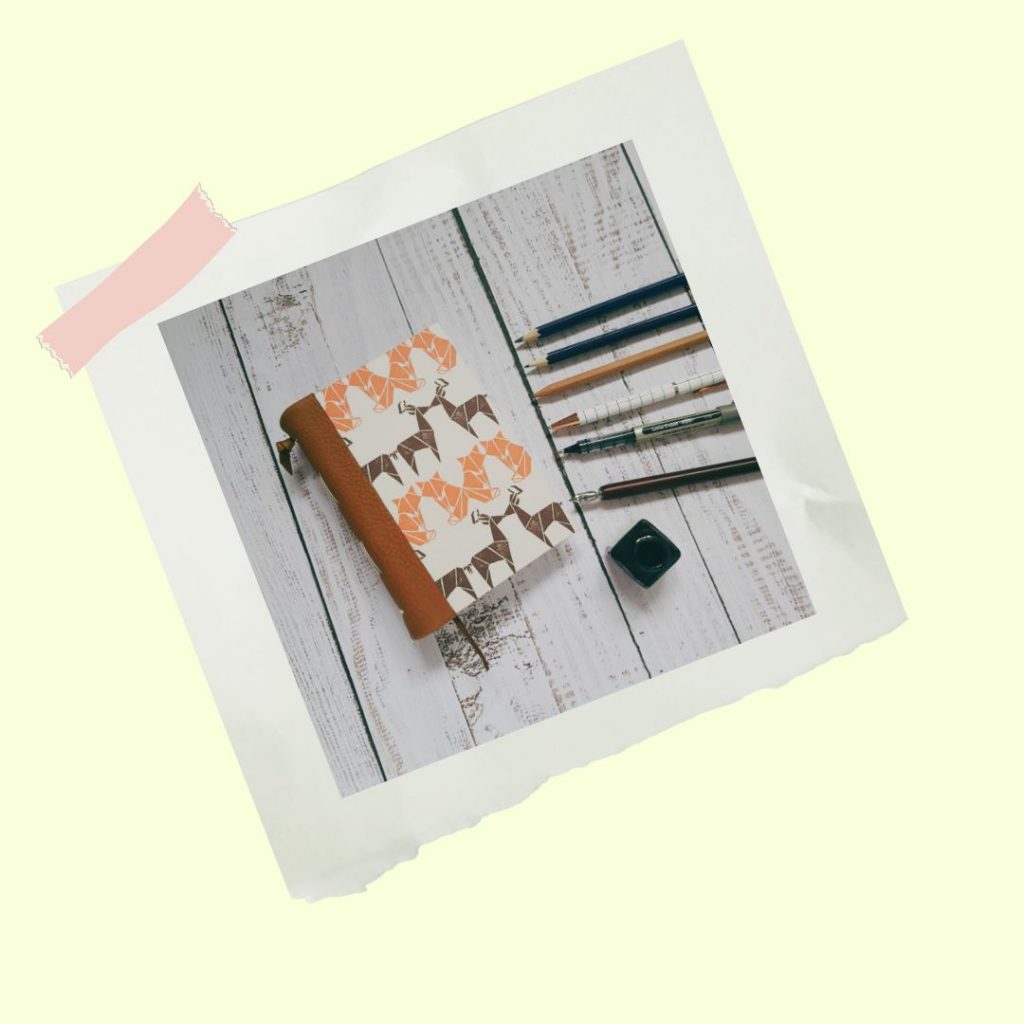
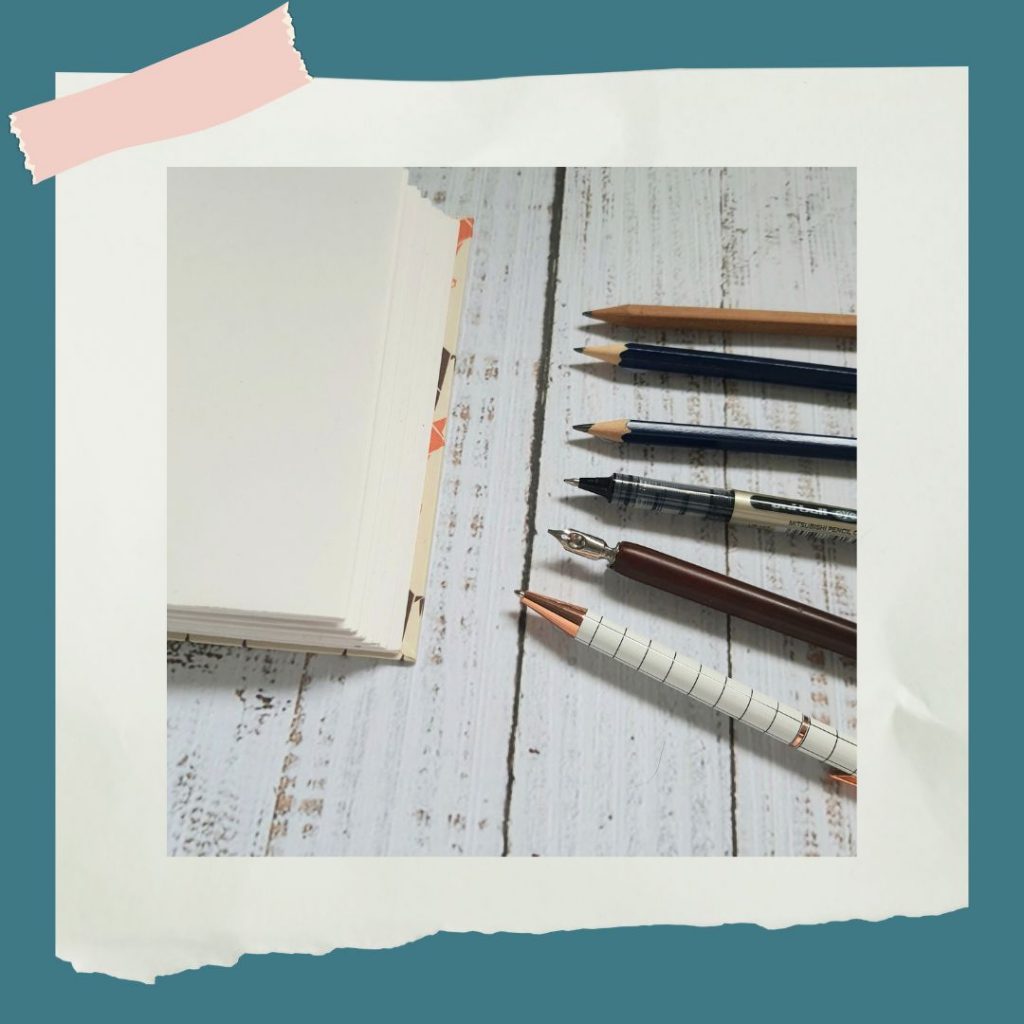
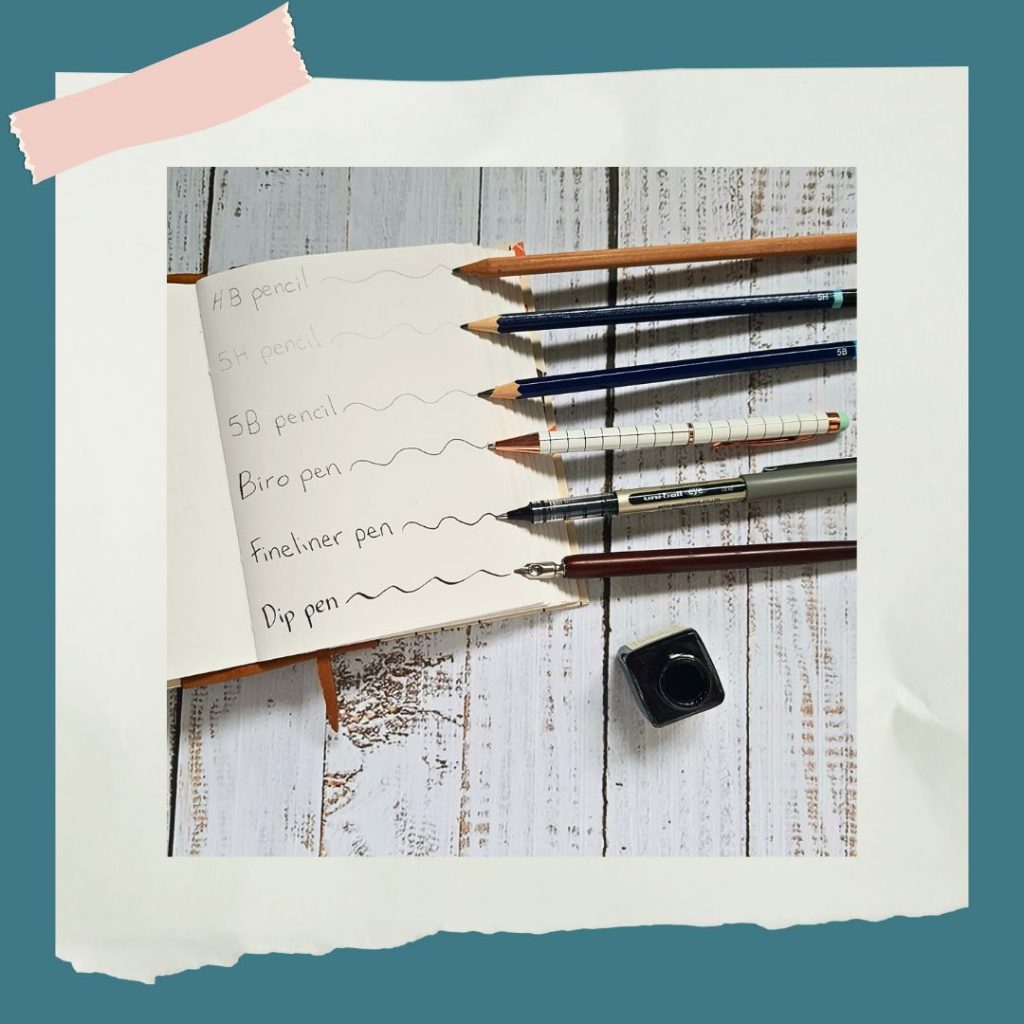
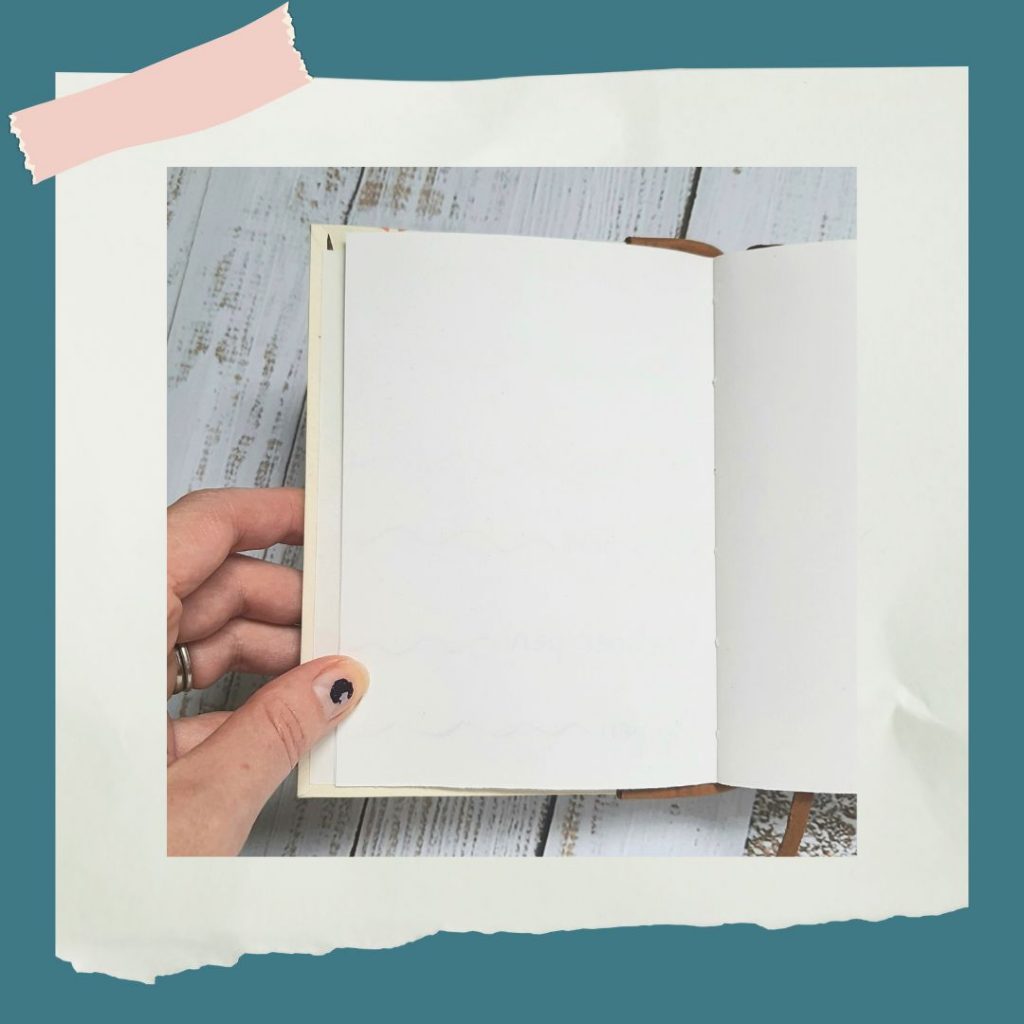
Whether you want to keep a visual diary, or just have somewhere to practice and progress your skills, an art journal is a great addition to your creative journey. In this post, I’ll give you a few ideas to start you off. The first thing you need is a somewhere for your art! My handmade journals have paper suitable for pencils, pens and some paints; if you missed them, you can check out my previous blogs about that here:

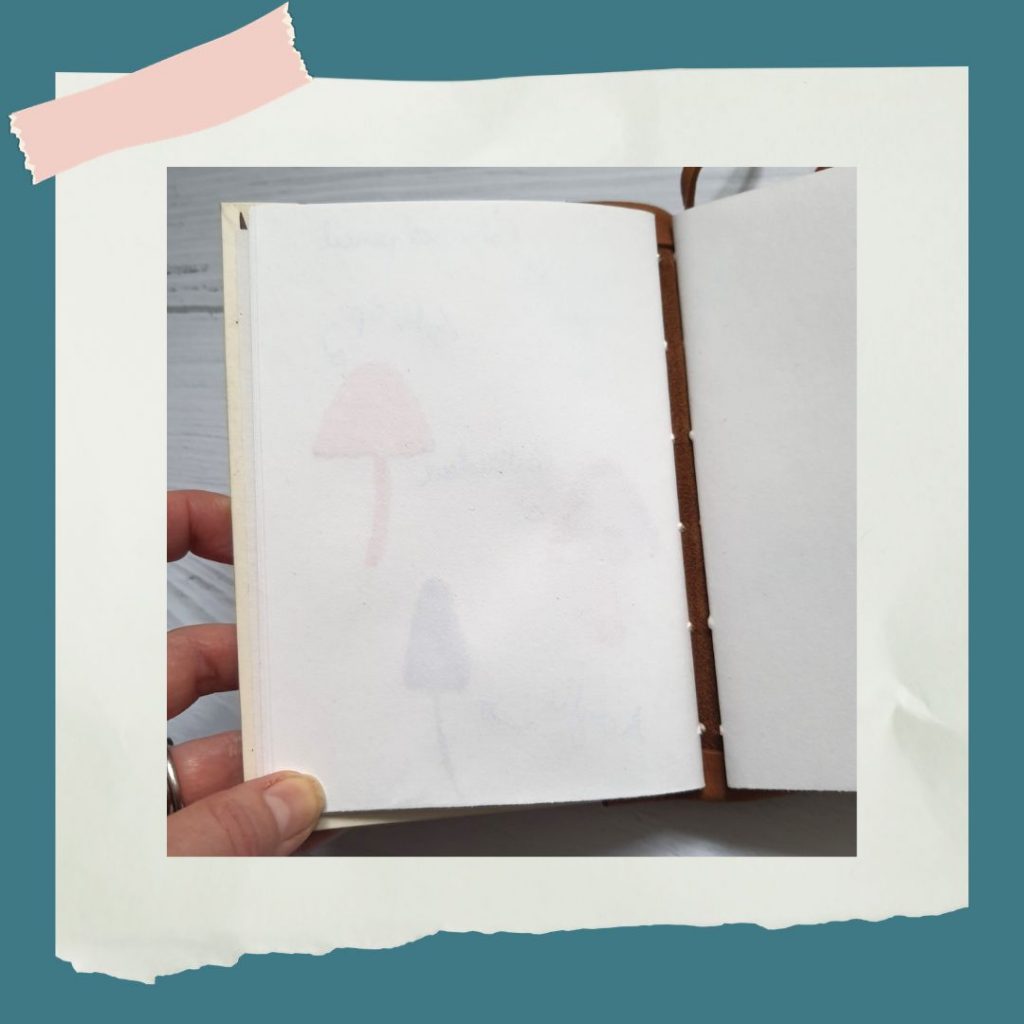
It’s a good idea to start simple, especially if you’re just beginning your art journey (if you’re like me, you won’t draw, paint or write anything on the first page in case something goes wrong 😂). You can often find drawing challenges and prompts online, which can be useful for experimenting with different styles and subjects (Inktober is underway throughout October, with a drawing prompt for every day).
Some ideas could be:
Still life
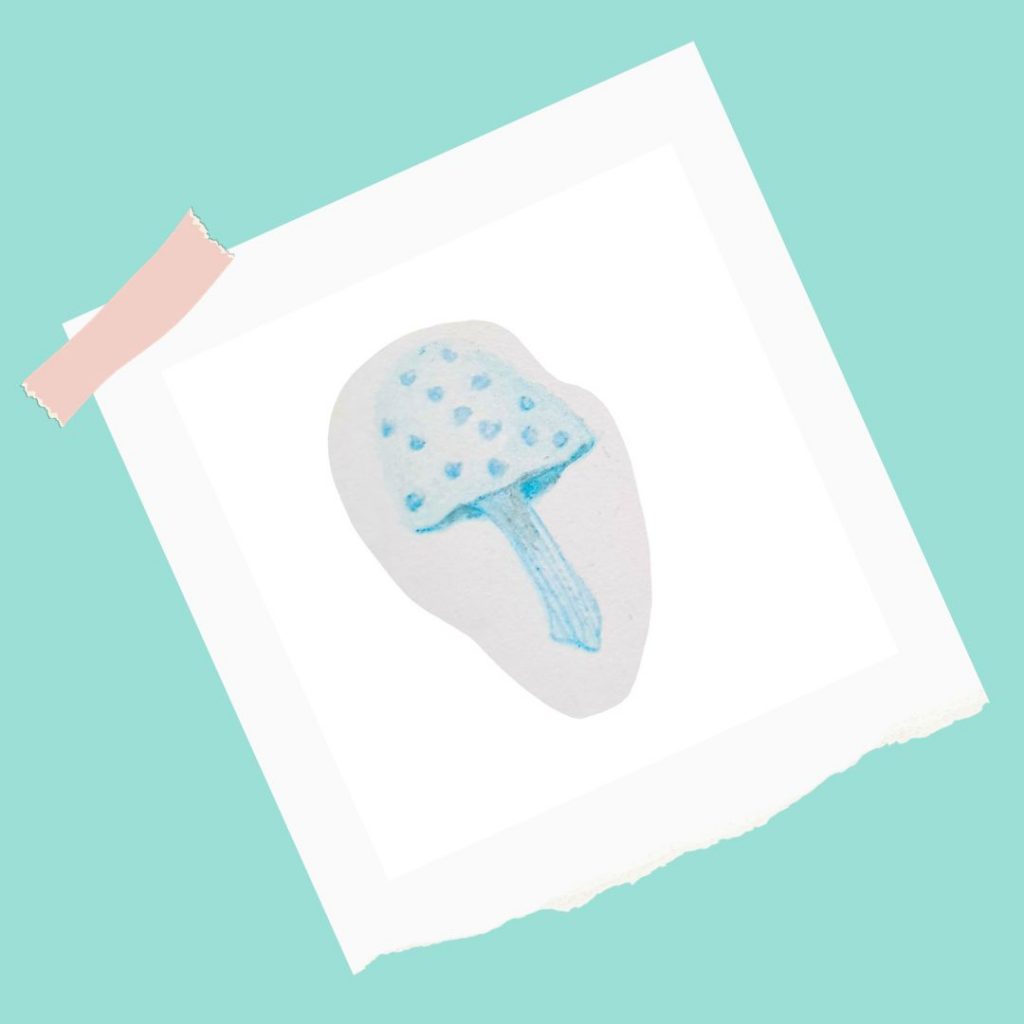
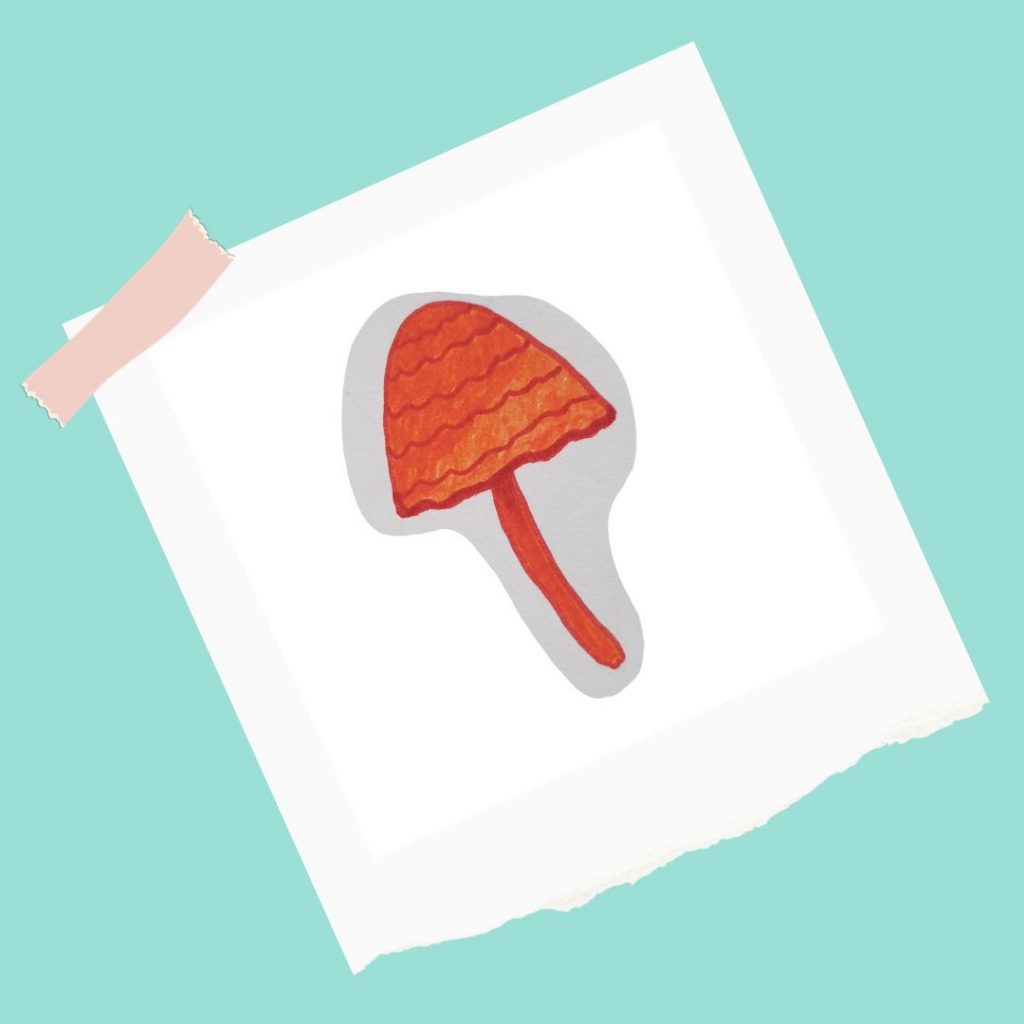
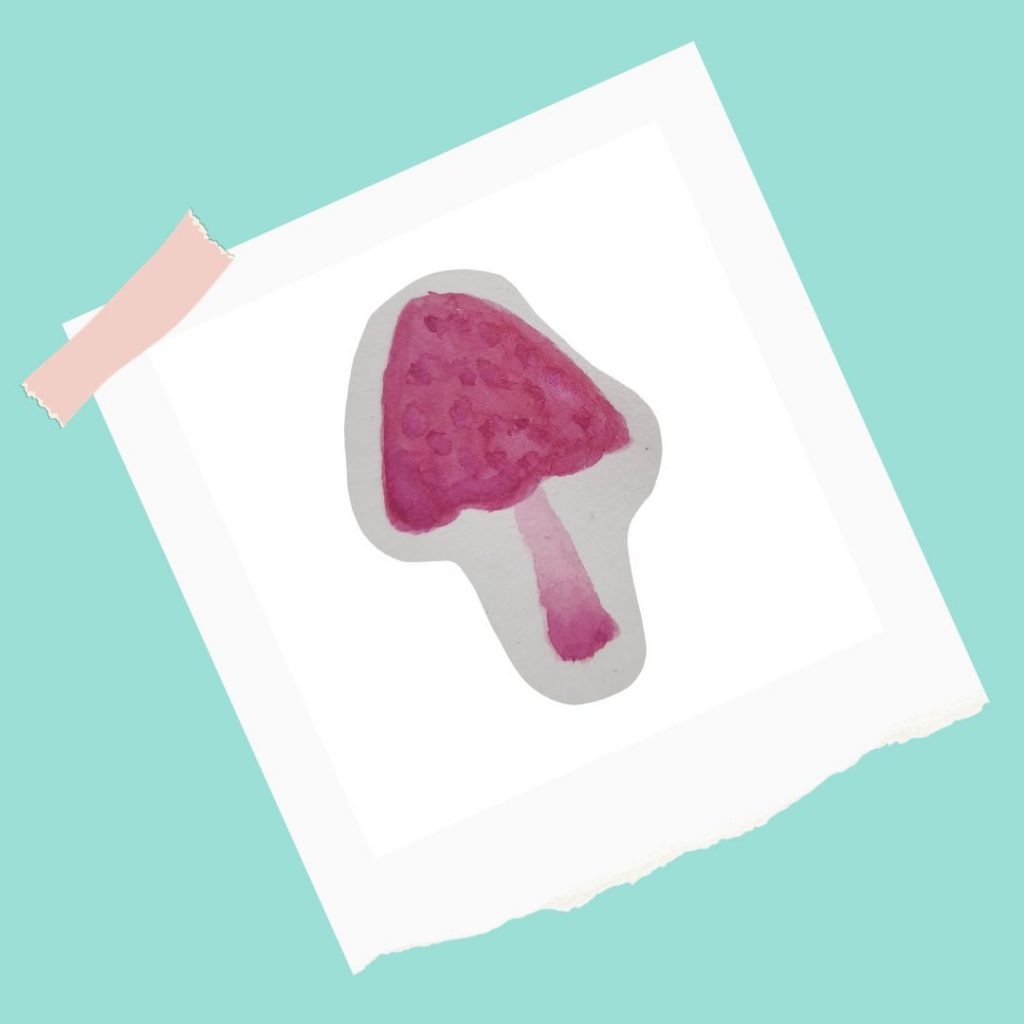
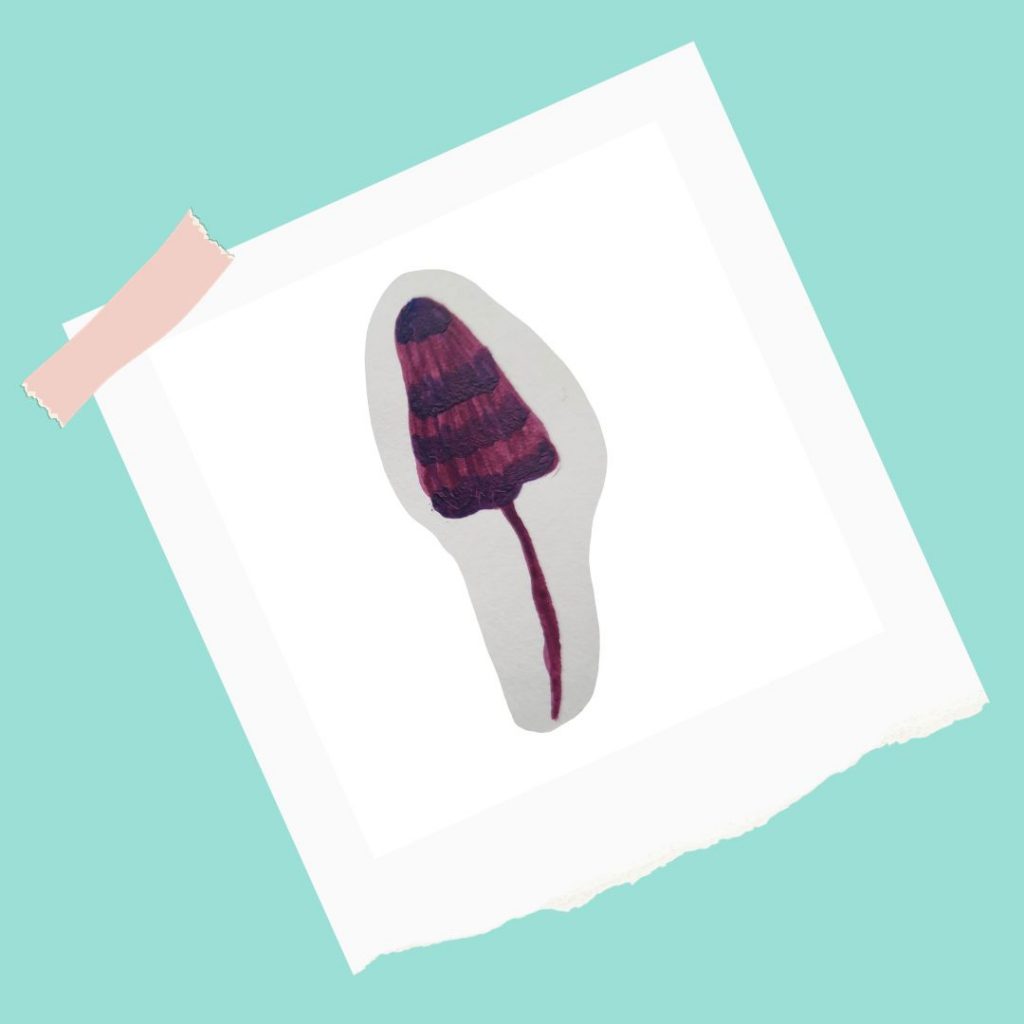
Nature
People
Abstract or doodles
Below you can find some helpful tips if you just need a bit of inspiration to set your creative juices flowing.
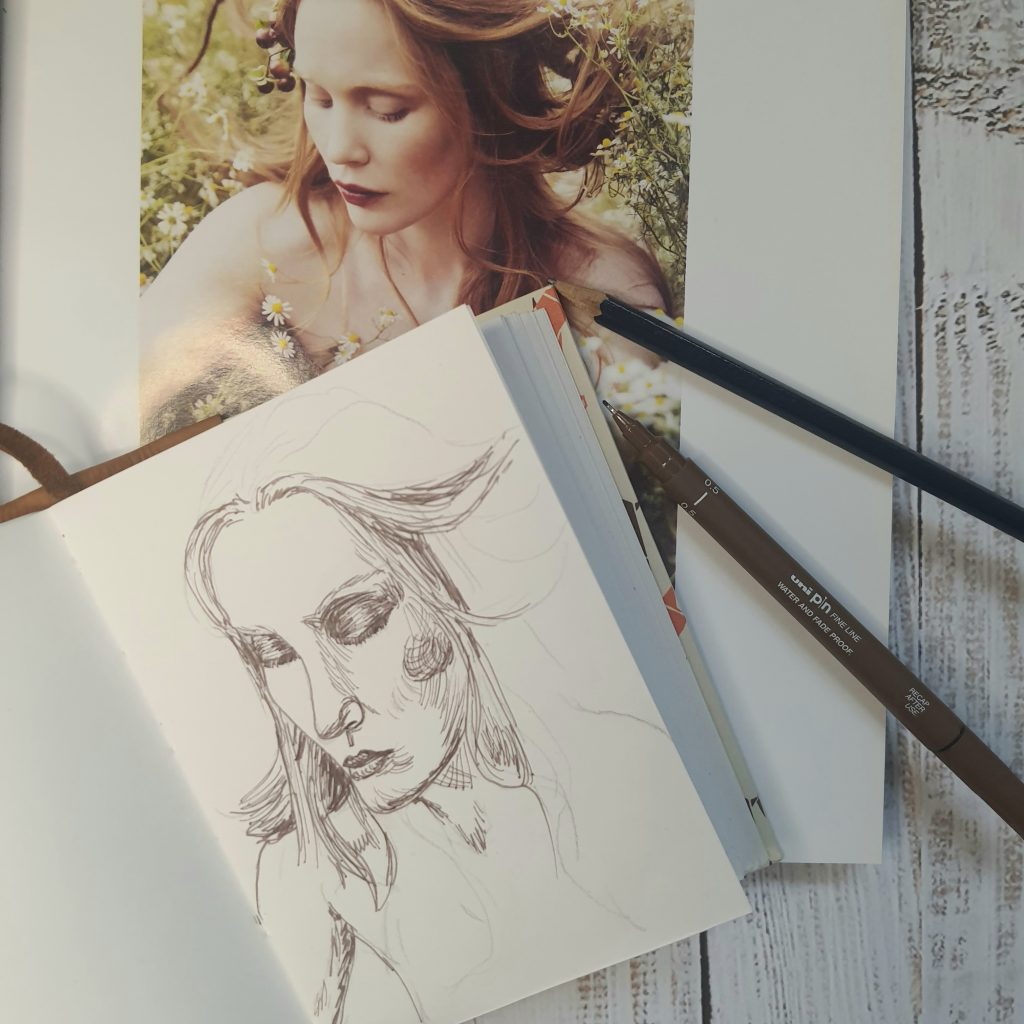
Magazines: flick through until something catches your eye… draw it!
Alternatively, look around you. What is there that you could try to draw or paint? Something with an interesting shape or engaging colours? Replicate it, or break it into basic shapes for a more abstract look.

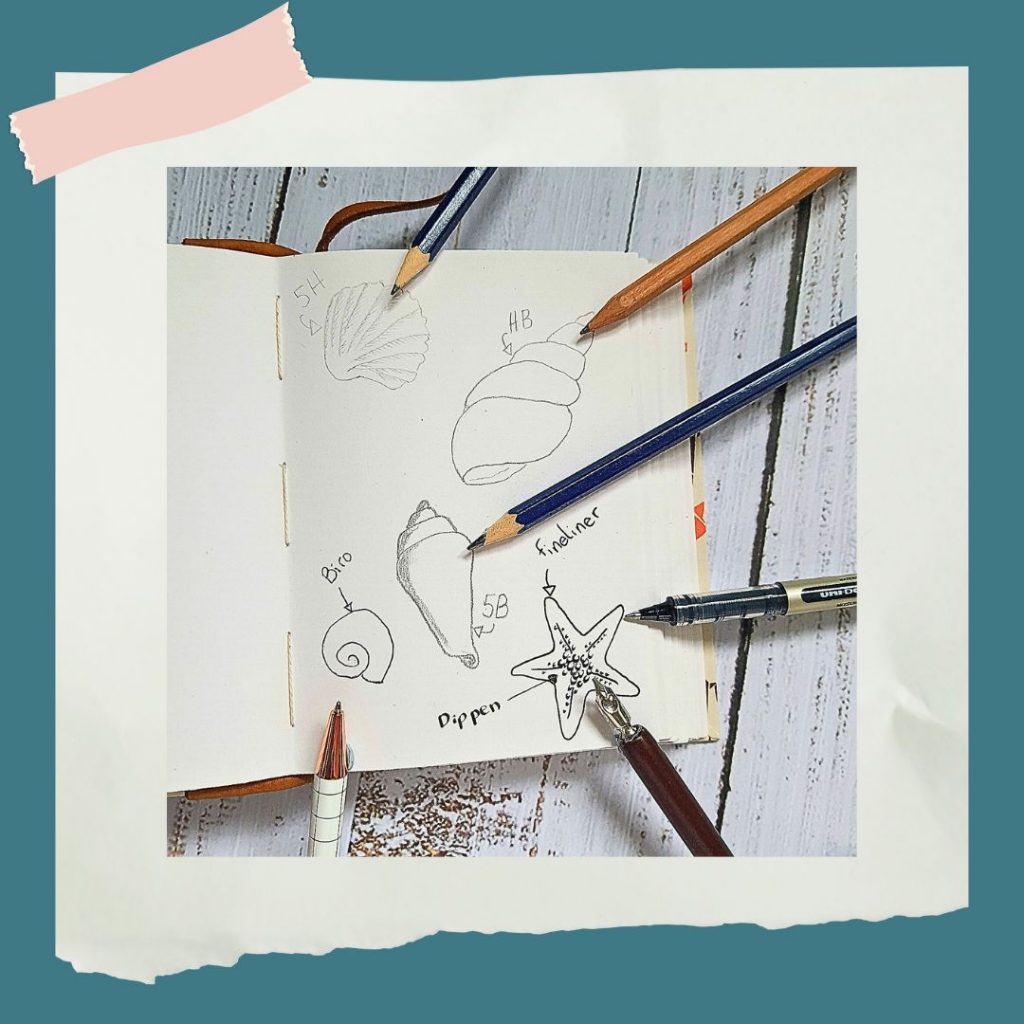
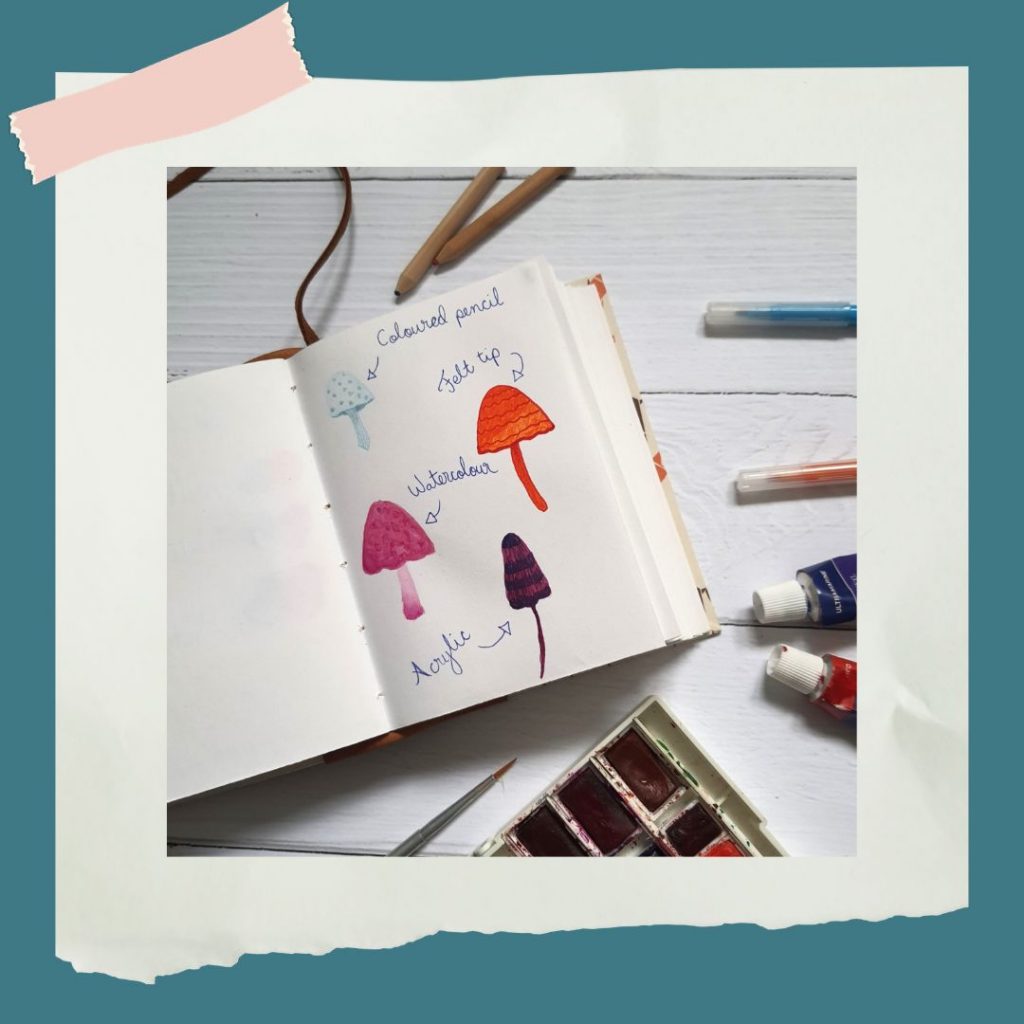
Wanting to build on your skills? Setting a goal can be a good way to stay on track (one of mine is get better at drawing hands). Dedicate a whole page to practicing one thing.
Some other ideas: daily sketches, details, different styles, different mediums. Experiment! Doodle! Date your work and look back on your progress. Most of all, don’t be afraid to make mistakes. Perfection is overrated 😉