The Craft Fantastic is 10!
I can’t quite believe it, but I’ve been running my small business for 10 years. I couldn’t have done it without my wonderful customers, so I’ve put together some offers to celebrate.
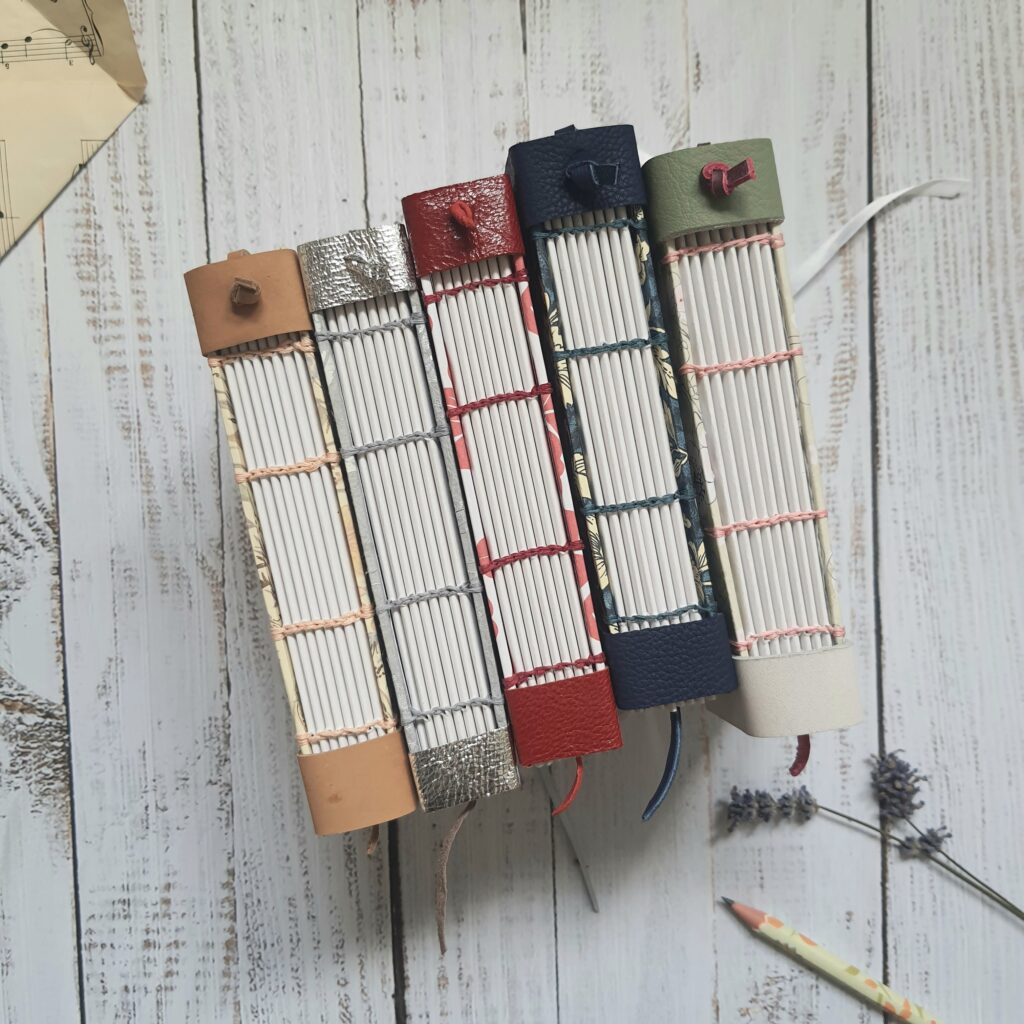
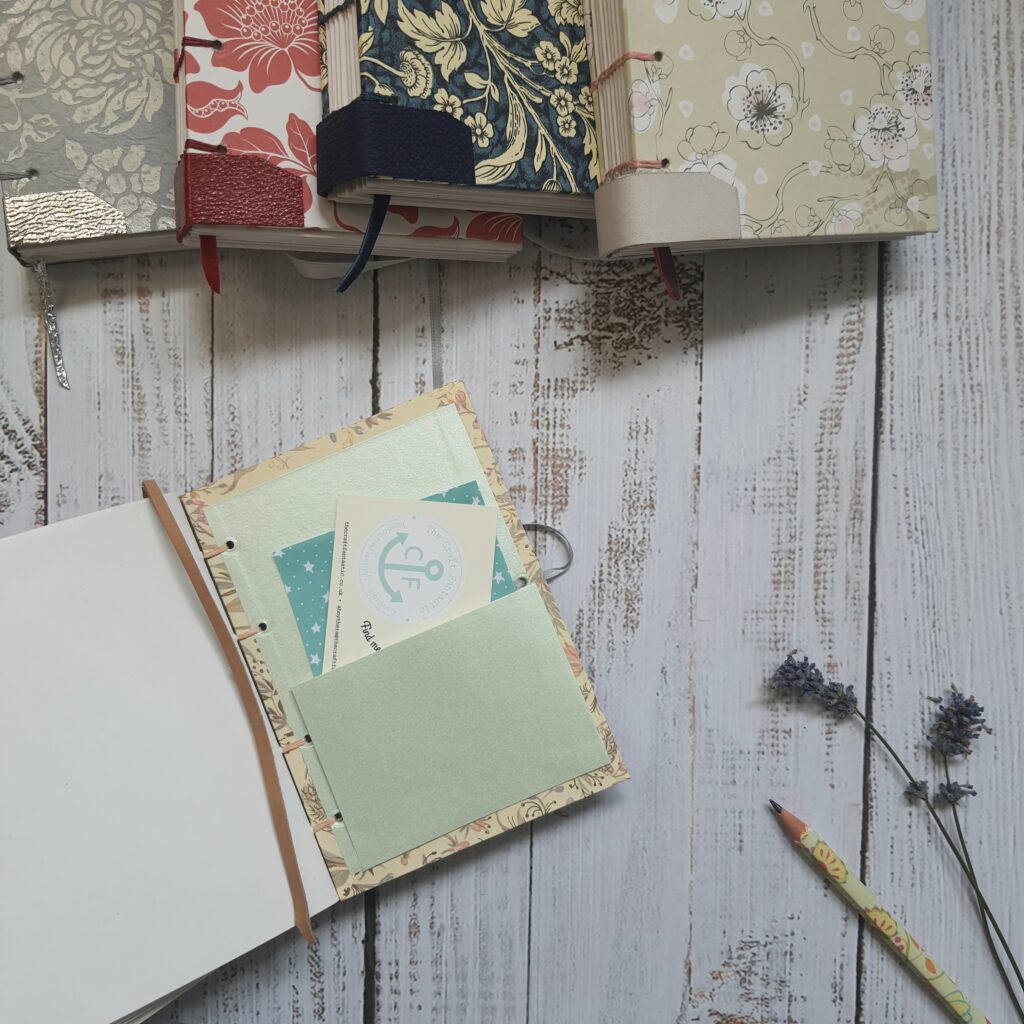
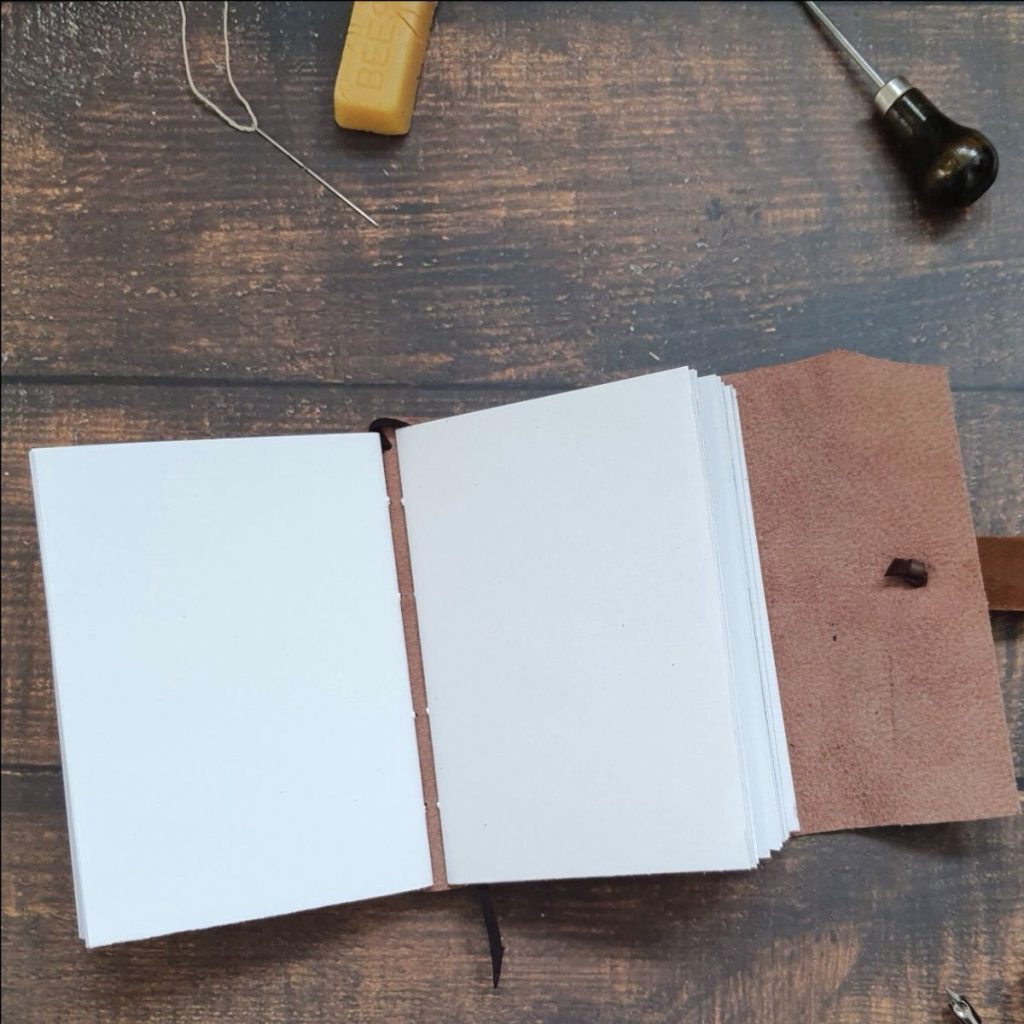
20% off sale
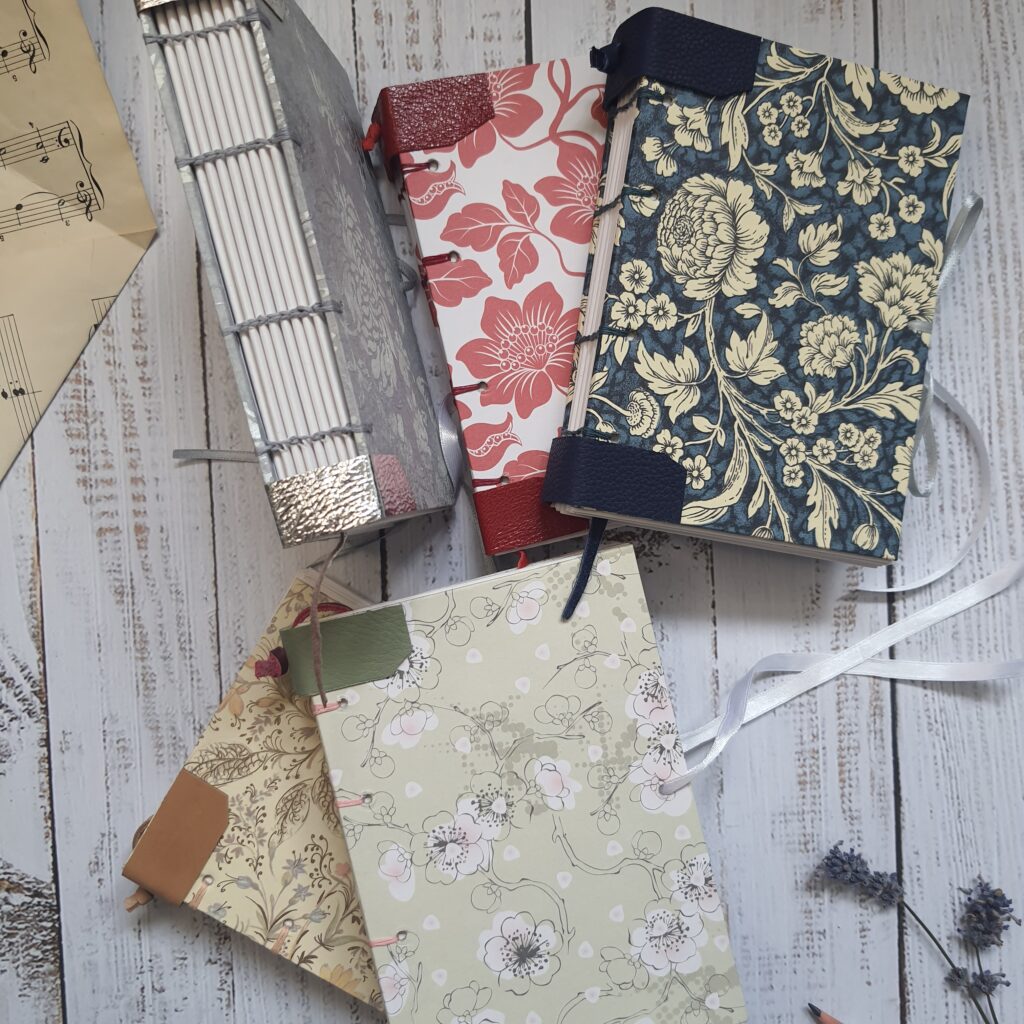
From 5th-18th January, everything in my Etsy shop will be 20% off! Woooooo! All the handmade stationery goodness you can shake a stick at. Head over there to take advantage of discounted journals, stationery cases, book necklaces and bookmarks. Take a look here.


10th birthday giveaway!
I’m running a competition on Instagram for the chance to win a handmade stationery bundle – including simple notebooks, a pencil case, and planner accessories. Simply head to this post, give it a like, and comment with your favourite stationery item.
(Competition is open 9th-23rd Jan. Winner chosen at random and announced 26th Jan. Open to UK only, excl. NI – sorry, I am currently unable to post to the EU!)
FULL T&Cs:
- This giveaway is run by The Craft Fantastic, and is not sponsored, endorsed, administered by, or associated with Instagram
- Competition runs from Friday Jan 9th till midnight (GMT) Friday Jan 23rd
- Open to UK residents only (excluding NI – sorry! I cannot post to any EU countries currently)
- Enter by liking this post on Instagram, and commenting with your favourite item of stationery (1 entry per person)
- Winner will be chosen at random and announced Jan 26th
- Winner will be contacted by The Craft Fantastic on Instagram via direct message
- Winner must provide their name and address in order for their prize to be posted out to them. Details will not be shared with anyone for any reason, and will be deleted once the items have been delivered.