It’s that time of year when the weather changes, clothes get cosier, seasonal drinks appear on menus (pumpkin spice is still a firm favourite for me 🎃) and blankets come out of storage. Put your feet up and take a look at where The Craft Fantastic is headed over the next couple of months.
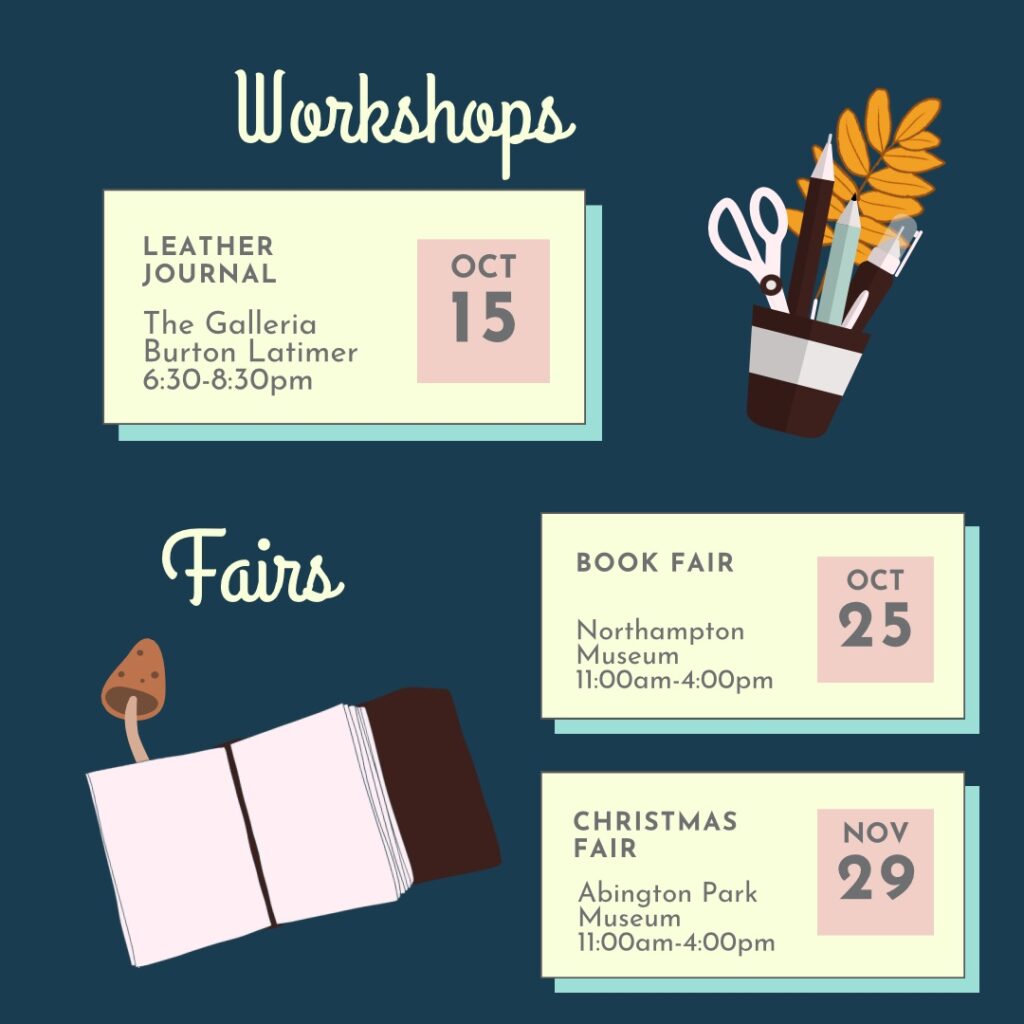
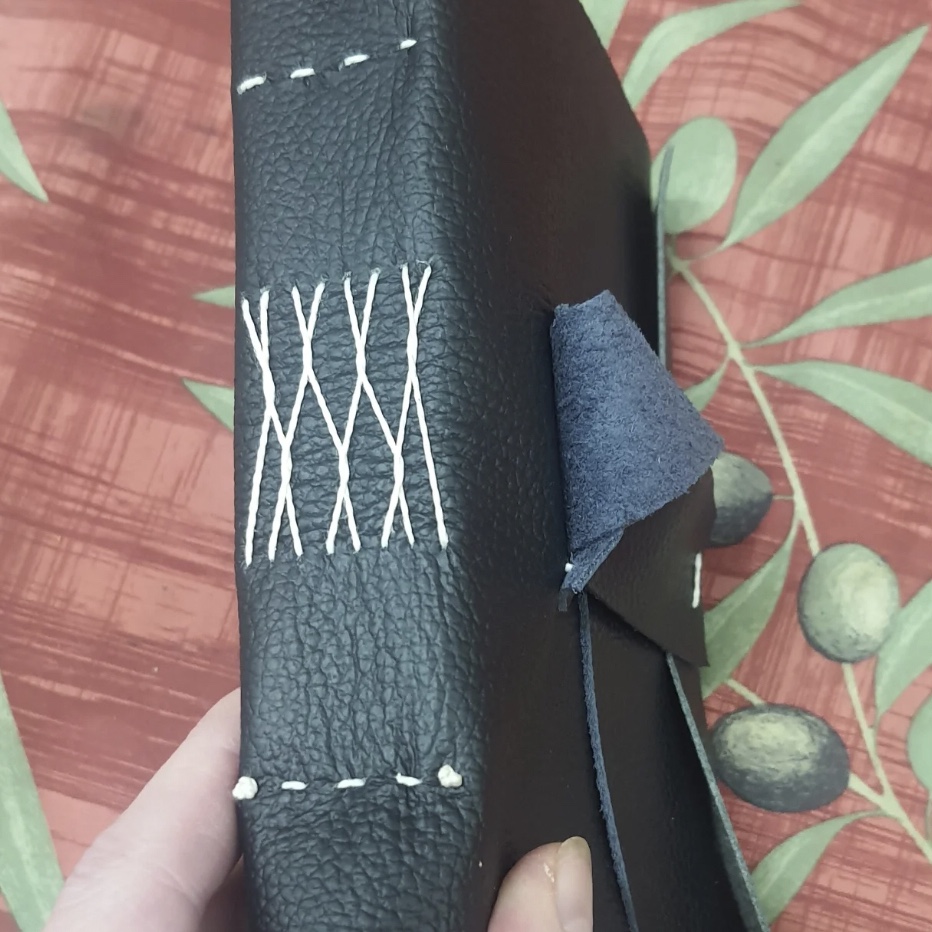
My final workshop of the year is over at The Galleria in Burton Latimer, where I’ll be going through the steps on producing a lined leather journal, with French stitching on the spine. Book your spot here.
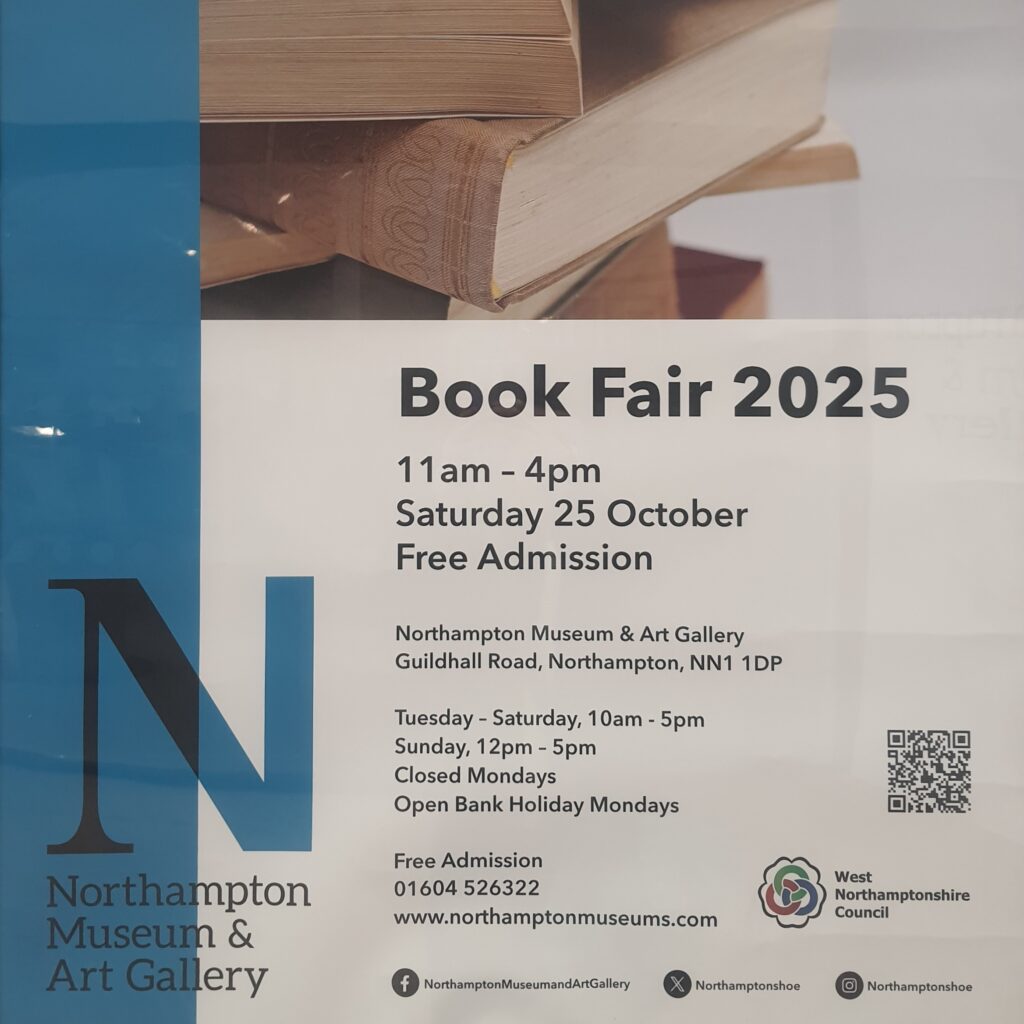
Join me at Northampton Museum for their book fair this October. Expect local authors and bookish related merch. What more could you want?
I’ll be at Abington Park Museum Saturday 29th November for their Christmas fair. It’s been a while since I’ve done a fair here so I’m looking forward to it, it’s such a lovely venue.
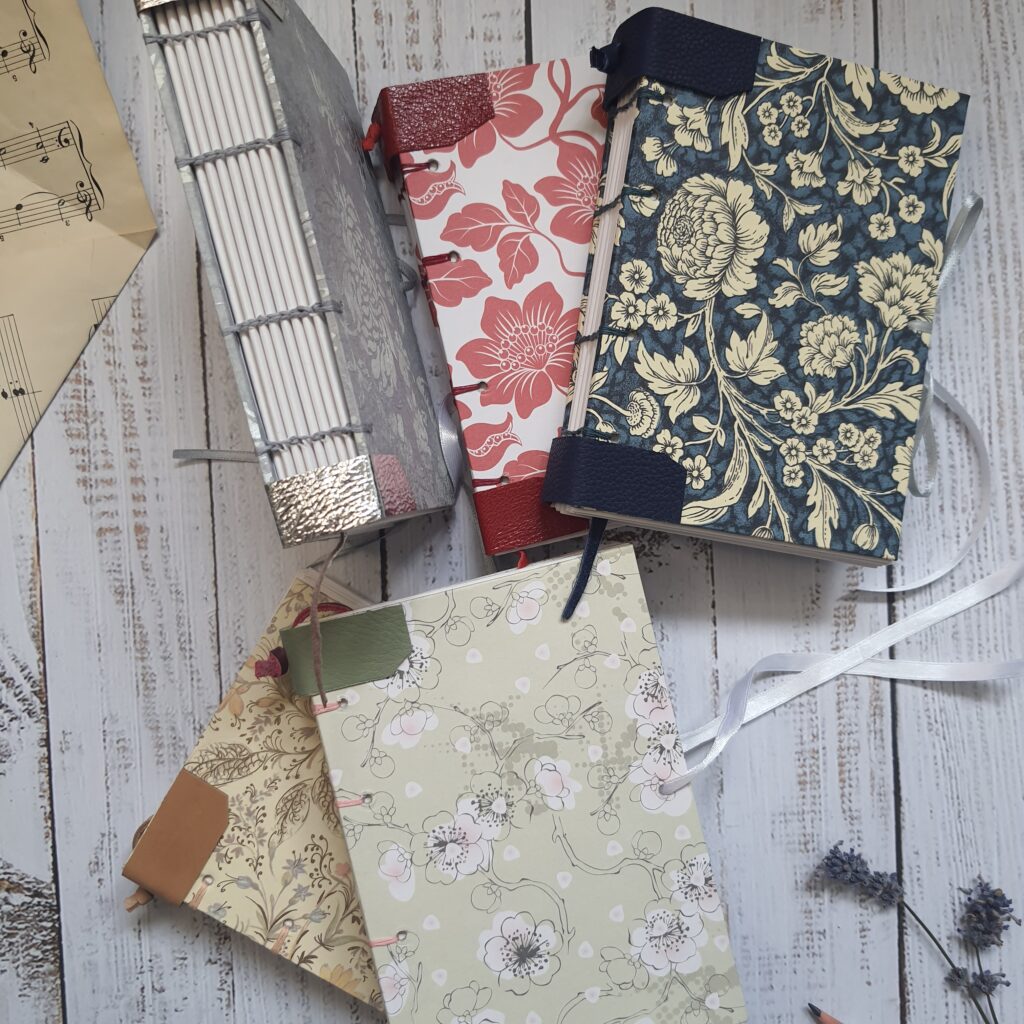
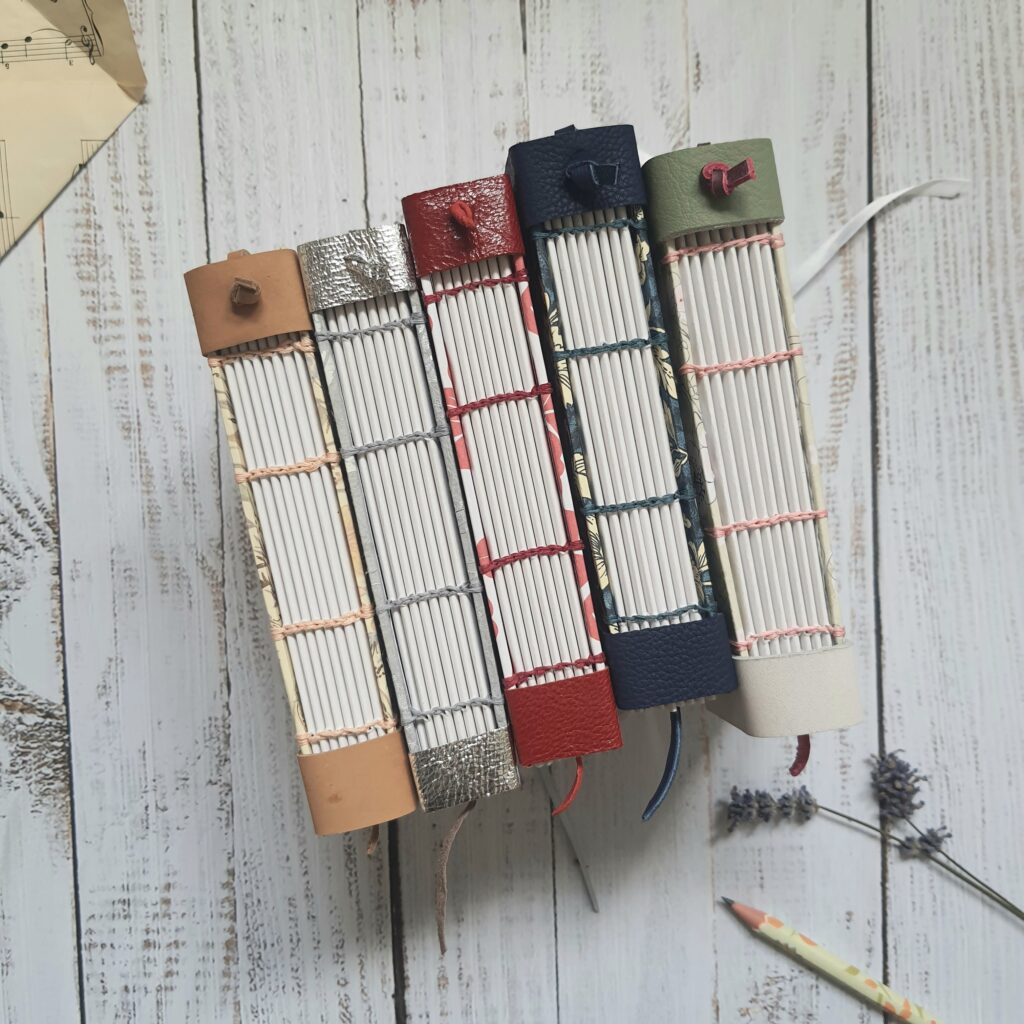
I’ve found the perfect home for my Coptic stitch journals… Folksy. This style is something I’ve been making almost as long as I’ve been bookbinding; I fell in love with the open spine and linked stitches. They took a backseat when my leather journals became more popular, and I struggled to find a home for them.
However, I’m pleased to announce I’ve given them their very own shop space on Folksy, a British-based craft selling platform that’s been going since 2908. I think they fit really well there. Want to know more about them? Read on 📖
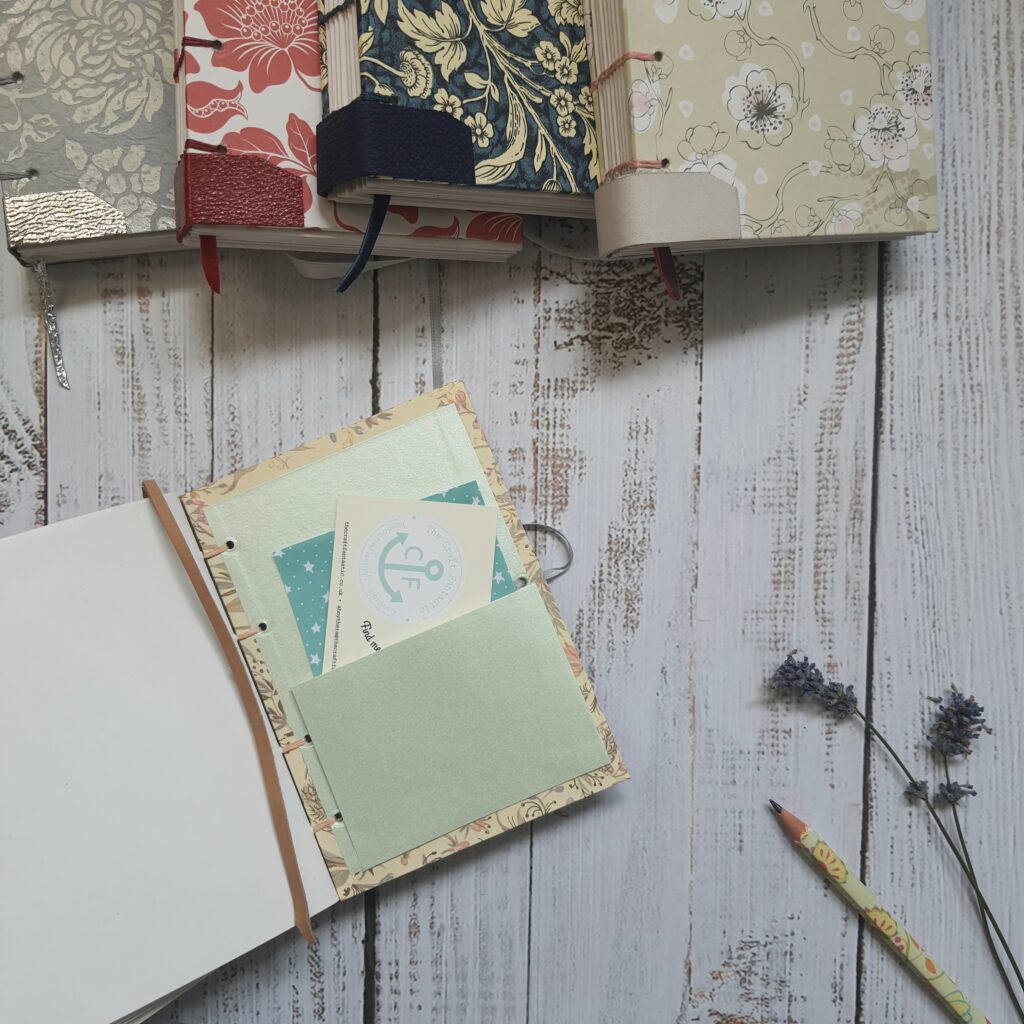
• Solid floral covers with an open spine • Coptic stitching in pretty embroidery thread • Leather details
• 140 gsm cartridge paper • Leather page marker • Pocket on the inside back cover • Ribbon closure
Junk journaling is, I think, more of an American term. It’s a bit like scrapbooking, but more relaxed and unstructured; a creative journal where anything goes. Use it for art, words, memories, collages… You can start with a theme in mind or just go with the flow. It’s great for upcycling and using up scraps of paper. All you really need is a blank journal, with pages sturdy enough to take whatever you’re sticking in.
Step 1: Collect junk! Hoard any scraps, labels, or packaging you think is an interesting colour, texture or pattern; or maybe some words or text that stand out to you. If you’re stuck for what you want to create, you can use these as a jumping off point to get you started. I like to use old tea bag packets, magazines, old diary covers, and pages from unwanted tattered books — along with a selection of scissors and shape cutters, Washi tape and stickers.
When using text, I tend to see a word or phrase that I like and build the page around that; either by tearing words out, or editing sections to highlight the words I like. Here, I’d come across the word ‘foxes’, so I started from there, adding one of my origami foxes and some cutout flowers.
More hints & tips: Play around with things on the page before committing by sticking them down. Create layers and textures. Add pencils, pens and paints. Use stickers to stick scraps instead of using glue. Add dried/pressed flowers or leaves.
As you collect and add bits to your journal, it’s a good idea to keep it all together. You can keep smaller bits in an old envelope. Simply tie string or ribbon around the journal, envelope, and any bigger bits and pieces; or, you can create a loop of elastic by sewing the ends together, and use that to slip around everything and keep it all in place.
You can also create a simple open pocket by cutting the top off an envelope and gluing it onto the inside cover of your notebook.
Grab a square of paper and try your hand at folding this simple origami fox! Following along with the pictures and accompanying step-by-step instructions for this easy origami make.
If using two-sided paper, start with the plain side facing you.
Fold in half diagonally (bottom right to top left corner).
Crease and unfold.
Fold in half diagonally the other way (bottom left to top right).
Take the point of the triangle nearest you and fold up to meet the top right corner.
Take the top left point and fold it to meet the other point at the right-hand corner, making a square.
Flip the square over, front to back.
Fold in half diagonally, top left to bottom right corner.
You should end up with a triangle with layers, short flat edge at the bottom, longest sloping edge to the left.
Fold over the straight right-hand edge (including all the layers) by about a third, creasing firmly.
Taking this folded section, open up just the top layer…
…this should create the two ears, and the fox face should fold down as you open up the layers.
Fold a small bit of the left-hand point over to create the tail.
Let’s work on those legs! You’ll need to fold the front layers (below the face) behind a little, one side at a time; The left one tucks in between the body.
The right side folds back and tucks behind the model.
Crease bother fold firmly, and you’re done!
You can leave you fox laying down to decorate a card or journal page, or stand them up.
That’s why you’re here, right? I’ve got you covered, both online and offline!
It’s National Stationery Week in May, running from Monday 12th – Sunday 18th. To celebrate, I’ve got a tasty little treat for you all that week: 20% off my entire Etsy shop! Just head to The Craft Fantastic, any time between those dates.
A Little Bit Of Sunshine is stationery and crafty shop, recently opened up at Heart Of The Shires in Northamptonshire. I’m pleased to announce I’ll be stocking some of my cute and colourful range in there: planner clips and pencil boxes in florals and pastels.
I’ve previously shared tips on specific journal styles or layouts (bullet journal – travel – diary) but if you’re looking to use your journal on a more casual basis, it can be nice to have some prompts.
TOP TIP: Make a list of ideas at the back of your notebook, to refer to any time you’re stuck.
Check out my previous post on layout ideas to help with setting up the page if you’d like.
I’m back from a short break in Boston, ready to restock all your favourite handmade stationery, plus some shiny new products.
These vertical leather pencil pouches are something I’ve been working on this year. I’d made a few testers and trialled them in my brick-and-mortar stockists, but have just launched them online! You can find them in my Etsy shop, in the Stationery section.
Get your fill! I’ve made some traveller’s style leather journal covers, that can be refilled again and again with simple A6 notebooks; there’s elastic running through to keep them in place, and a handy elastic closure to keep everything shut. I’ve popped a few in my local stockists, and will be adding them to Etsy soon.
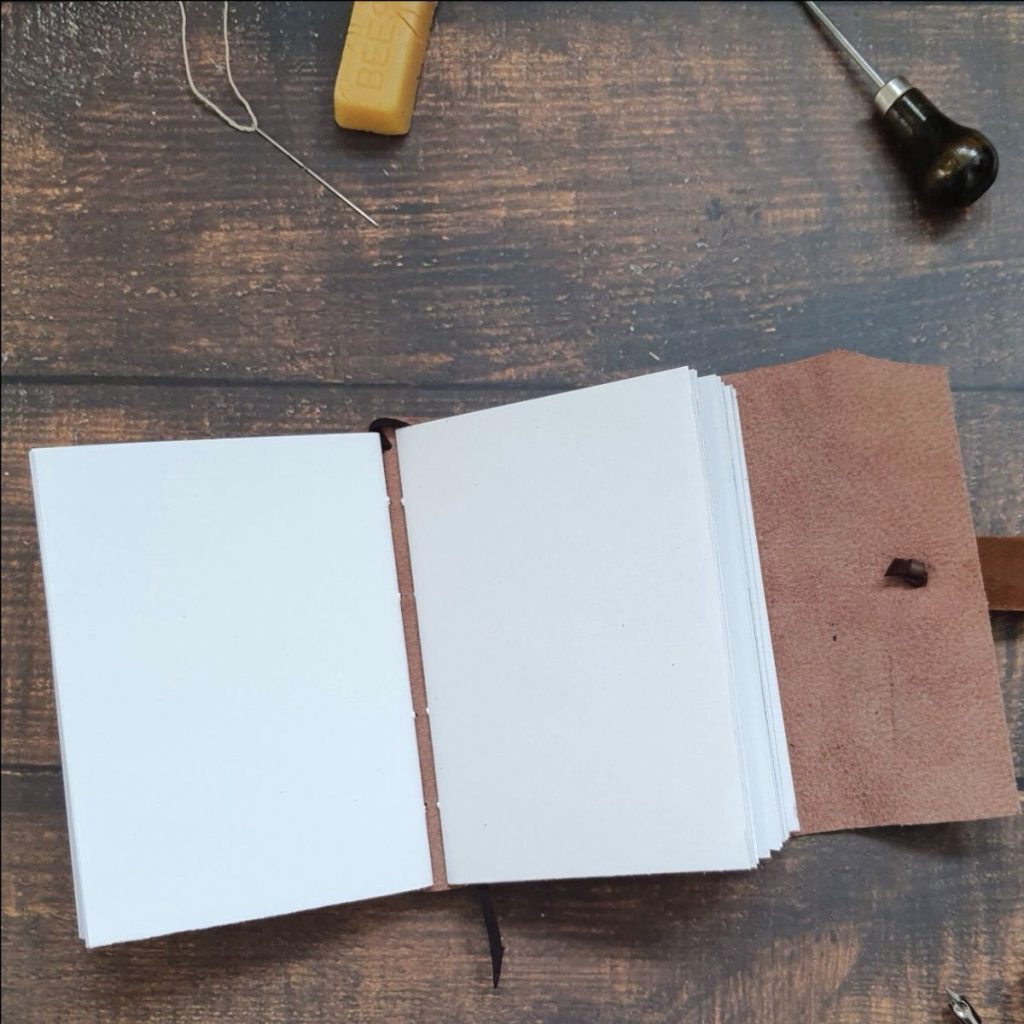
My next journal making workshop is taking place Thursday April 10th at The Galleria in Burton Latimer, 6:30-8:30pm: learn to make an A6 journal using rescued leather. I’m hoping to do a couple of different style journal workshops in the future, so keep your eyes peeled 👀.
Looking to build on your bullet journal, or pimp your diary spread? I’ve collated a few ideas, incorporating past posts, adding updates and new ideas for you to try.
Create a simple chart, table or block system to track things – whether it’s daily activity, drinking more water or keeping on top of housework! Use a key to help keep it visually accessible, creating different colours or patterns for different segments of what you’re tracking.
I shared this in a previous post about Bullet Journaling, but as I find it so useful I’m sharing it again! You can adapt this to suit your needs. The page is split into 3 sections: the top 2/3 (roughly) has been made into 2 columns for lists, leaving the bottom section free for notes or important details.
Sometimes it’s nice to have a place for self care and reflection. This is a great space to your imagination and get creative. Here, I’ve created a cherry blossom design, filled with some ideas of little monthly wins.
Try making this origami pumpkin in a variety of colours and patterns for a fun autumn project. You’ll need a sheet of fairly thin square paper; crease the folds with a creasing tool, or you can use the back of your thumb nail.
Start with the square of paper turned so it looks like a diamond
Fold it in half, top corner to bottom corner
Fold in half again, corner to opposite corner, along the top edge
Lift the flap you’ve just folded, and open up the layers…
Squash this layer into a neat diamond shape
Flip over sideways, and do the same squash fold on the other flap
You should now have a nice diamond shape, with layers that open at the bottom
Take the top flap on the left over to the right…
Fold this to the left, so the top sloped edge lines up with the central crease
Fold the bottom sloped edge to line up with the central crease
Take this layer back over to the right and press the creases flat
Next, take the top flap on the right over to the left, and make the same two folds
Once you’ve taken that flap back over to the right, you should be left with a slim diamond shape in the middle
Flip the model over
Fold over the top and bottom corners a small amount to shape the pumpkin
Fold both side corners in, roughly the same amount (you can take a look at the right side to check you’re happy with the shape, and adjust these folds if necessary)
Take the small top triangle you folded over, and fold the point up, so the tip sticks out a bit over the top of the pumpkin, creating the stalk
Turn it over to the right side to see the finished result!
Whether you want to keep a visual diary, or just have somewhere to practice and progress your skills, an art journal is a great addition to your creative journey. In this post, I’ll give you a few ideas to start you off. The first thing you need is a somewhere for your art! My handmade journals have paper suitable for pencils, pens and some paints; if you missed them, you can check out my previous blogs about that here:
It’s a good idea to start simple, especially if you’re just beginning your art journey (if you’re like me, you won’t draw, paint or write anything on the first page in case something goes wrong 😂). You can often find drawing challenges and prompts online, which can be useful for experimenting with different styles and subjects (Inktober is underway throughout October, with a drawing prompt for every day).
Some ideas could be:
Still life
Nature
People
Abstract or doodles
Below you can find some helpful tips if you just need a bit of inspiration to set your creative juices flowing.
Magazines: flick through until something catches your eye… draw it!
Alternatively, look around you. What is there that you could try to draw or paint? Something with an interesting shape or engaging colours? Replicate it, or break it into basic shapes for a more abstract look.
Wanting to build on your skills? Setting a goal can be a good way to stay on track (one of mine is get better at drawing hands). Dedicate a whole page to practicing one thing.
Some other ideas: daily sketches, details, different styles, different mediums. Experiment! Doodle! Date your work and look back on your progress. Most of all, don’t be afraid to make mistakes. Perfection is overrated 😉