Categories
Craft Origami Paper Tutorial

Tutorial: Upcycled paper bags

I’ve made gift bags similar to this from old sheet music, but they are great made from old magazines. 

You can easily make this simple upcycled version yourself, all you need is an old magazine page and some tape. If you’re after something fancier, you can use any nice sheet of paper you like (A4 works well) and instead of taping, overlap the edges slightly and glue them down for a neat finish.

  • Lay your page out landscape
  • Fold one side in to the middle (you needn’t be exact) and run your thumb over the fold to crease well.
  • Fold in the other edge so that it meets the first one.
  • Tape it up, right the way from top to bottom (or overlap slightly and glue).
  • Fold up the bottom – roughly a quarter, but again, it needn’t be exact.
  • Open up the bottom section you’ve just folded over…
  • …then squash each corner down in turn, so they make triangles.
  • Fold the edges of the bottom section to meet each other in the middle.
  • Tape it up! Again, you can overlap slightly and glue at this point- just make sure you’ve glued the edges well, as this forms the bottom of the bag.
  • Ta da! Done! Stick your hand in (carefully) to open it out; the bottom should make a nice flat base.

Once you get going, they’re really quick to make. They make great bags for small gifts instead of using wrapping paper; they look so colourful!

Categories
Craft Inspiration Paper Tutorial

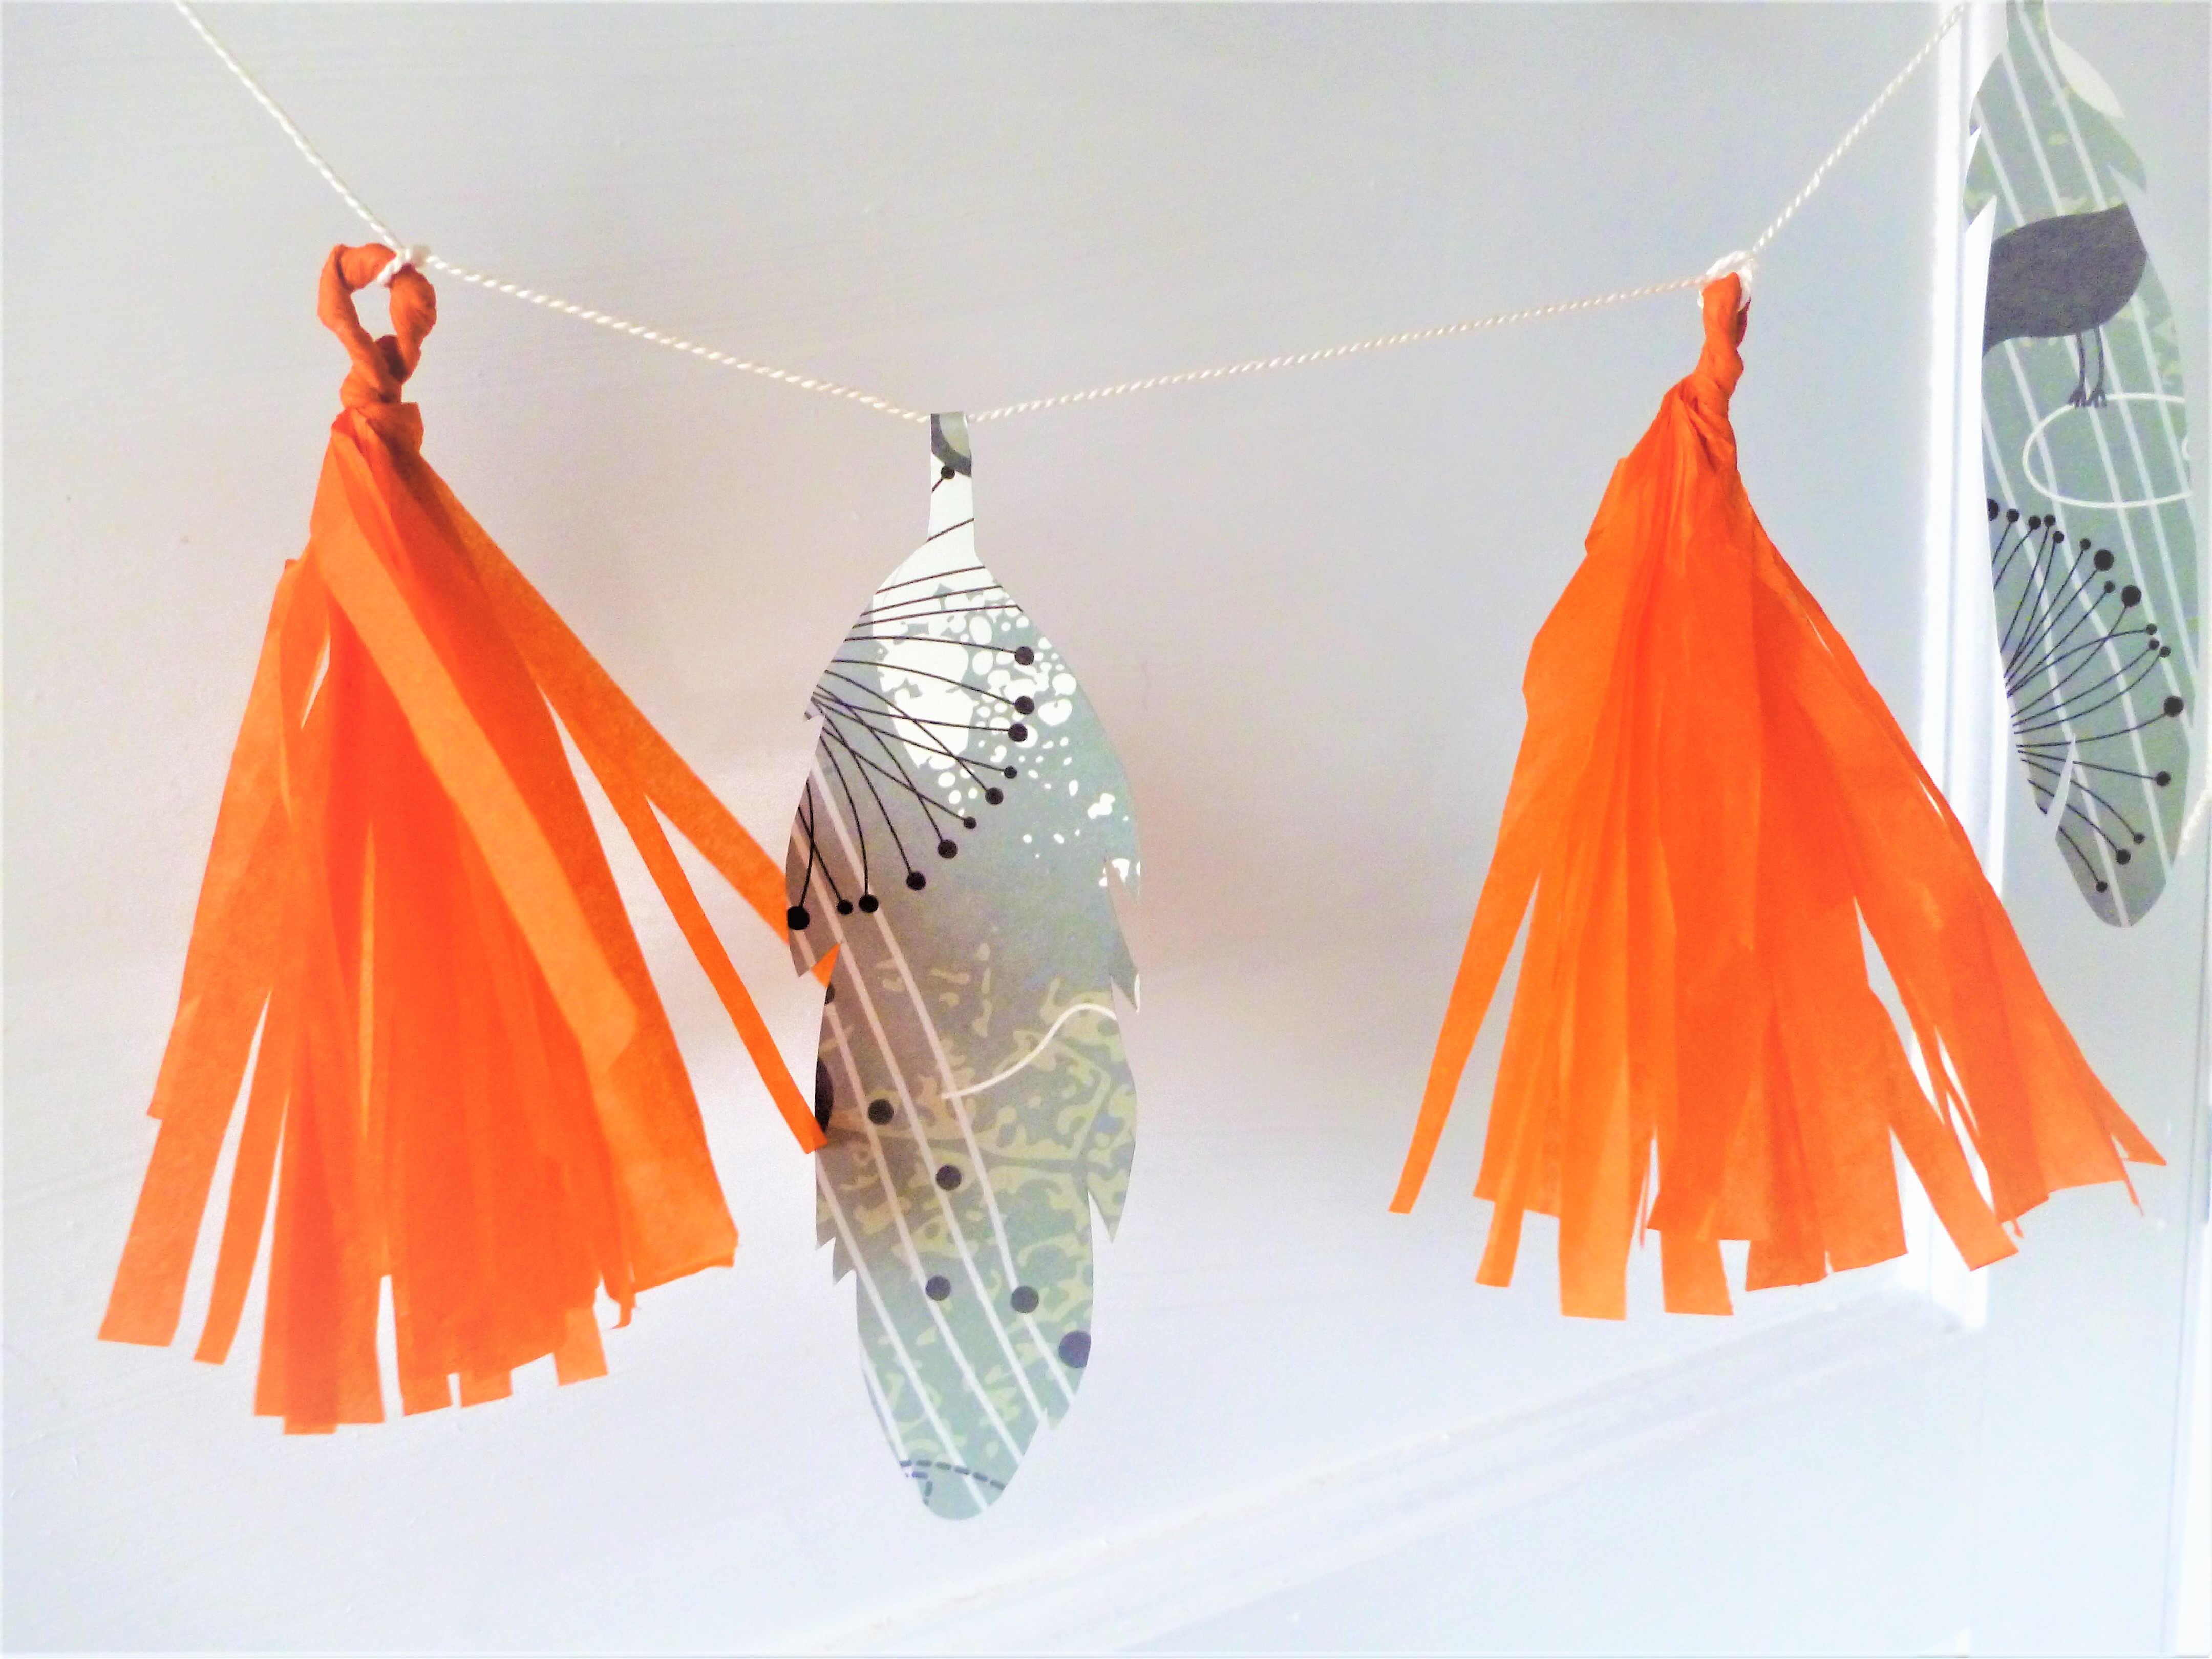
Spring Papercraft Make: Feather & Tassel Garland

Spring is the time of year for new growth and new life- so it’s the perfect time for a new craft idea! This seasonal papercraft project will brighten up your home.

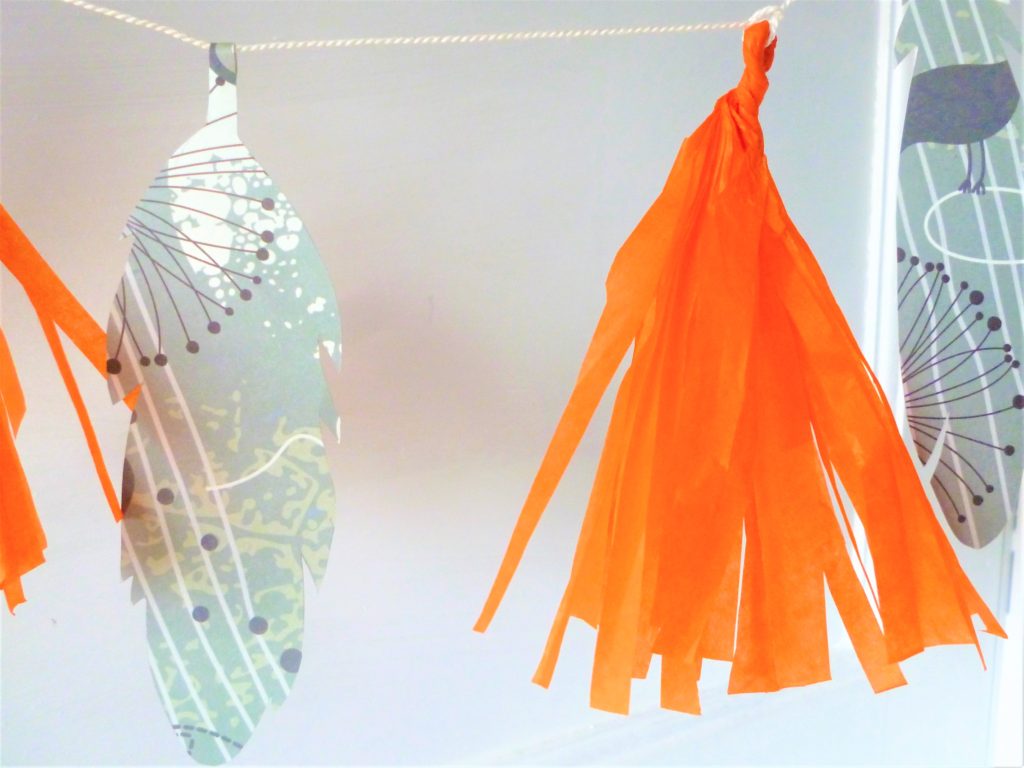
Tassel and Feather Garland

These are simple and cheap to make, and look great using pastel shades or bright colours. You could even use old magazines for the feathers.

What you’ll need:
Tissue paper or thin paper
Thick paper or thin card
Medium-thick string or twine
Scissors
Glue

For the tassels:
The tassels are made from the tissue or thin paper. Cut a rectangular length, twice the height you’d like your finished tassel to be, and fold in half from top to bottom. Take your scissors and fringe the bottom, snipping even strips upwards towards the fold, making sure you stop 2 or 3 cms before you reach it. Unfold, roll up and twist the uncut middle section. Then just fold and twist to make a loop, securing with a bit of glue.

For the feathers:

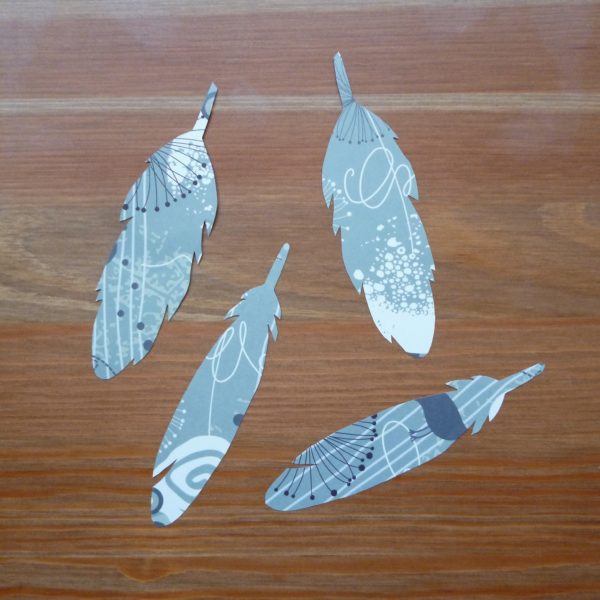
Use thicker paper or thin card for these. Practice drawing some feather shapes on some scrap paper, till you find one you’re happy with. Use the shapes below as guides or make your own up! Make sure the ‘stem’ of the feather is quite long.

Once you’ve cut your feathers out, fold over the long stem to create a loop (make sure it’s big enough to pass your string through) and dab a spot of glue on the end to secure.

Have a think where you’d like your garland to go and measure the string length accordingly, making sure you leave enough at each end to fasten it onto something.

Now all you need to do it thread your tassels and feathers onto the string and you’ve got yourself a garland! Make as many tassels and feathers to fill it as you’d like; experiment with a spaced out, even look so you can see each individual shape, or try grouping tassels and feathers together in bunches for a fuller feel.

Did you have a go at this? I’d love to know how it turned out!

Categories
Craft Origami Paper Tutorial

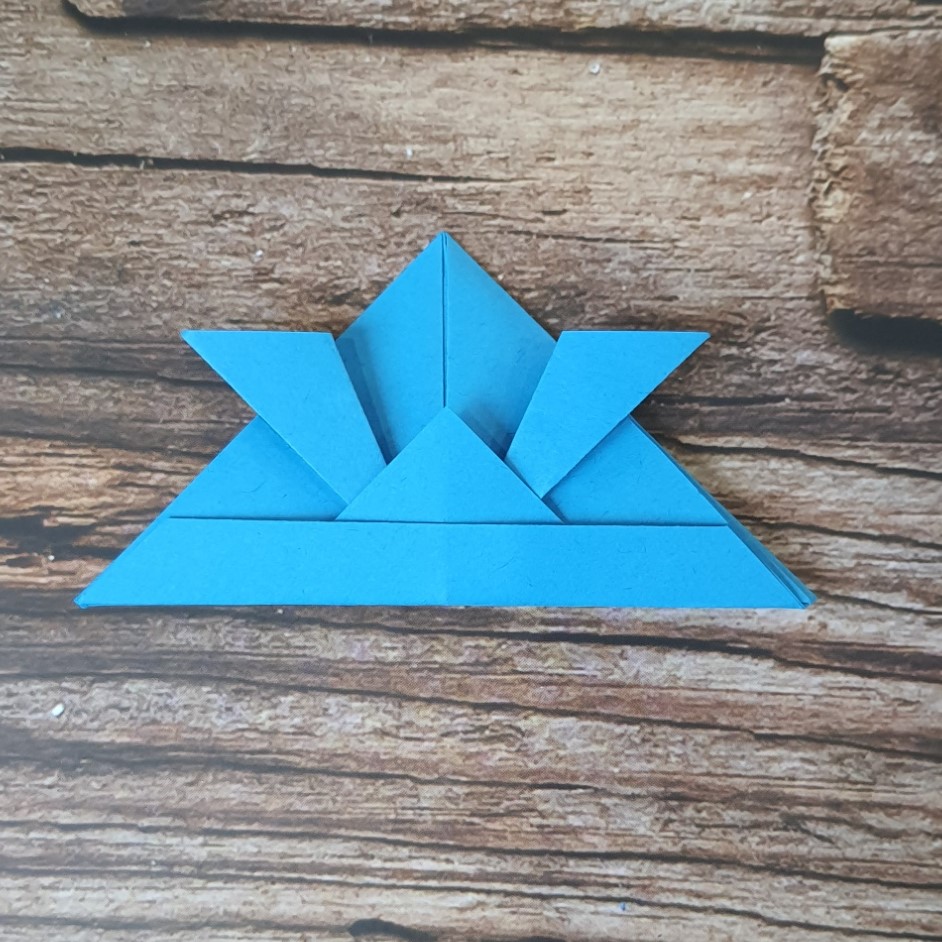
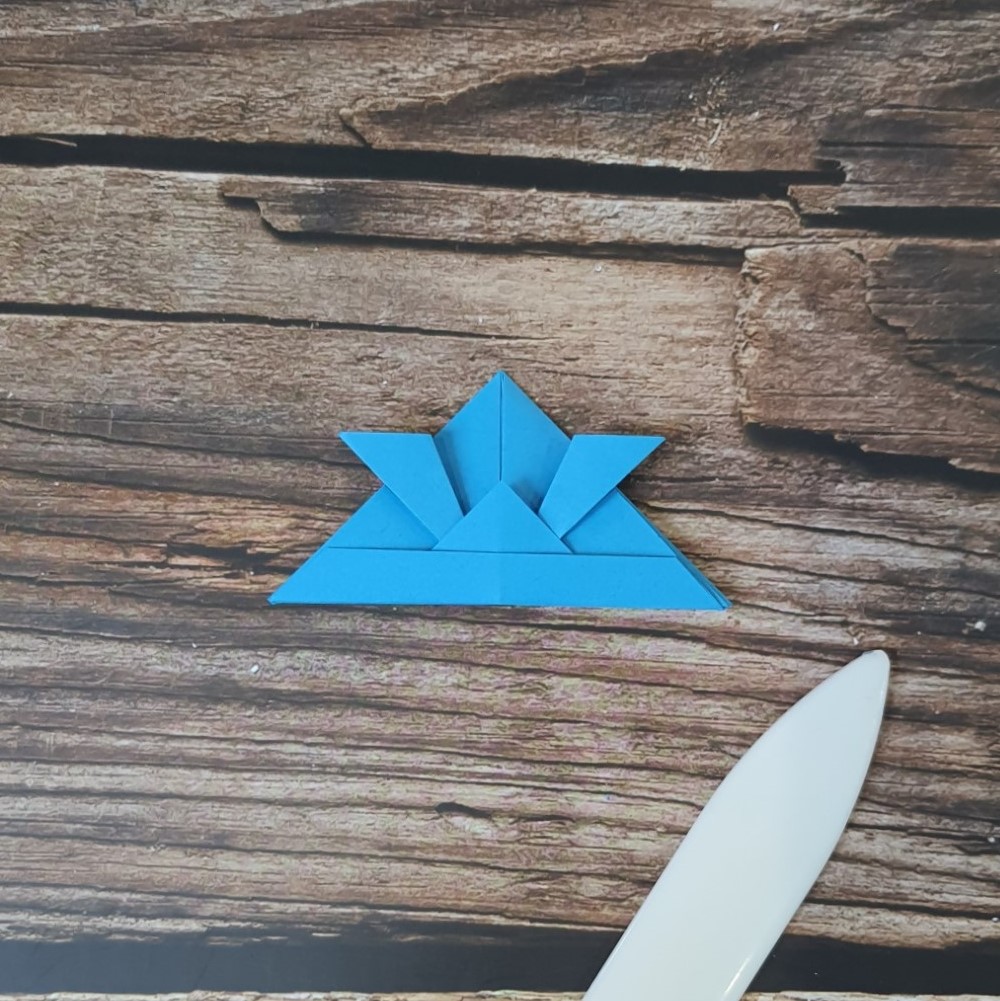
Origami Samurai helmet tutorial

The first origami I remember seeing was something my mum folded. She’d been going to Japanese classes in the evenings and brought me back a gold paper samurai helmet one time. I kept it for ages; in fact it’s probably still around somewhere.

It’s something that’s really simple and fun to fold – plus you can use them as page markers! Here’s a set of pictures to help you fold your own.

  • Start with a square of paper (main colour/pattern-side face down)
  • Fold in half bottom to top.
  • One at a time, bring the side points down to meet the bottom corner, creasing each one well after you’ve folded it.
  • Next, fold each of the top layers in half, taking the points you’ve just folded down up to meet the top.
  • Fold, crease and unfold each of these top layers in half (you’re making a guide line for the next fold.)
  • See the crease you made in the last step? Fold each of the top of the front layers so the edge lines up with the crease and smooth down firmly.
  • Now it’s taking shape! Nearly done! Going to the bottom corner, take the front layer only and fold it up.
  • Then fold the bottom of this layer upwards to form the base of the helmet. Crease these new folds well.
  • Last step! Take the remaining bottom layer, folding in half (taking the bottom corner up to the top) and pressing the fold firmly – then tuck this layer inside the helmet. Ta da!
Categories
Craft Origami Paper Tutorial

Friday Folding: Simple origami tulip tutorial

Spring is just around the corner – even if it doesn’t feel like it. Storm Doris may have blown over but it’s still quite chilly out there, so stay in, get cosy, grab some paper and get folding!

These origami tulip flowersย are simple and fun. Make them out of bright colourful paper to distract from the gloom outside. They’re great for putting on the front of handmade cards.

You’ll need:

  • 2 squares of coloured paper (1 for the flower, 1 for the stem)
  • Scissors
  • A flat surface to fold on
  • Something to crease your folds (the handle of your scissors or a thumb nail will do!)

1. Start with the sheet you want to use for the flower, colour-side down:

2. The first fold is across the middle (along the dotted black line). Take the bottom corner up to meet the top corner and crease well along the fold.

3. You should have a triangle – make a crease down the middle by bringing one of the bottom corners over to meet the other, then unfold.

4. Fold the bottom corners up to make the petals – roughly along the line shown, making sure not to fold it right up to the central line – then repeat on the other side.

5. Almost finished the flower! You just need to fold the outside corners behind, as shown here:

6. Ok, on to the leaf/stem. You’ll just need a triangular half of your square for this, so crease down the middle corner to corner and chop.

7. Start with the triangle colour side down, as below. Fold the top short edge over to meet the long edge.

8. Next, fold the bottom short edge to meet the long edge.

9. Crease both these folds well. It should end up look like the picture below.

10. Finally, fold across the middle, taking the bottom point upwards, so you end up with two points and a flat bottom, like this:

11. Now all you need to do is add the flower!

TA-DA! I hope you enjoyedย this origami tulip tutorial.