This pretty origami butterfly doesn’t have many steps to it, but it can be quite tricky to get right first time. This picture tutorial will guide you through the process.
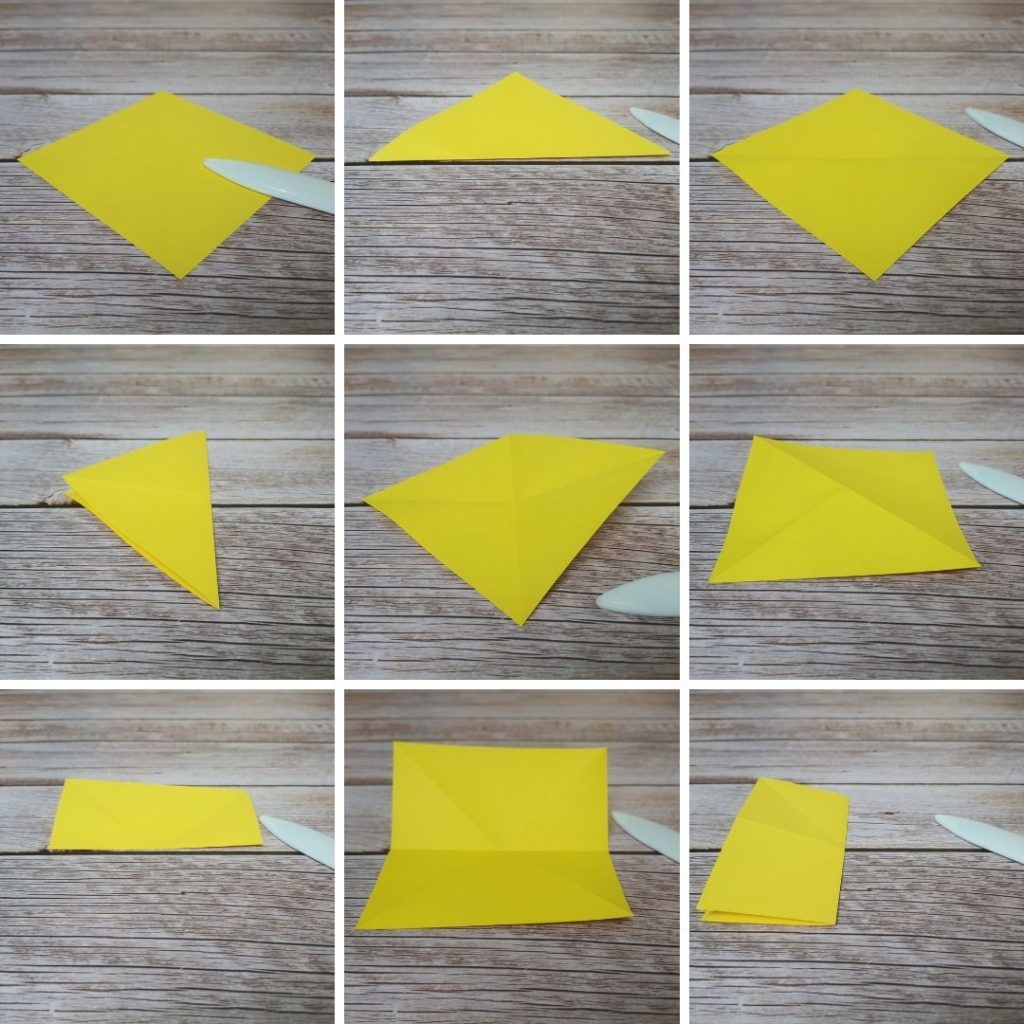
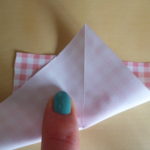
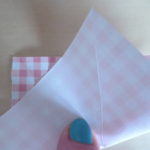
- First of all, you’ll be creasing some guideline folds. Start with the square of paper sat so it looks like a diamond.
- Fold in half top to bottom (point to point), crease and unfold; then do the same in the other direction, folding one side point to the other then opening up.
- Turn the paper over and position it so it’s square in front of you.
- You’ll be folding the paper in half again, top to bottom then side to side, creasing and opening back up each time.
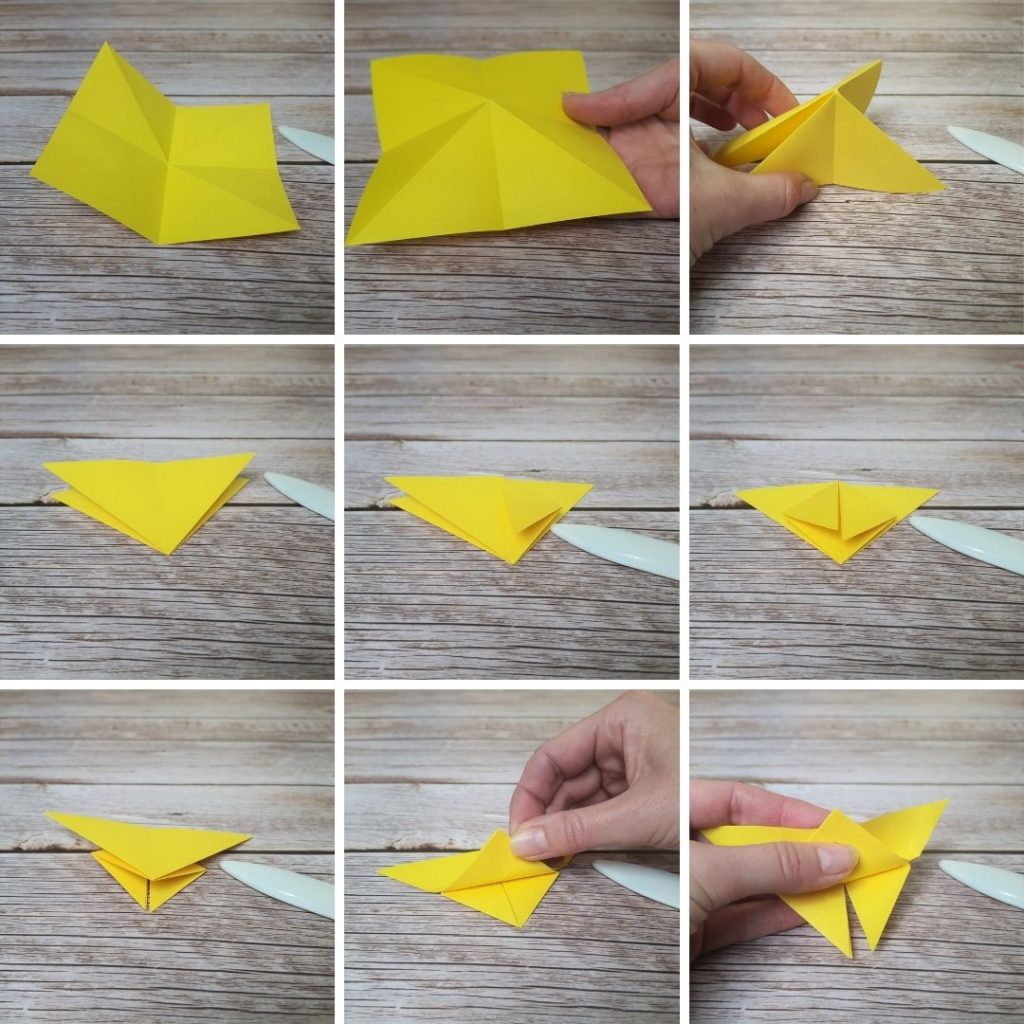
- With the creases you’ve made, the square should collapse down into a triangle. Pick the paper up.
- You can see that the horizontal crease is going down, while the diagonal ones are popping up; just encourage this to happen! The centre should come up in a point while the sides fold in on themselves
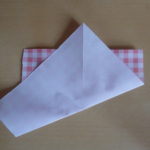
- Lay this triangle down so the long edge is at the top and go over the creases.
- Working with the top layer only, take each of the top corner points and fold the down to meet the bottom point in the middle. Crease these folds well, then turn the model over.
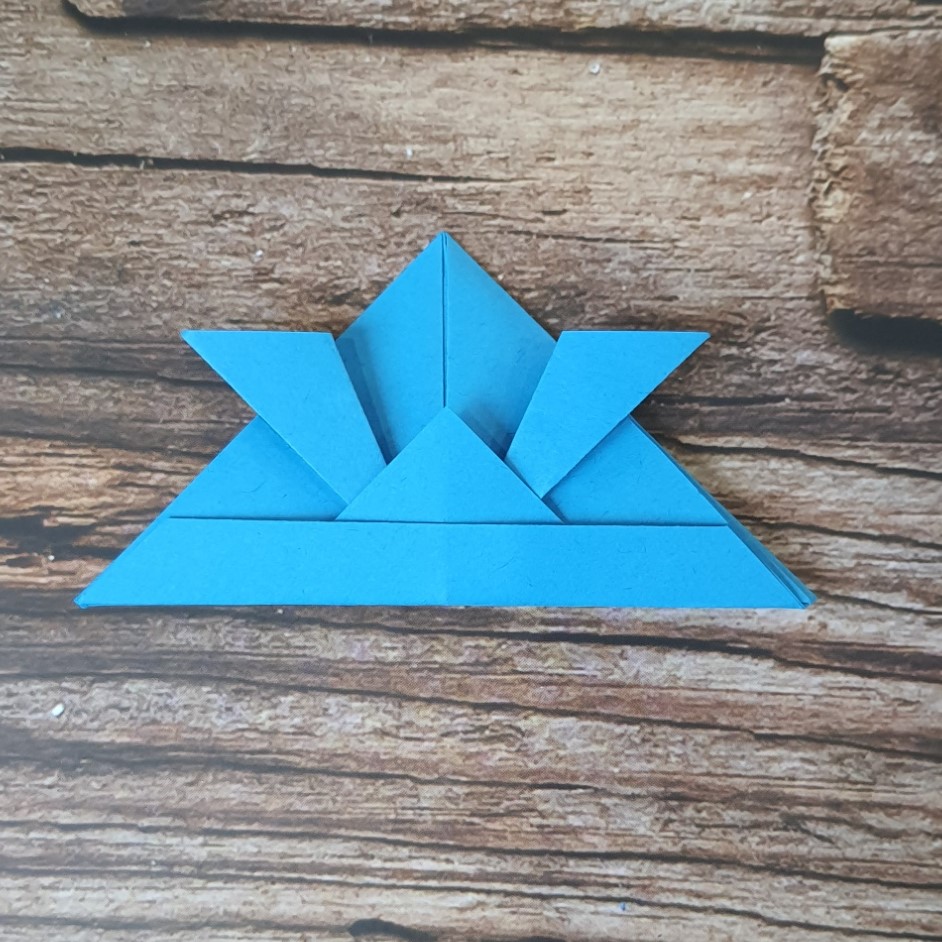
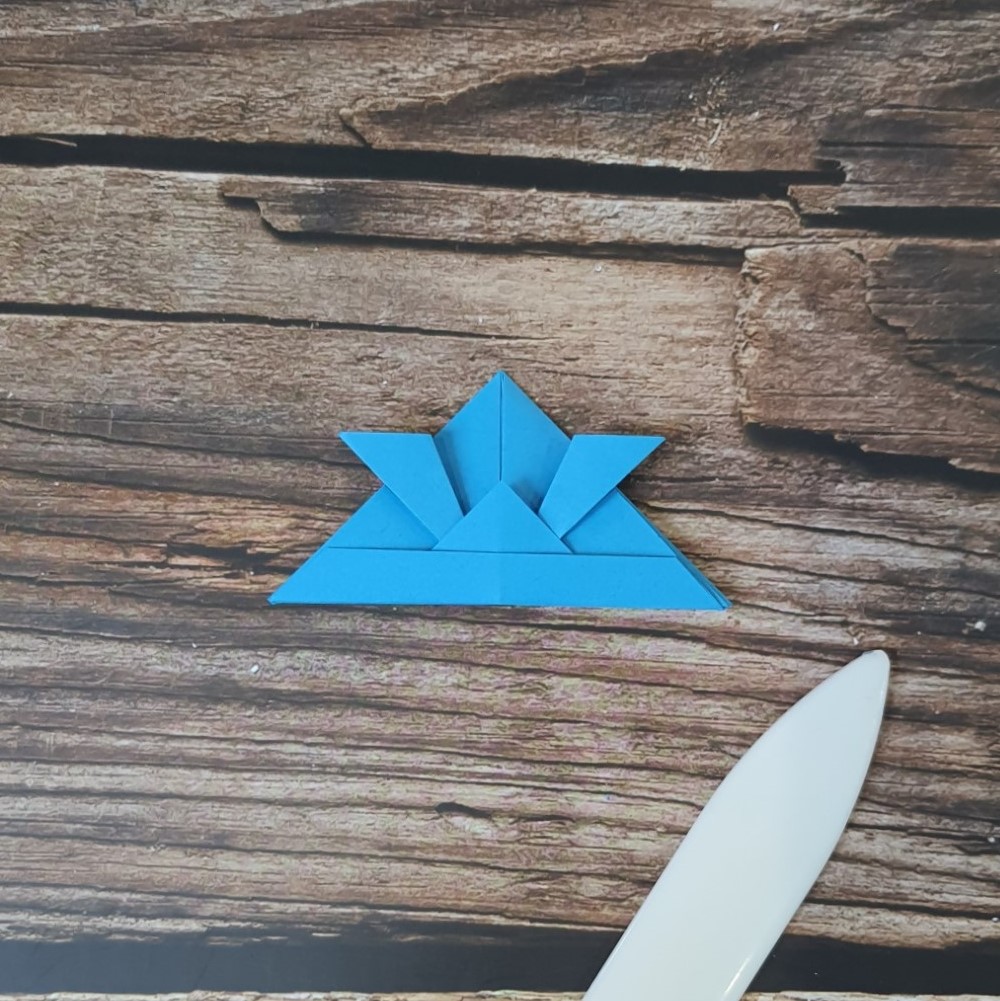
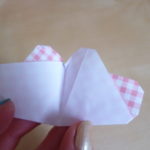
- See that point at the bottom? The top layer? You need to bring that up towards the middle of the top edge, so it overlaps a bit.

- The two flaps underneath will pull round a bit; that’s fine, just let them come along. It’ll probably be easier if you pick the model up now. So, take that bottom point up past the top edge a little and fold it over, turning the whole thing over again at the end and firmly crease the fold so it stays in place. (You may find you need a spot of glue to keep that last fold in place.)
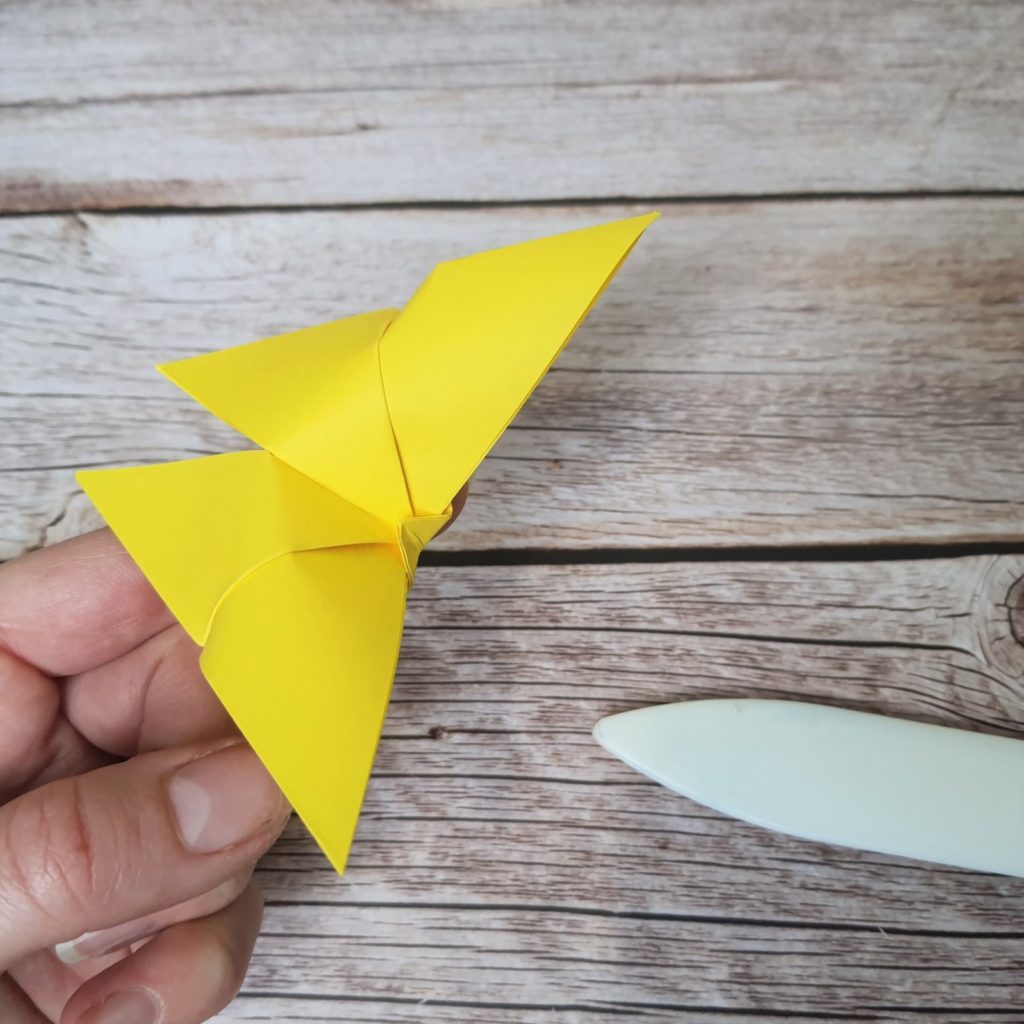
- All that’s left to do is fold the wings up. You’ll sort of be folding it in half, which may feel a little odd, but once you’ve got going you should see how it’ll bring the wings up to stand out. Push down in the middle with one finger and bring the wings up on either side, pressing that middle bit together.
That’s it! The more you fold this butterfly, the easier it will become.