Categories
Craft

Beginner Bookbinding: Hints & Tips

There are many, many tutorials out there, covering all your beginner bookbinding needs; and so I thought I’d do a hints & tips section to complement them! These are things I’ve learned and picked up along the way.

  • Invest in a bone folder. This will be your new best friend.

Bonefolder love

  • You can use grease-proof paper for waxed paper. It’s very handy for pasting onto.
  • PVA is great while you’re learning. Proper book paste can be quite pricey, and when you’re just starting out PVA is absolutely fine for practice work.
  • Get a basic set of different size brushes. You can pick them up fairly cheap from places like The Works, and it’ll help you get a feel for what you need and what you feel comfortable with.
  • Always have a couple of pieces of clean kitchen roll to hand! It’s sturdier than tissue and less likely to shed little bits everywhere. It’s good for wiping down surfaces and hands and things. Keep a sheet separate for using on your books to avoid smearing.
  • It’s best to use waxed thread. If you can get a block of beeswax from somewhere, you can wax your own thread. This works out a bit cheaper and gives you more options.

Beeswax

  • Get into the habit of fraying the loose end of the thread after a knot. This will keep it from coming undone- I use my needle for this and just tease it gently.

As with everything, the internet is a wealth of information when it comes to bookbinding tutorials. Here are a few good ones:

Super simple all-in-one pamphlet book from My Handbound Books

5 hole pamphlet stitch from Design Sponge

Coptic stitch from Torta Gialla

Simple staple-and-glue hardback from Instructables

Good luck and happy binding!

Notebook 001

Categories
Craft Inspiration Tutorial

All Things Spring! Crafts and Inspirations

Spring is one of my favourite times of year. There’s so much newness going on it’s hard not to get inspired! From colour palettes to tutorials, I’ve started scouring the web to find the best ideas of the season. Here are a few of my favourites:

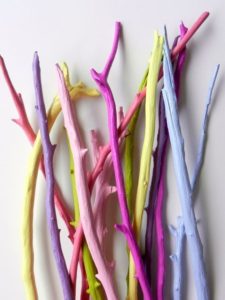
  • Painted twigs

Spring twigs

So pretty – and such a simple idea!

  • Edible flower lollies

Lollies

Adding edible flowers (e.g. rose petals, lavender) to your homemade lolly molds looks gorgeous. Hopefully it will be warm enough for ice lollies this spring…

  • Pom pom bunny

Pom pom bunnies

Because pom poms. And because bunnies. Tutorial found here.

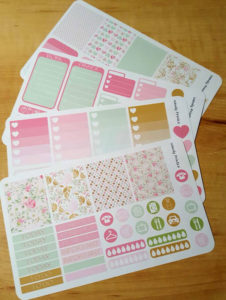
  • Spring weekly planner

Spring planner

Oh planning, I love planning. This pink spring set is available from WendyPrints over on etsy. Time to get those to do lists looking fabulous!

  • Plant shelves

Spring ladder

This idea of using an old ladder as shelves for your potted plants looks stunning. A great way of adding some spring colour to even the smallest garden.

You can follow my spring Pinterest board here for more ideas.

Categories
Craft Paper Tutorial

Paper feathers


So far, so good; this is the first of my Pinterest Picks that I’ve actually attempted to make for once!
I’d seen a few tutorials for paper feathers, it looked pretty easy so I just got my stuff together and tried it out. Here we go!

Firstly, I cut some feather shapes – two for each feather – from some old sheet music:

Paper feathers 1

Next, I tightly rolled some paper, for the end of the feather:

Paper feathers 2

Then I made sets of the feather components. Paper shapes, a thin bit of wire to go up the middle (this really helps with shaping the feathers!) and a snip of the rolled paper:

Paper feathers 3

I covered the back of one of the feather shapes with glue, positioned the wire and end, then placed the second shape over the top:

Paper feathers 4

At this point I smoothed it as much as possible and left it all to dry. The last thing to do is snip along the edges to create the feather effect. I found the more of a downward angle I cut at, the better the effect; also, snip as close together as you can. These are my finished attempts:

Paper feathers 5


Categories
Craft Inspiration Origami Paper

Weekly inspiration- Paper Kawaii

I’ve been doing a lot of origami recently and having pretty much exhausted my current instruction books, am feeling a bit unsatisfied. Don’t get me wrong, I still love folding paper, I just feel like I’ve been stuck in an origami rut; I’m confident doing my existing models (my craft space is full of paper cranes, butterflies and flowers!), but now it’s time to improve.

Paper Kawaii is an amazing resource for anyone interested in origami – at any level. There’s a fantastic array of models to make, from beginner to advanced, all with clear instructions and/or video tutorials. The site is beautifully designed and easy to navigate to boot!

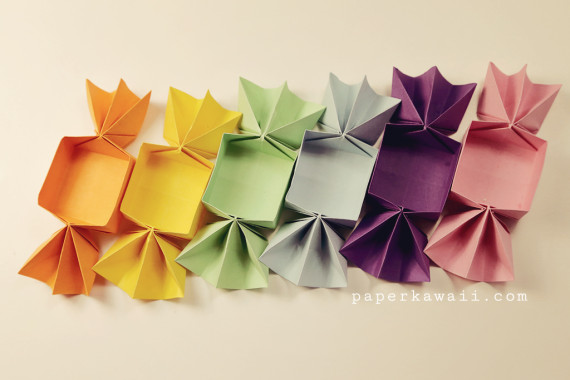
It’s my mum’s birthday soon and I’ll be boxing her up some handmade chocolates in a beautiful box (attempt to be made this evening!):

Origami candy box tutorial from Paper Kawaii

Check out the tutorial here. Happy folding x


Categories
Tutorial

Weekend baking – raspberry puff pastry parcels

After making a puff pastry topped pie Saturday night, I found myself in a rare situation: I had some leftover pastry. I’d bought a sheet of ready rolled puff pastry and so had a nice even rectangle- quite a substantial piece. What to do with it?

As we have autumn raspberries in the garden, currently ripe for the picking, it made sense to do something with those. My good friend Google came up with lots of recipe suggestions, so I took the bits I wanted and created some delicious raspberry filled parcels.

Raspberry parcel

If you fancy making them, here’s what you’ll need:
Ready rolled puff pastry
Fresh raspberries (roughly a handful will make 2)
Cream cheese
Icing sugar

Preheat the oven to about 175 C.

First, I divided the pastry in two even(ish) rectangles. If you’re using a whole sheet of puff pastry, you’ll probably get 4-6 parcels out of it, depending how big you want to make them. Cover a baking tray with baking paper and but the pastry rectangles on there.
You’ll need a good dollop of cream cheese to go in each of these- mix this in a bowl with a table spoon of icing sugar. Taste, and add more if you want it sweeter. Once I was happy, I spread the cream cheese mixture onto the bottom half of each rectangle.

Pastry squares

On top of this, I put my fresh raspberries. Mine were straight from the garden- it was raining and some were really very ripe, so they do look a bit soft!

Raspberries

Next, I folded the tops over. I’d read a lot of recipes that said to use and egg wash round the edges, to help stick them together. But Martha Stewart’s recipe for turnovers just calls for water, and if that’s good enough for Martha it’s good enough for me! So, a bit of water round the edges, fold them carefully and press together firmly. I was a bit fancy and went round the edge with a fork. I let these rest in the fridge for a bit, and sprinkled icing sugar over the top before popping them in the oven.

Pre oven  parcels

These took about 35 mins. Keep an eye on them though- when they’re nicely puffed up and golden on top, they’re ready! The insides will be very hot for a while. I counteracted this by serving with a nice shot of ice cold limoncello, straight from the freezer. This was a perfect match!

Raspberry parcel

Raspberry puff pastry parcels, limoncello on the side- a perfect Sunday evening treat!

Categories
Craft Tutorial

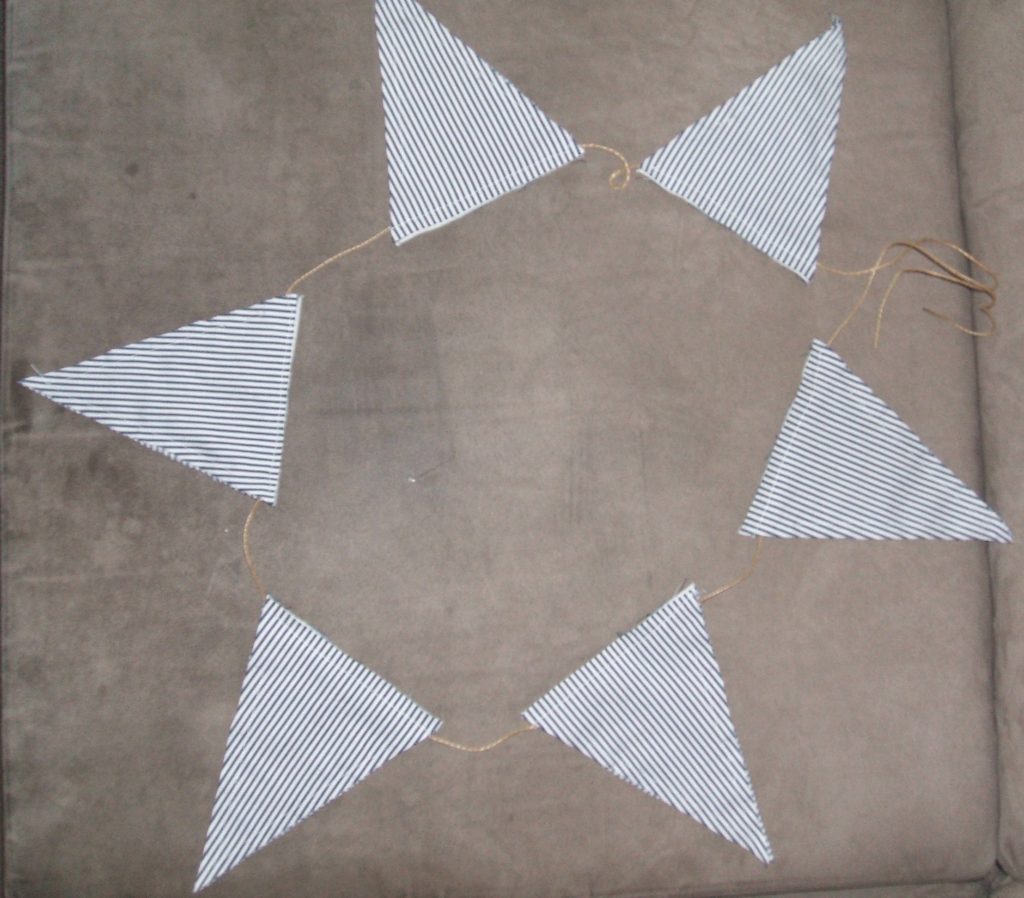
Oscar’s Bunting

The arrival of a new nephew last October prompted me to attempt some proper bunting. Just over 3 months later and it’s done! I got the Kirstie’s Homemade book for Christmas, which helped a lot- I mainly followed those instructions.

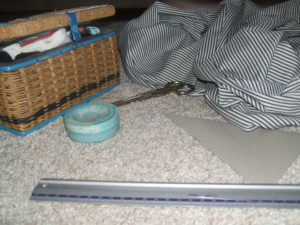
Shopping list:

  • Material
  • Cardboard
  • Ruler
  • Scissors
  • Spray Starch
  • Sewing machine/the patience to sew by hand
  • Cord or something to thread your flags on

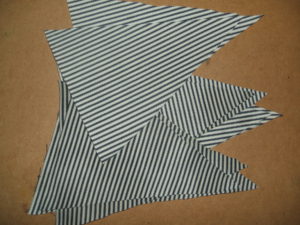
The first thing you’ll need, of course, is material. A few years ago I bought what I thought at the time to be a lovely pair of blue and white striped trousers (£5, Mango, bargain). They went into my wardrobe and there they stayed until about two weeks ago, when I began cutting triangles from them. The bunting in the book was made from vintage fabric, with plain fabric for the backing. As I had plenty of the material I was using, I used that for everything, opting for horizontal striped one side and vertical on the other.

Now, you’re supposed to spray starch your fabric and iron beforecutting the triangles out, but I got carried away and ended up ironing each triangle separately afterwards. It was fine though!

You want the triangles to be even and matching in size; other than that, I really think it depends what you want the bunting for and ultimately how big you want it! Cut yourself a template from cardboard. Mine was roughly 18cm x 12cm. Then use it to cut triangles from your material; again, it really depends how much bunting you want. You can figure it out by the length of triangle tops and how much space you think you’ll be leaving in between.

Next job is putting a front with a back and sewing them together. If you’re going for a shabby chic look (as I usually am) then sew them with the backs together. If you like neat, you can sew them right sides together then turn them right way out- just make sure you don’t sew the short side beforehand!

So… where was I… sewing. Do up each of the long sides, meeting at the point, but stopping a good few centimetres from the top. (If you’re being  neat, this is the point you’d turn it right way out). Then sew across the top of the short side, so you’ve got a gap between this and the side seams; this is where you’ll thread your cord through.

Now it’s time to string them all together! I used thin rope type stuff, that I found in my craft box. I’ve no idea where it came from, I’m afraid, but I thought it looked nice. I used a big blunt needle to thread mine through. Another way is to wrap tape round the end, so it doesn’t fray and can be pushed through easier. Just make sure they don’t all fall off the other end!

All that’s left to do then is decide how far apart you want them, the put a couple of little stitches in each to hold them in place.