
This simple origami bat is fun and quick to make and makes great decorations for Halloween. All you need is a square of thin-ish paper.
Remember, with origami you need to fold neatly and crease each fold firmly as you make them.
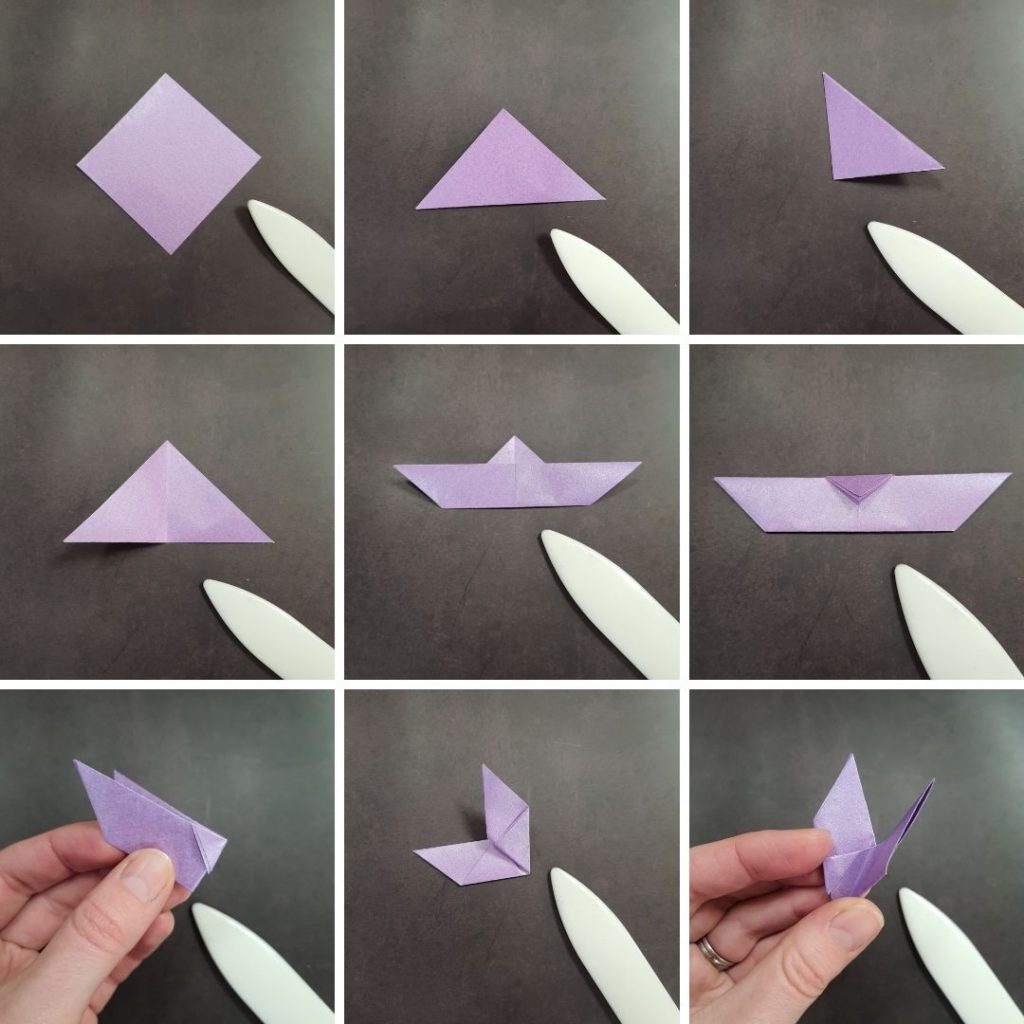
- Start with the square of paper in a ‘diamond’.
- Fold in half horizontally, bottom corner to top corner.
- Fold in half vertically, bringing the left point over to the right point.
- Open up the last step.
- Fold the bottom edge up, but not all the way – just so there’s just a small triangle of the underneath layer showing.
- Fold this little triangle down, over the edge you folded up in the last step.
- Pick the model up and fold in half, backwards along the central crease, wing tip to wing tip.
- Now you just need to fold the wings up! Fold the top wing only, by taking the outside point towards you and up, so the bottom edge is now in line with the central crease from the previous step.
- Turn the model over and repeat the last step with the other wing…
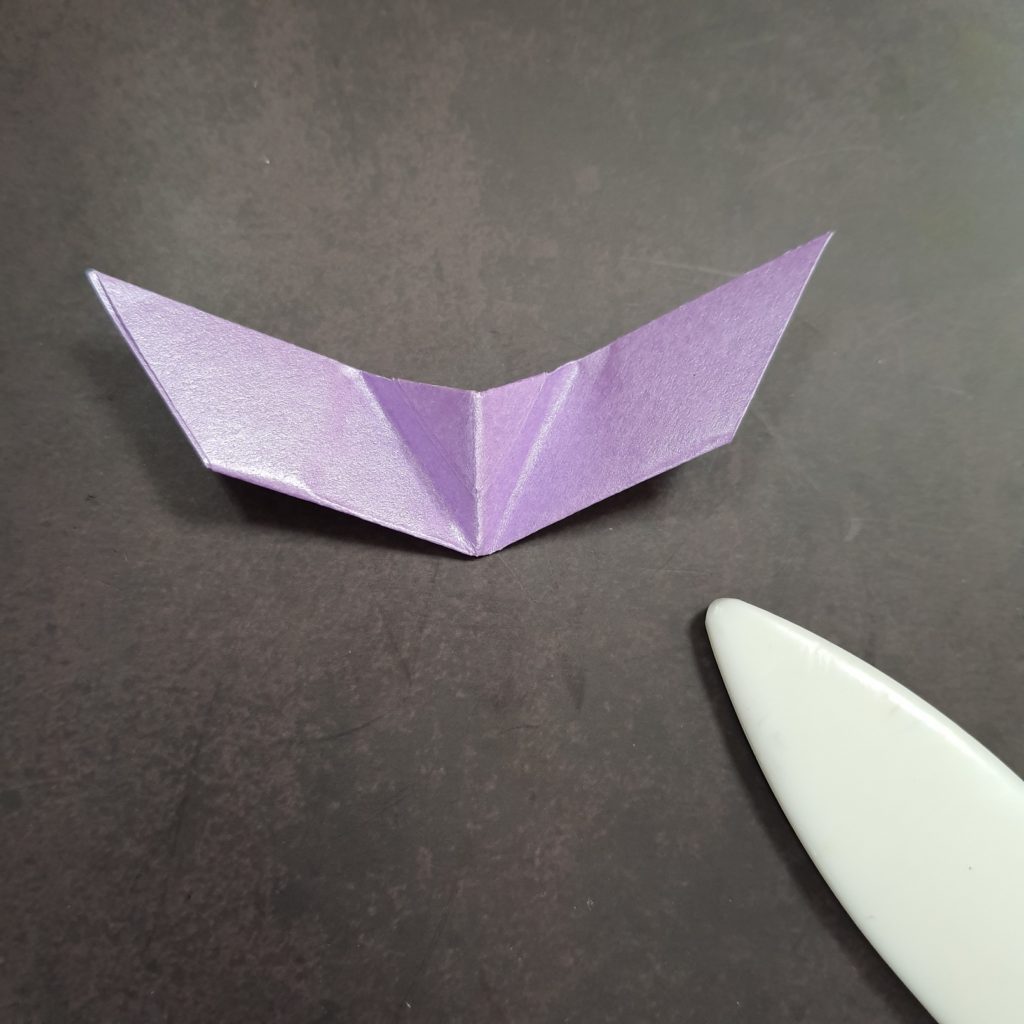
- …open out the wings slightly and you’ve got yourself a bat!
You can experiment with adding more folds in the wings to make different bats. Made this model? Share it on social media and tag me in your pics.