Categories
Craft Origami

Simple origami Sunday

Muaaaargh! And other dinosaur type noises.

Categories
Craft Origami

Need a little gift box? Make one!

Having had a look in a few shops for little gift boxes to put my handmade chocolates in, I found myself disenchanted with the ones on offer. So of course I decided to make my own!

There are quite a few simple boxes that can be made out of paper/thin card; I opted for this box of triangles. I chose one without a lid, so the chocolates can be on display, looking fancy.

This one really is very simple and also very effective- just a bit different from your average cuboid!

You’ll need three squares of paper/thin card, all the same size. I know this is obvious, but do think about the size of box you need! I used 3″x3″ squares. It turned out too small; I forgot I had 8 chocolates to fit in. 6″x6″ was perfect.

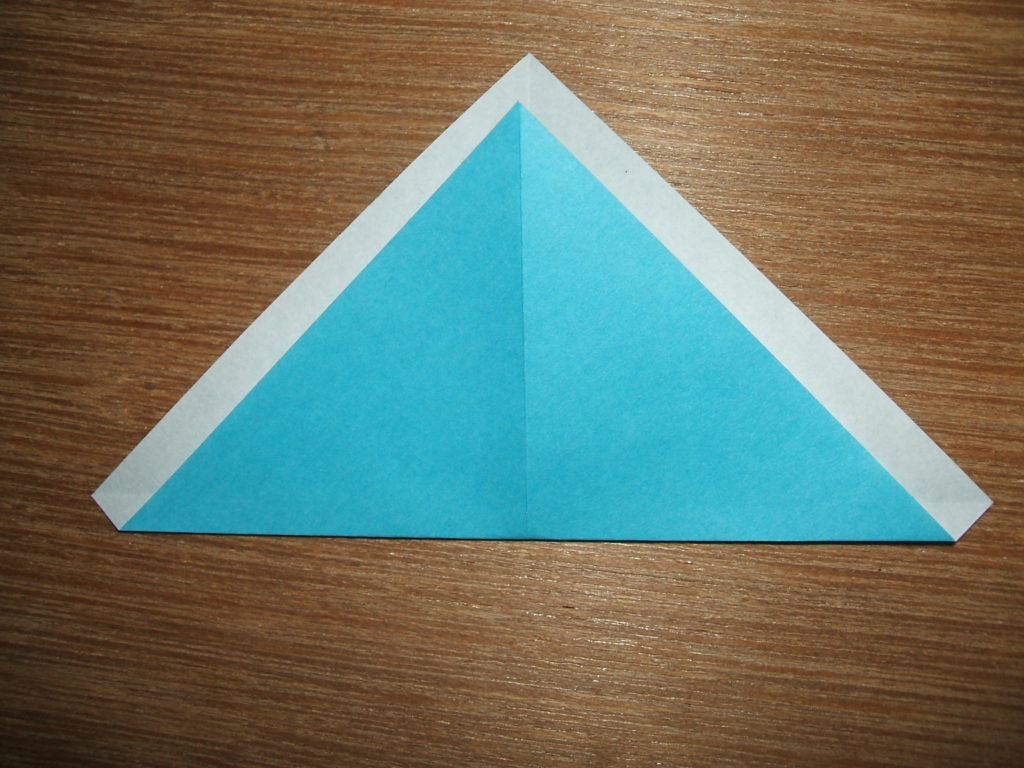
Firstly, fold your first piece of paper in half from corner to corner, creasing firmly with a bone folder/thumb nail/scissor handles/similar.

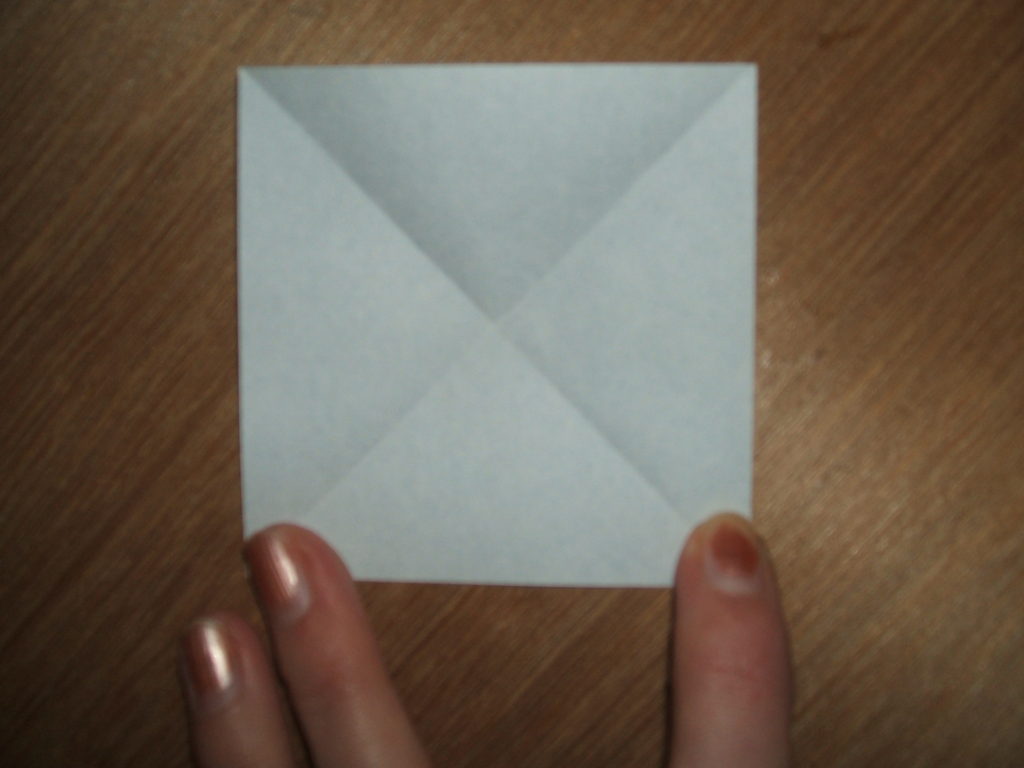
Next up, fold the two corners in to the centre point. Crease firmly and unfold.

Lastly, fold up the middle point, crease firmly, unfold. You should be left with a triangle with three fold marks, like this:

Repeat with the other two squares, so you have three the same. Then slot them all together…

…and then join them up. At this stage, it should become obvious how it all fits together and the bottom forms.

Ta da!

The perfect way to present my chocolates.

Merry Christmas!

Categories
Craft Origami

Origami candy cane- gift tags

I’ve been busy busy folding and sticking this week.

These origami candy canes are simple to do and I think they look great. You start with a sheet of 2-colour origami paper, blank side up. Fold, crease and uncrease corner to corner, both ways, so you end up with this:

I’m afraid I’m using my old camera; aside from it not being very good, I keep putting it on the wrong settings!

Step 2. Fold the bottom corner up to a little way below the top point, like this:

Next, turn the paper over and fold up from the bottom… like this!


Then all you have to do is fold the top bit twice to make the hooky bit at the end:


Press the creases reeeeally well, so it sits as flat as possible.

Yippee! Finished.

Categories
Craft Origami

It’s beginning to look a lot like Christmas…

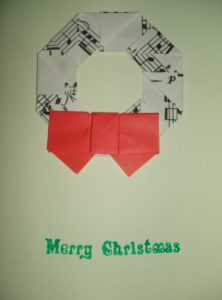
Started on the stock for the Christmas craft stall. Cards first!