Categories
Craft General Paper Stationery

Behind the scenes: On board The Craft Fantastic

Intrigued about life aboard The Craft Fantastic? Fancy a peek inside the captain’s quarters? Here’s a behind the scenes look at craft HQ!


Where do I work?

I live in Northampton and work from home, in a studio/workshop/creative space that I set up in my teeny box bedroom. Like all good craft rooms, it’s full to bursting with supplies, materials, tools and projects on the go, which cover most available space – including the desk.

Despite the lack of space, I love working in this room. It looks out onto the back garden, so I can always see the birds flitting around in the hawthorns.


What kind of setup do I have?

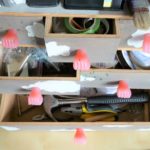
Very little of my desk is actually used for making. I like to have everything to hand for whatever it is I’m working on, so there’ll always be tools, templates and materials lying about.

As what I do is very hands on, though, I find myself picking things up and moving them around while I’m working, sometimes holding things between my knees to get the right angle!

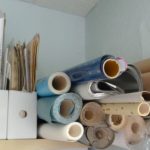
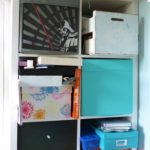
Tools live on my desk, with rolls and rolls of paper above. Everything else is generally packed in my handy IKEA shelf unit, or shoehorned onto an old set of shelves. There’s a lot of furniture in there for such a small room.

How do I work?

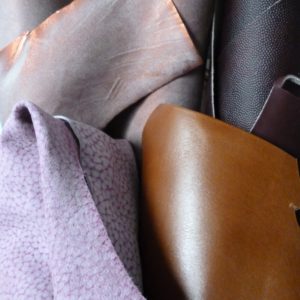
One of the most time-consuming things is turning ideas into a finished, polished product. As I use a lot of upcycled materials, I usually go through what I have and that’s often the first point of inspiration for me; certain papers and leathers will be crying out to be used together.

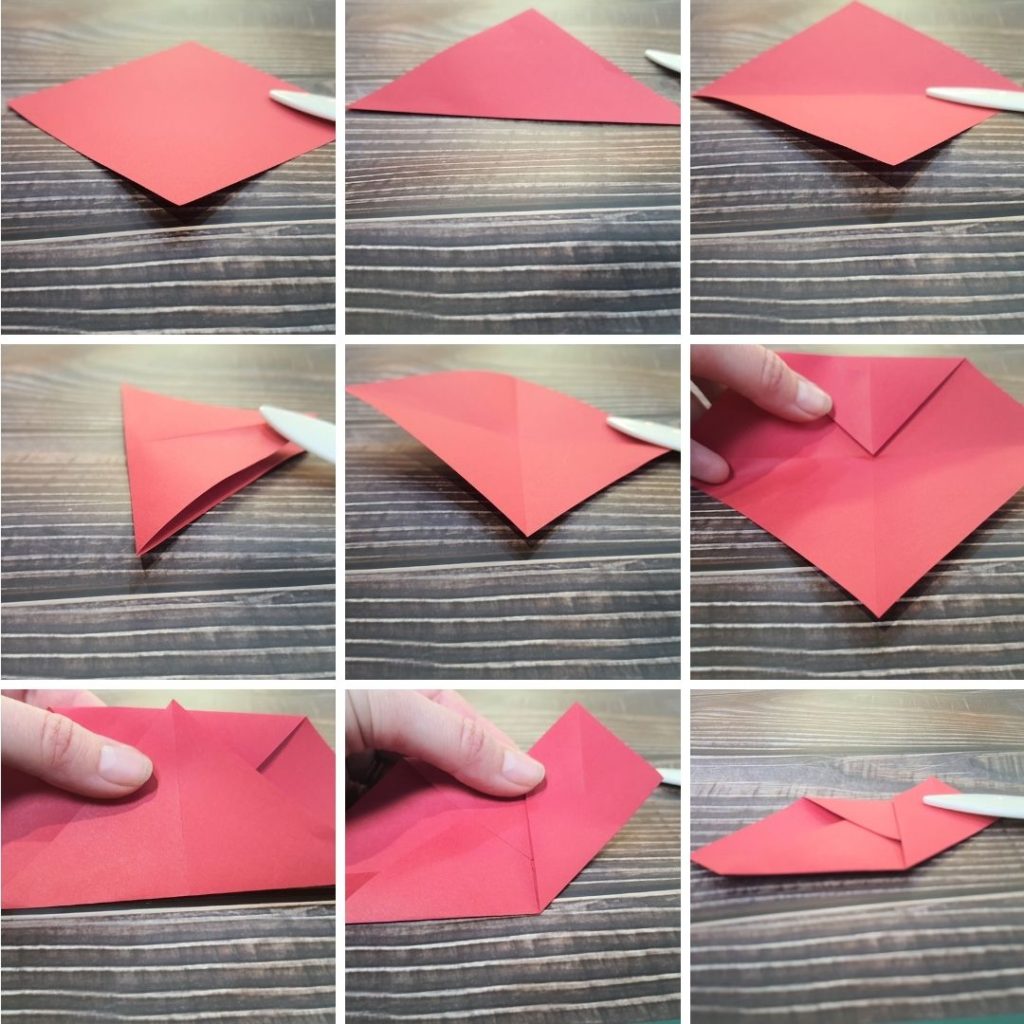
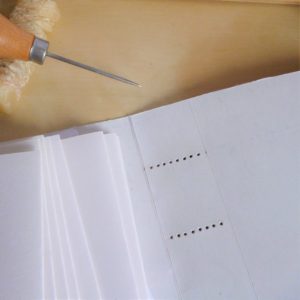
I have a brainstorming session, sketching and writing out ideas in a big blank book. Then I go over them, making a list of the materials I’d need and figuring out how to make them; really getting an idea of how feasible they are! I usually make my own templates, so I need to check and double check all the measurements and figure out what order I need to do things in; this is generally what takes the longest.

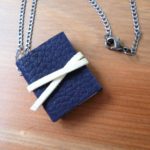
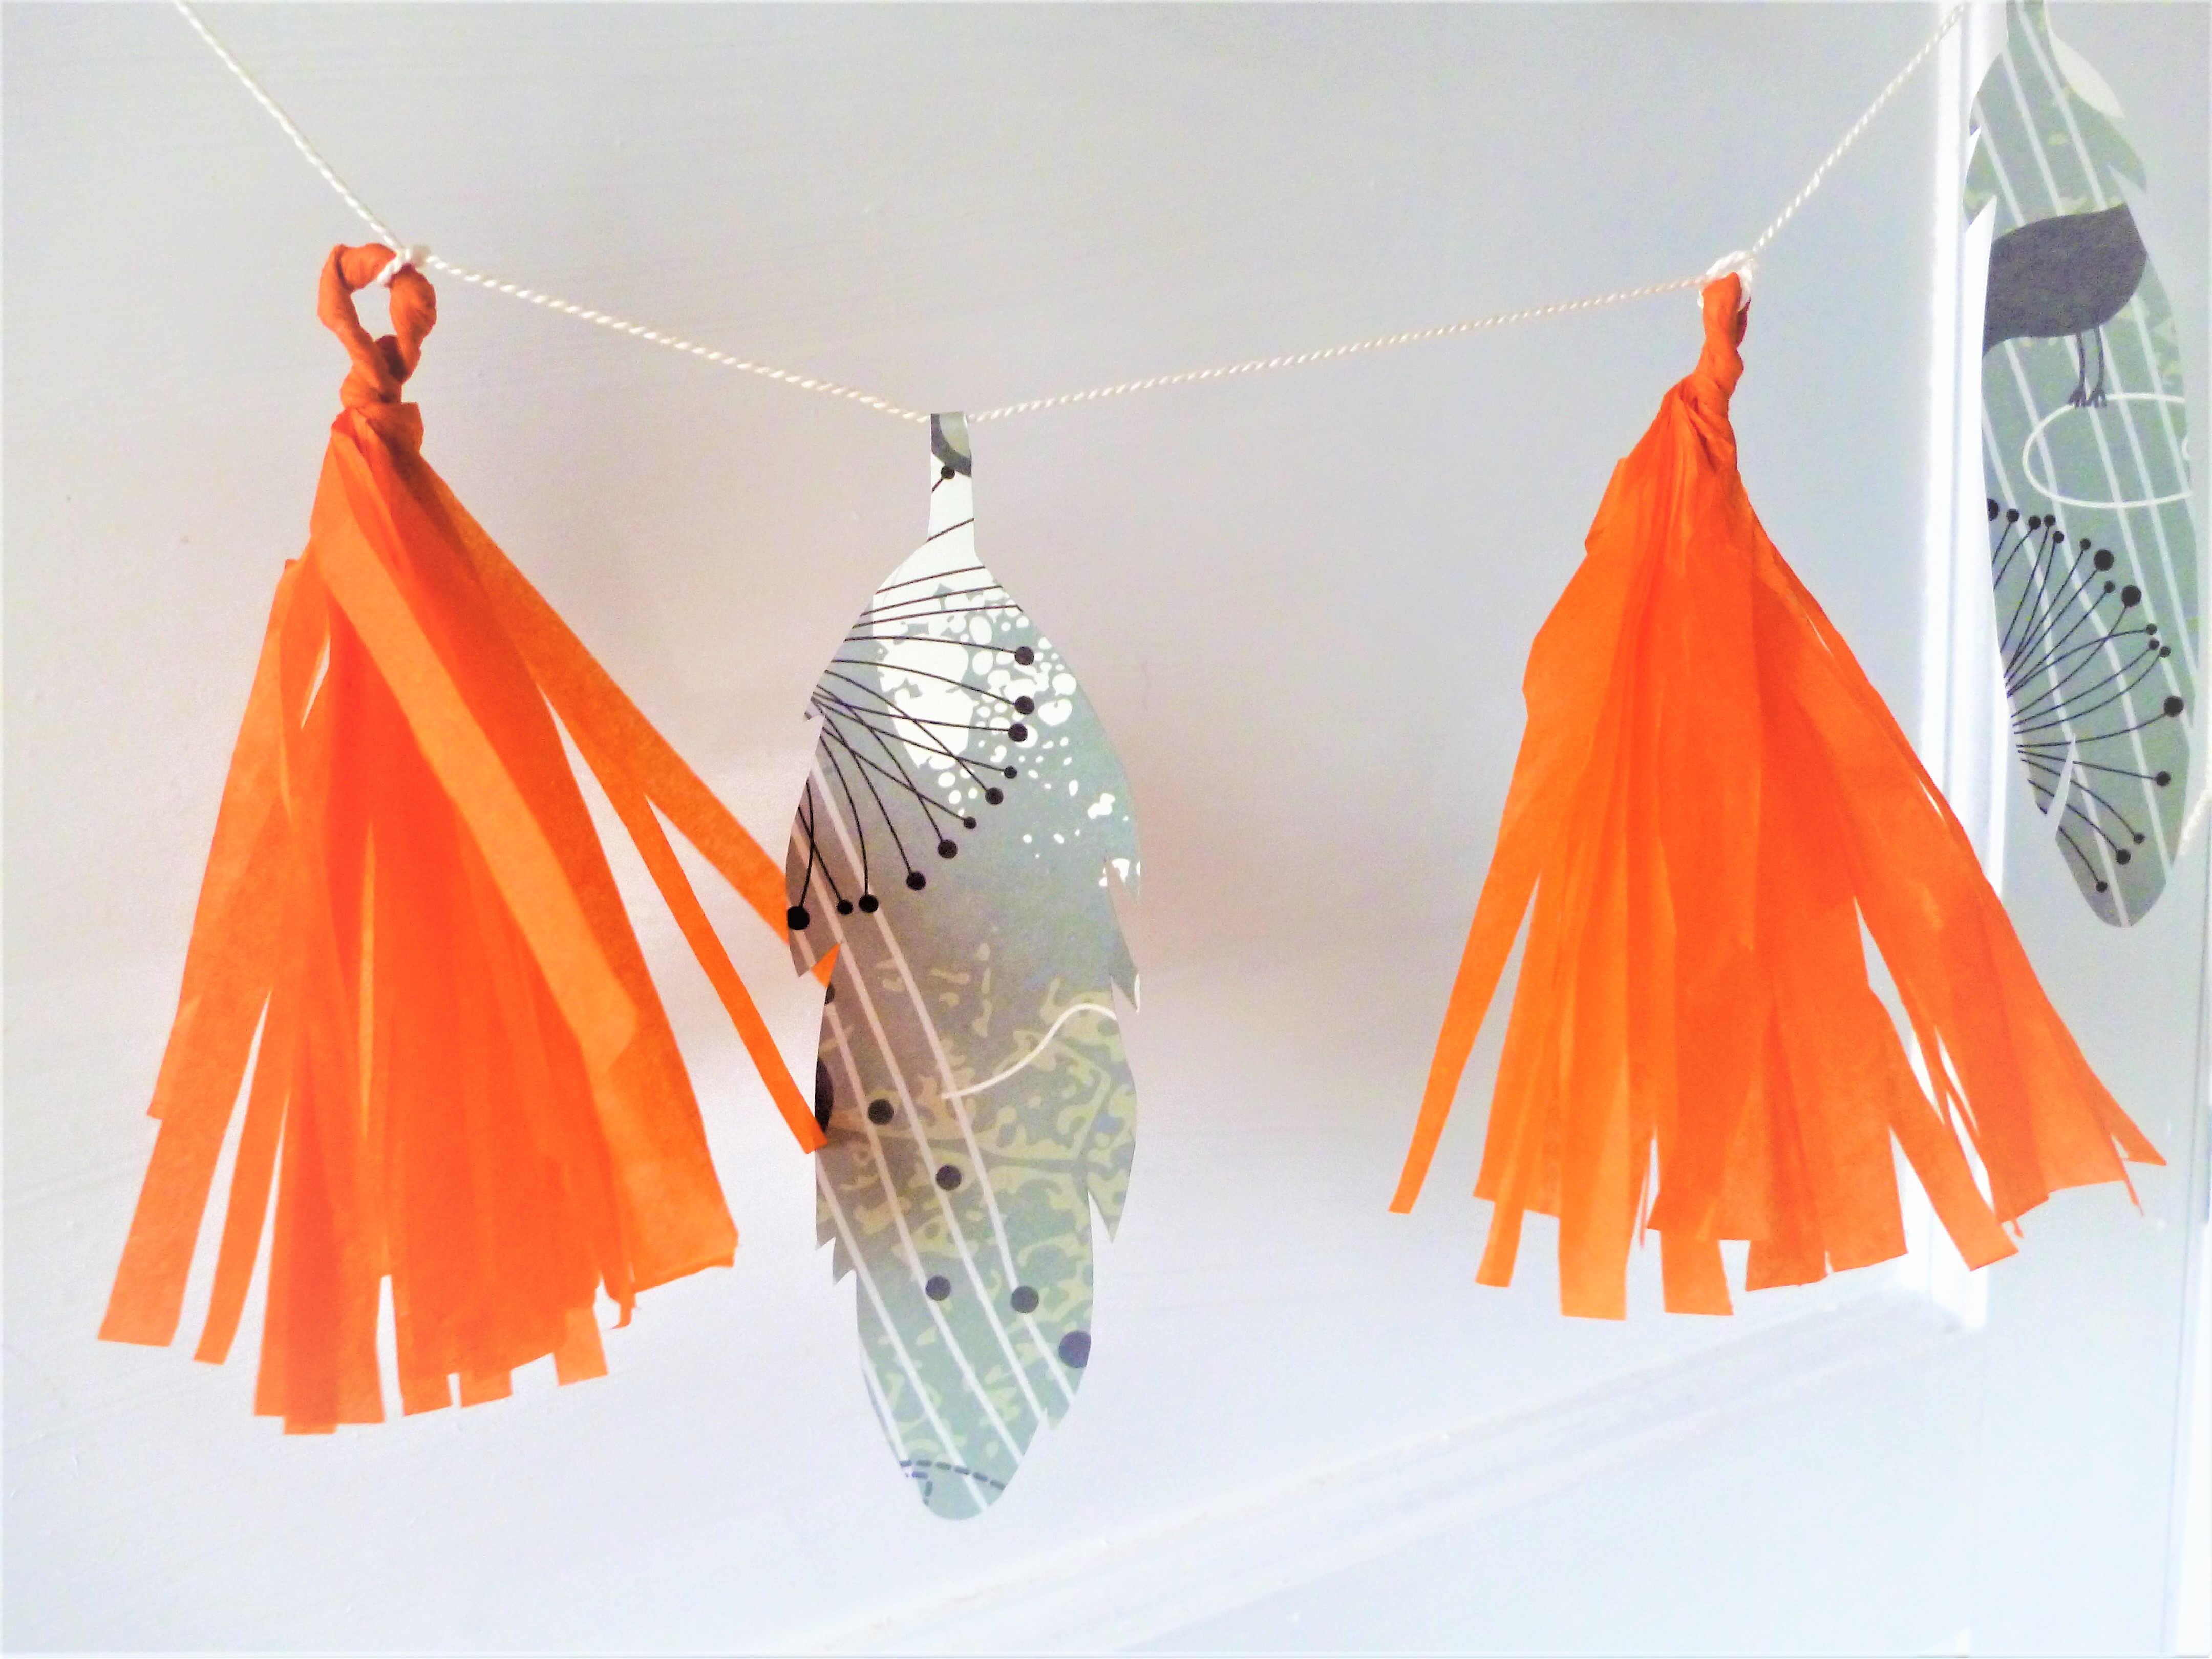
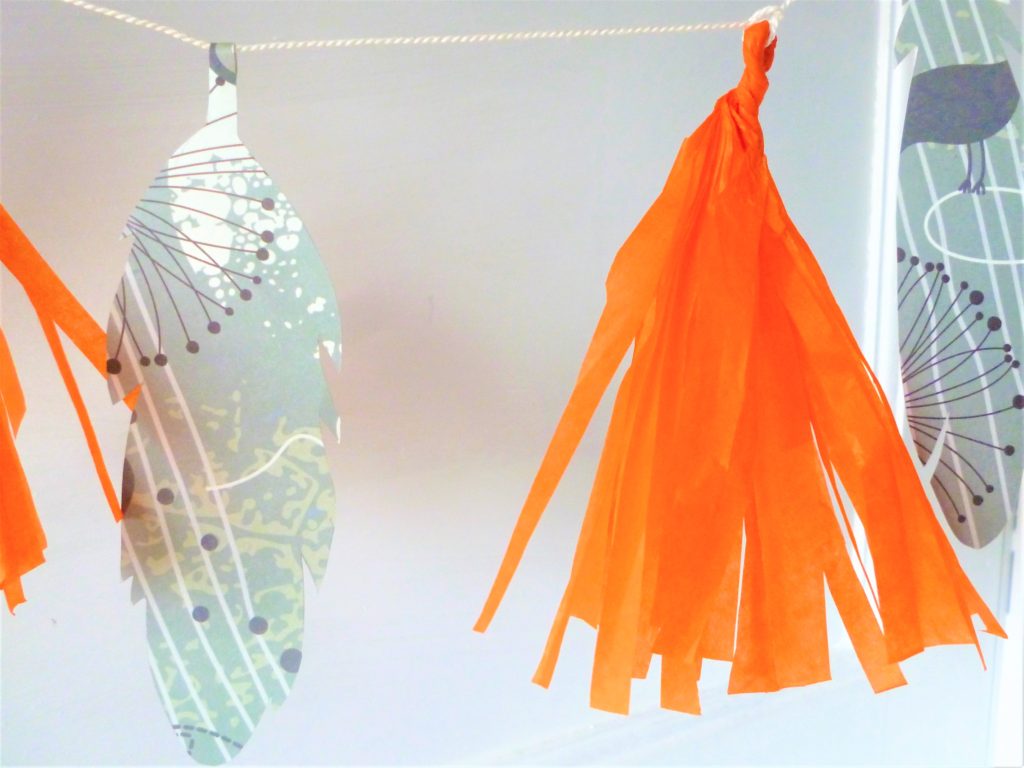
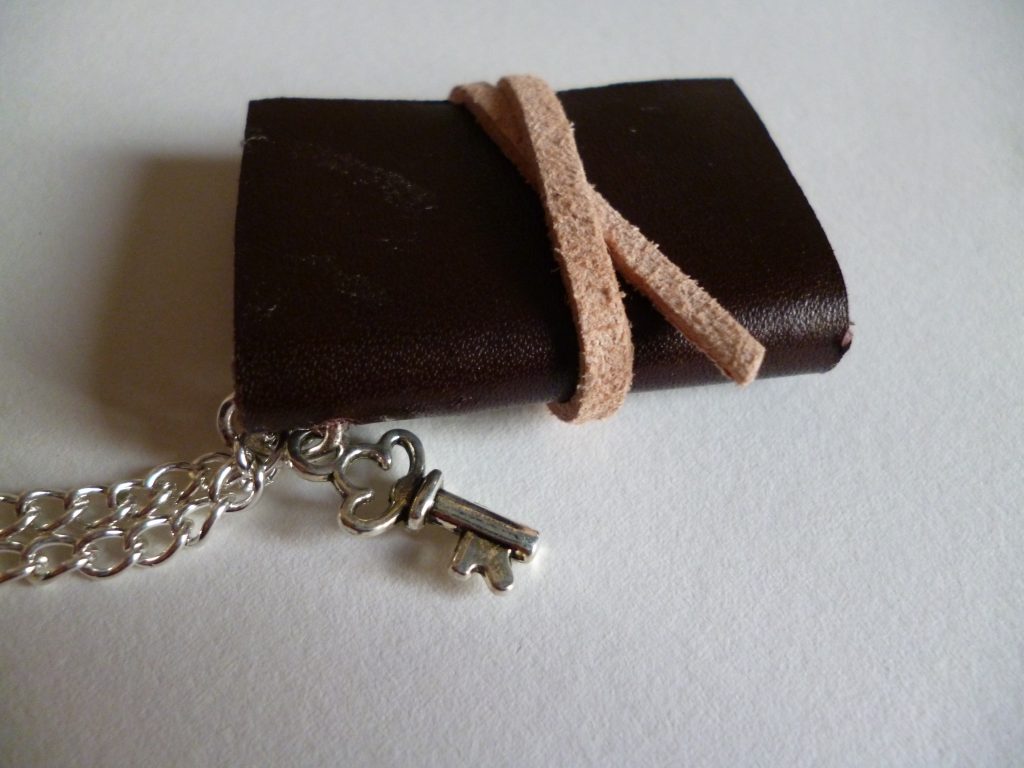
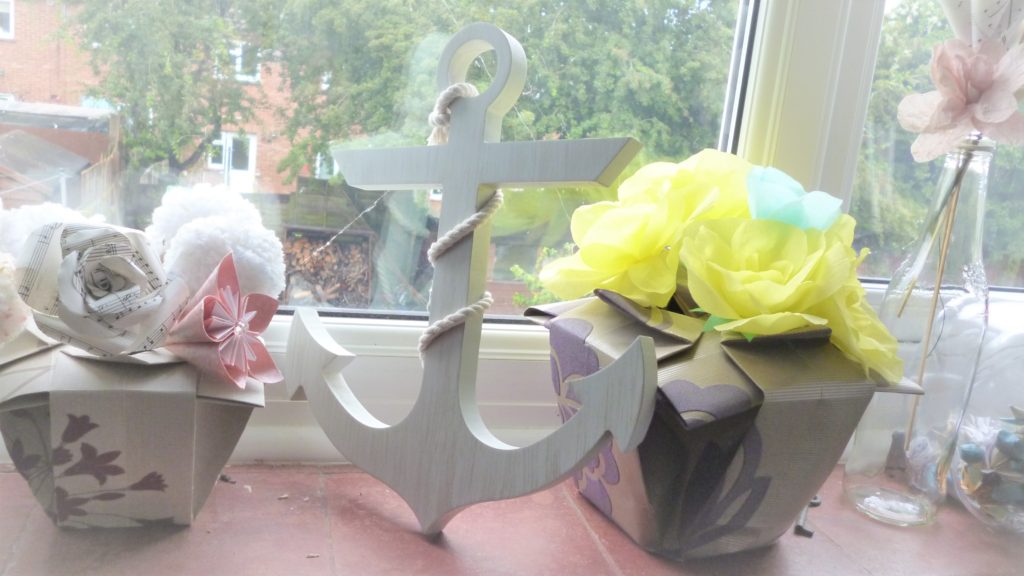
After I’ve gathered the materials and sorted the process and templates, it’s time to get to work. Here are some finished products from the past few months. I hope you’ve enjoyed reading!


Categories
Craft Inspiration Paper Tutorial

Spring Papercraft Make: Feather & Tassel Garland

Spring is the time of year for new growth and new life- so it’s the perfect time for a new craft idea! This seasonal papercraft project will brighten up your home.

Tassel and Feather Garland

These are simple and cheap to make, and look great using pastel shades or bright colours. You could even use old magazines for the feathers.

What you’ll need:
Tissue paper or thin paper
Thick paper or thin card
Medium-thick string or twine
Scissors
Glue

For the tassels:
The tassels are made from the tissue or thin paper. Cut a rectangular length, twice the height you’d like your finished tassel to be, and fold in half from top to bottom. Take your scissors and fringe the bottom, snipping even strips upwards towards the fold, making sure you stop 2 or 3 cms before you reach it. Unfold, roll up and twist the uncut middle section. Then just fold and twist to make a loop, securing with a bit of glue.

For the feathers:

Use thicker paper or thin card for these. Practice drawing some feather shapes on some scrap paper, till you find one you’re happy with. Use the shapes below as guides or make your own up! Make sure the ‘stem’ of the feather is quite long.

Once you’ve cut your feathers out, fold over the long stem to create a loop (make sure it’s big enough to pass your string through) and dab a spot of glue on the end to secure.

Have a think where you’d like your garland to go and measure the string length accordingly, making sure you leave enough at each end to fasten it onto something.

Now all you need to do it thread your tassels and feathers onto the string and you’ve got yourself a garland! Make as many tassels and feathers to fill it as you’d like; experiment with a spaced out, even look so you can see each individual shape, or try grouping tassels and feathers together in bunches for a fuller feel.

Did you have a go at this? I’d love to know how it turned out!

Categories
Craft Origami Paper Tutorial

Origami heart tutorial

This origami heart is simple to fold, so it’s a good model for beginners. Use them to decorate handmade cards or gift tags.

As with all origami tutorials, my two main rules are fold neatly and crease firmly.

  • Lay your square of paper so it’s like a diamond.
  • Fold in half, point to point, crease and unfold.
  • Do the same again, folding in half the other way.
  • You’ll be left with vertical and horizontal lines running from corner to opposite corner.
  • Fold the top corner down to meet the central crease where the lines cross.
  • Take the bottom corner and fold up so it meets the flat top edge (made in the last step).
  • One side at a time, fold the outer corners up, so the bottom edge meets the central crease (the corner point will now be at the top).
  • You should now have a rough heart shape.
  • Turn the model over and fold in the 4 top points very slightly, to create a more rounded heart shape.
  • Crease these well so they stay in place and turn the model back over.
  • You’re done!
Categories
Craft Origami Paper Tutorial

New week, new skills: Origami butterfly tutorial

This pretty origami butterfly doesn’t have many steps to it, but it can be quite tricky to get right first time. This picture tutorial will guide you through the process.

  • First of all, you’ll be creasing some guideline folds. Start with the square of paper sat so it looks like a diamond.
  • Fold in half top to bottom (point to point), crease and unfold; then do the same in the other direction, folding one side point to the other then opening up.
  • Turn the paper over and position it so it’s square in front of you.
  • You’ll be folding the paper in half again, top to bottom then side to side, creasing and opening back up each time.
  • With the creases you’ve made, the square should collapse down into a triangle. Pick the paper up.
  • You can see that the horizontal crease is going down, while the diagonal ones are popping up; just encourage this to happen! The centre should come up in a point while the sides fold in on themselves
  • Lay this triangle down so the long edge is at the top and go over the creases.
  • Working with the top layer only, take each of the top corner points and fold the down to meet the bottom point in the middle. Crease these folds well, then turn the model over.
  • See that point at the bottom? The top layer? You need to bring that up towards the middle of the top edge, so it overlaps a bit.
  • The two flaps underneath will pull round a bit; that’s fine, just let them come along. It’ll probably be easier if you pick the model up now. So, take that bottom point up past the top edge a little and fold it over, turning the whole thing over again at the end and firmly crease the fold so it stays in place. (You may find you need a spot of glue to keep that last fold in place.)
  • All that’s left to do is fold the wings up. You’ll sort of be folding it in half, which may feel a little odd, but once you’ve got going you should see how it’ll bring the wings up to stand out. Push down in the middle with one finger and bring the wings up on either side, pressing that middle bit together.

That’s it! The more you fold this butterfly, the easier it will become.

Categories
Craft Origami Paper Tutorial Weddings

2018: Workshops & Wedding Fairs

Happy 2018! I hope you all had a fantastic festive season. I certainly did; despite being thwarted by the weather a couple of times, we managed to get all the family visits in.

For the past week I’ve been getting The Craft Fantastic HQ sorted for the year ahead, plus writing lots of lovely lists and plans. So, what will I be up to? Well, this year, along with maintaining my etsy shop, I’ll be focusing on weddings.

Large origami bouquet
Turquoise & music paper bouquet – £45

I’ve got 3 wedding fairs lined up for all you brides and grooms looking for something a bit different for your wedding flowers:

  • Abington Park Museum (NN1 5LW), Sunday March 4th, 11:00 – 14:00. This beautiful building has only quite recently been licensed for marriages, so it’s the perfect opportunity to take a look.
  • Grendon Lakes (NN7 1JW), Sunday April 15th, 11:00 – 14:00. A fabulous marquee wedding fair in a gorgeous setting.
  • Rock Your Wedding Fair, Old White Hart (NN4 8BS), Sunday May 20th, 11:00 – 15:00. Northampton’s first alternative wedding fair! I cannot WAIT for this one.

If you’re looking to book wedding flowers for this year, please don’t hesitate to get in touch. I’m happy to go through options and prices; I know how expensive weddings can be and try to offer something to suit every budget. Email me at ahoythere@thecraftfantastic.co.uk or use the form on the contact page.

Alongside weddings, I’ll be doing some craft workshops. This is something I’ve been planning for a while and have done a couple of test runs on small groups to see what works and what doesn’t. I can offer simple, mess-free paper folding or something more full-on involving pots of glue!

Happy workers!

I’m pleased to announce that I’ll be running a papercraft and origami workshop at the lovely Bay Tree Cottage in Towcester, Northamptonshire. This will be a full-on evening, where you’ll get to try your hand at a few different things, including gift tags, coasters and flowers. This is an evening class and includes a light supper. It will be held on Wednesday May 2nd – find all the details you need to book here.

If you’d like to book me for a workshop at your event space, please email me for details – ahoythere@thecraftfantastic.co.uk.


Categories
Craft Craft fairs Gifts Notebooks Origami Paper Weddings

christmas Christmas CHRISTMAS! The run-down to the run-up.

Well, that’s it for another year in terms of fairs. I’ve now attended the last of the craft and wedding events for 2017. However, I’ve already got things in the pipeline for 2018, including alternative wedding fairs and papercraft workshops – watch this blog for details! You can also follow me on Facebook for up to date info on future events.

Right now I’m winding things down a bit. My Etsy shop is fully stocked with a wide array of notebooks & journals, book necklaces, and handmade Christmas decorations so it’s time to wind down a bit, look back over the past year and sort things out in readiness for the year ahead.

I count 2017 as my first full year of business aboard The Craft Fantastic. While I set up properly at the start of 2016, that year was spent getting things off the ground. I’ve been really pleased with how the year has gone, taking bookings for an awesome range of weddings, producing custom orders, developing new product ideas and taking part in local craft and wedding fairs. Phew! I’m so grateful to everyone who’s supported me this year and for every single purchase, no matter how small.

During the run up to Christmas I am of course still taking orders via Etsy but you can also contact me here for queries on wedding flowers and custom orders. My last UK posting date is December 18th; if you order after this date, your order will still be processed, but it might not make it before Christmas.

To finish off, here are a few of my favourite makes from 2017!

Categories
Craft Craft fairs Gifts Notebooks Origami Paper Stationery

Autumn aboard The Craft Fantastic – new Etsy additions & upcoming fairs

As the year rolls into autumn, I thought it was about time to talk about the latest happenings here at HQ.

I’ve been busy working on some new ideas (sometimes this involved sitting in my craft room staring at piles of paper and scraps of material). A while back I got a set for stamping letters into leather, so I’ve been using that to create some mini books. This is my favourite – with ‘OFF WE GO’ stamped on the cover and the inside pages made from an old French road map. It’s one-of-a-kind!

I’ve also got a few blank mini covers, so personalised book necklaces are up for grabs. Had to make myself one to practise, of course!

You can find these minis and more in The Craft Fantastic Etsy shop.

Now, onto upcoming fairs. It is getting towards the end of the year and my next craft fair will be a *whispers* Christmas stall. I’m very pleased to announce that I’ll be exhibiting at the wonderful MK Handmade & Vintage Fair, which is held in the middle of Milton Keynes shopping centre. It’s always full of amazing stalls, so if you’re looking for something a bit different then this is the place to do your festive shopping.

As well as my usual stock of notebooks, book necklaces and other papercraft items, I’ll be making up some origami flower sets for Christmas displays and centrepieces, plus there’ll be a selection of origami and paper tree decorations. Here’s a sneak peek!

Hope to see you there! Don’t forget, you can shop for all my products on Etsy or you can email me if you’d like to talk about a custom order.

If you’re in the Northampton area, I also have a stall on December 2nd in Great Brington. It’s a lovely intamate affair with a good selection of quality local makers – and there’ll be cake! More info here.


Categories
Books Craft Notebooks Paper Stationery

Upcycling & reusing materials = Unique & One of a Kind Binds

When it comes to making notebooks and journals, I’m a huge fan of using upcycled materials for a number of reasons, which I’ll share below.

Take this map-cover book, for example. The cover paper is taken from an old map of Brussels. The map made a couple of A5 notebooks and there’s some left over to make smaller books; and every book is different. Sure, I could get specific maps of places of interest/print maps off and get consistent covers, making bigger batches of each book. But I don’t want that. I love that every single one of my map books is different- one of the reasons I love handmade is that you’re getting something unique!

Even if I’ve got more of a certain material, I still like to work in small batches, making a couple of each different book. I get inspired by the materials on hand, and having just a little of a lot of different materials really gets my creative brain going. The spine of the above book is has been upcycled from an old leather jacket; using it for just the spine allows the material to go further and enables me to use all those thinner, smaller sections of materials. Sure, I could buy new leather in bulk and make bigger batches of notebooks that were all the same; but the way I work means you really are getting something pretty unique!

Also, I like to use as many of the little scraps as I can. The above pocket book was made from an off-cut of soft grey leather; it had small slits all down the sides, but because I made small A7 books from it, it works fine for me! See the thin leather strap? That’s an off-cut from the same leather jacket used for the spine of the key print book. If I’ve got scraps left, I try and think how I can use them. Mostly they make my mini books:

I’ve put together a short video on this subject and you can find it over on The Craft Fantastic YouTube channel, or watch below. I’m still getting used to doing videos and this is less than perfect; but perfection’s overrated, right? Listen out for me getting my words the wrong way round towards the end 😀

To see my selection of hand bound notebooks, bullet journals, travel journals and more head over to my etsy store.

Categories
Craft Notebooks Paper Stationery

New notebooks roundup

Recently, I’ve been trying out a few different things. It’s generally quieter over the summer months, so once I’d got all my wedding orders out of the way it was time to play! I think trying new ideas and learning new was of doing things is very important; you’ve got to keep moving and keep doing things to keep your brain working.

These new notebooks have hard covers and a firm but flexible spine – my own take on a hollow back binding. It was definitely a learning process for me but I’ve loved making them. My first attempt was the silver swirls book on the right; it’s less than perfect but is still beautiful:


Now I think I’ve got the hang of it. I’ve got more papers which I’ve not used yet, so look out for those! Plus I’m planning a new YouTube video on reusing and recycling, and will also be sharing with you my first attempts at book restoration and rebinding. Stay tuned! x

Categories
Craft Gifts Notebooks Origami Paper Stationery

Wanderlust: make an adventure to remember

Summertime is upon us and the world is calling. Whether you’re taking off for far off places or exploring closer to home, why not chronicle your adventure in a handy handmade travel journal? Blank books are fantastic for planning your holiday, making check lists for what to take and where to go, plus you can take as much space as needed to write about your travels. I love looking back over my old holidays and the check list I write helps me remember what I need to take on the next trip 😀

Over at The Craft Fantastic’s Etsy store you’ll find a wide variety of hand bound blank notebooks for all your journaling needs. Here are some map cover books to help inspire your wanderlust:

Ready for an adventure – A5 – £14

Ready for an adventure – A6 – £9

Off we go – A5 – £14

There’s also a range of miniature books– they’re set on chains to wear as a necklace, so you can easily take it with you on your travels. All the pages are blank, too, so it can be used for jotting down a few things while you’re on the go. Small writing required 😀

*First wedding anniversary = paper! These items make great gift ideas. For more inspiration, take a look at this article from The Wedding Secret.*