Spring is the time of year for new growth and new life- so it’s the perfect time for a new craft idea! This seasonal papercraft project will brighten up your home.
Tassel and Feather Garland
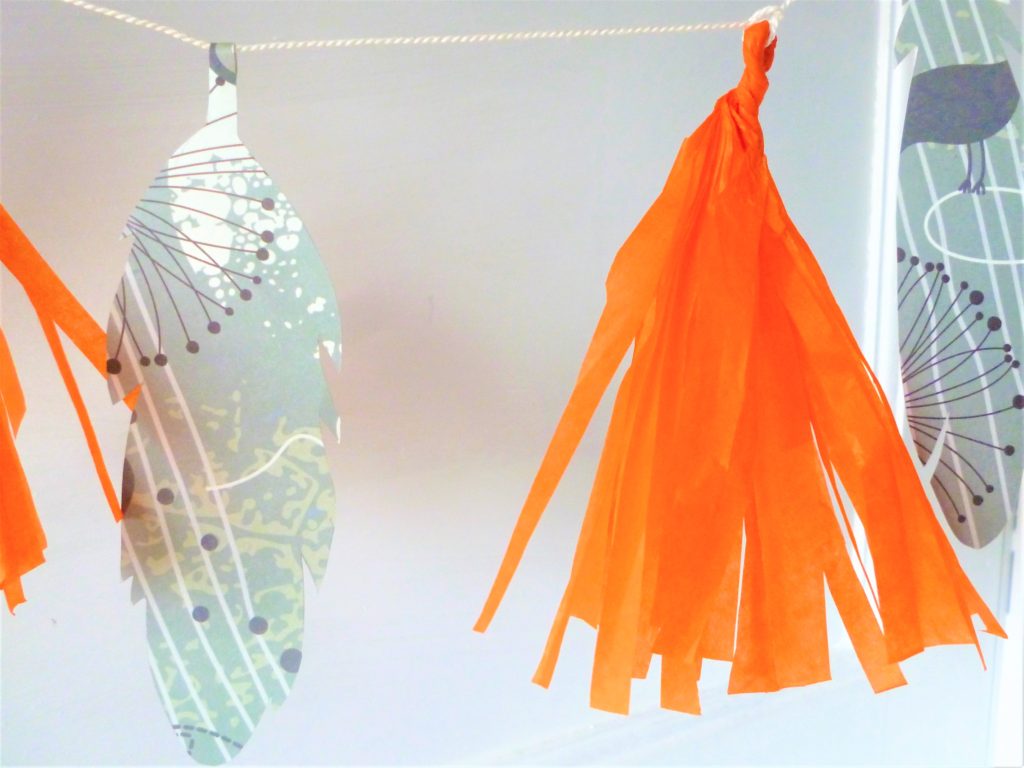
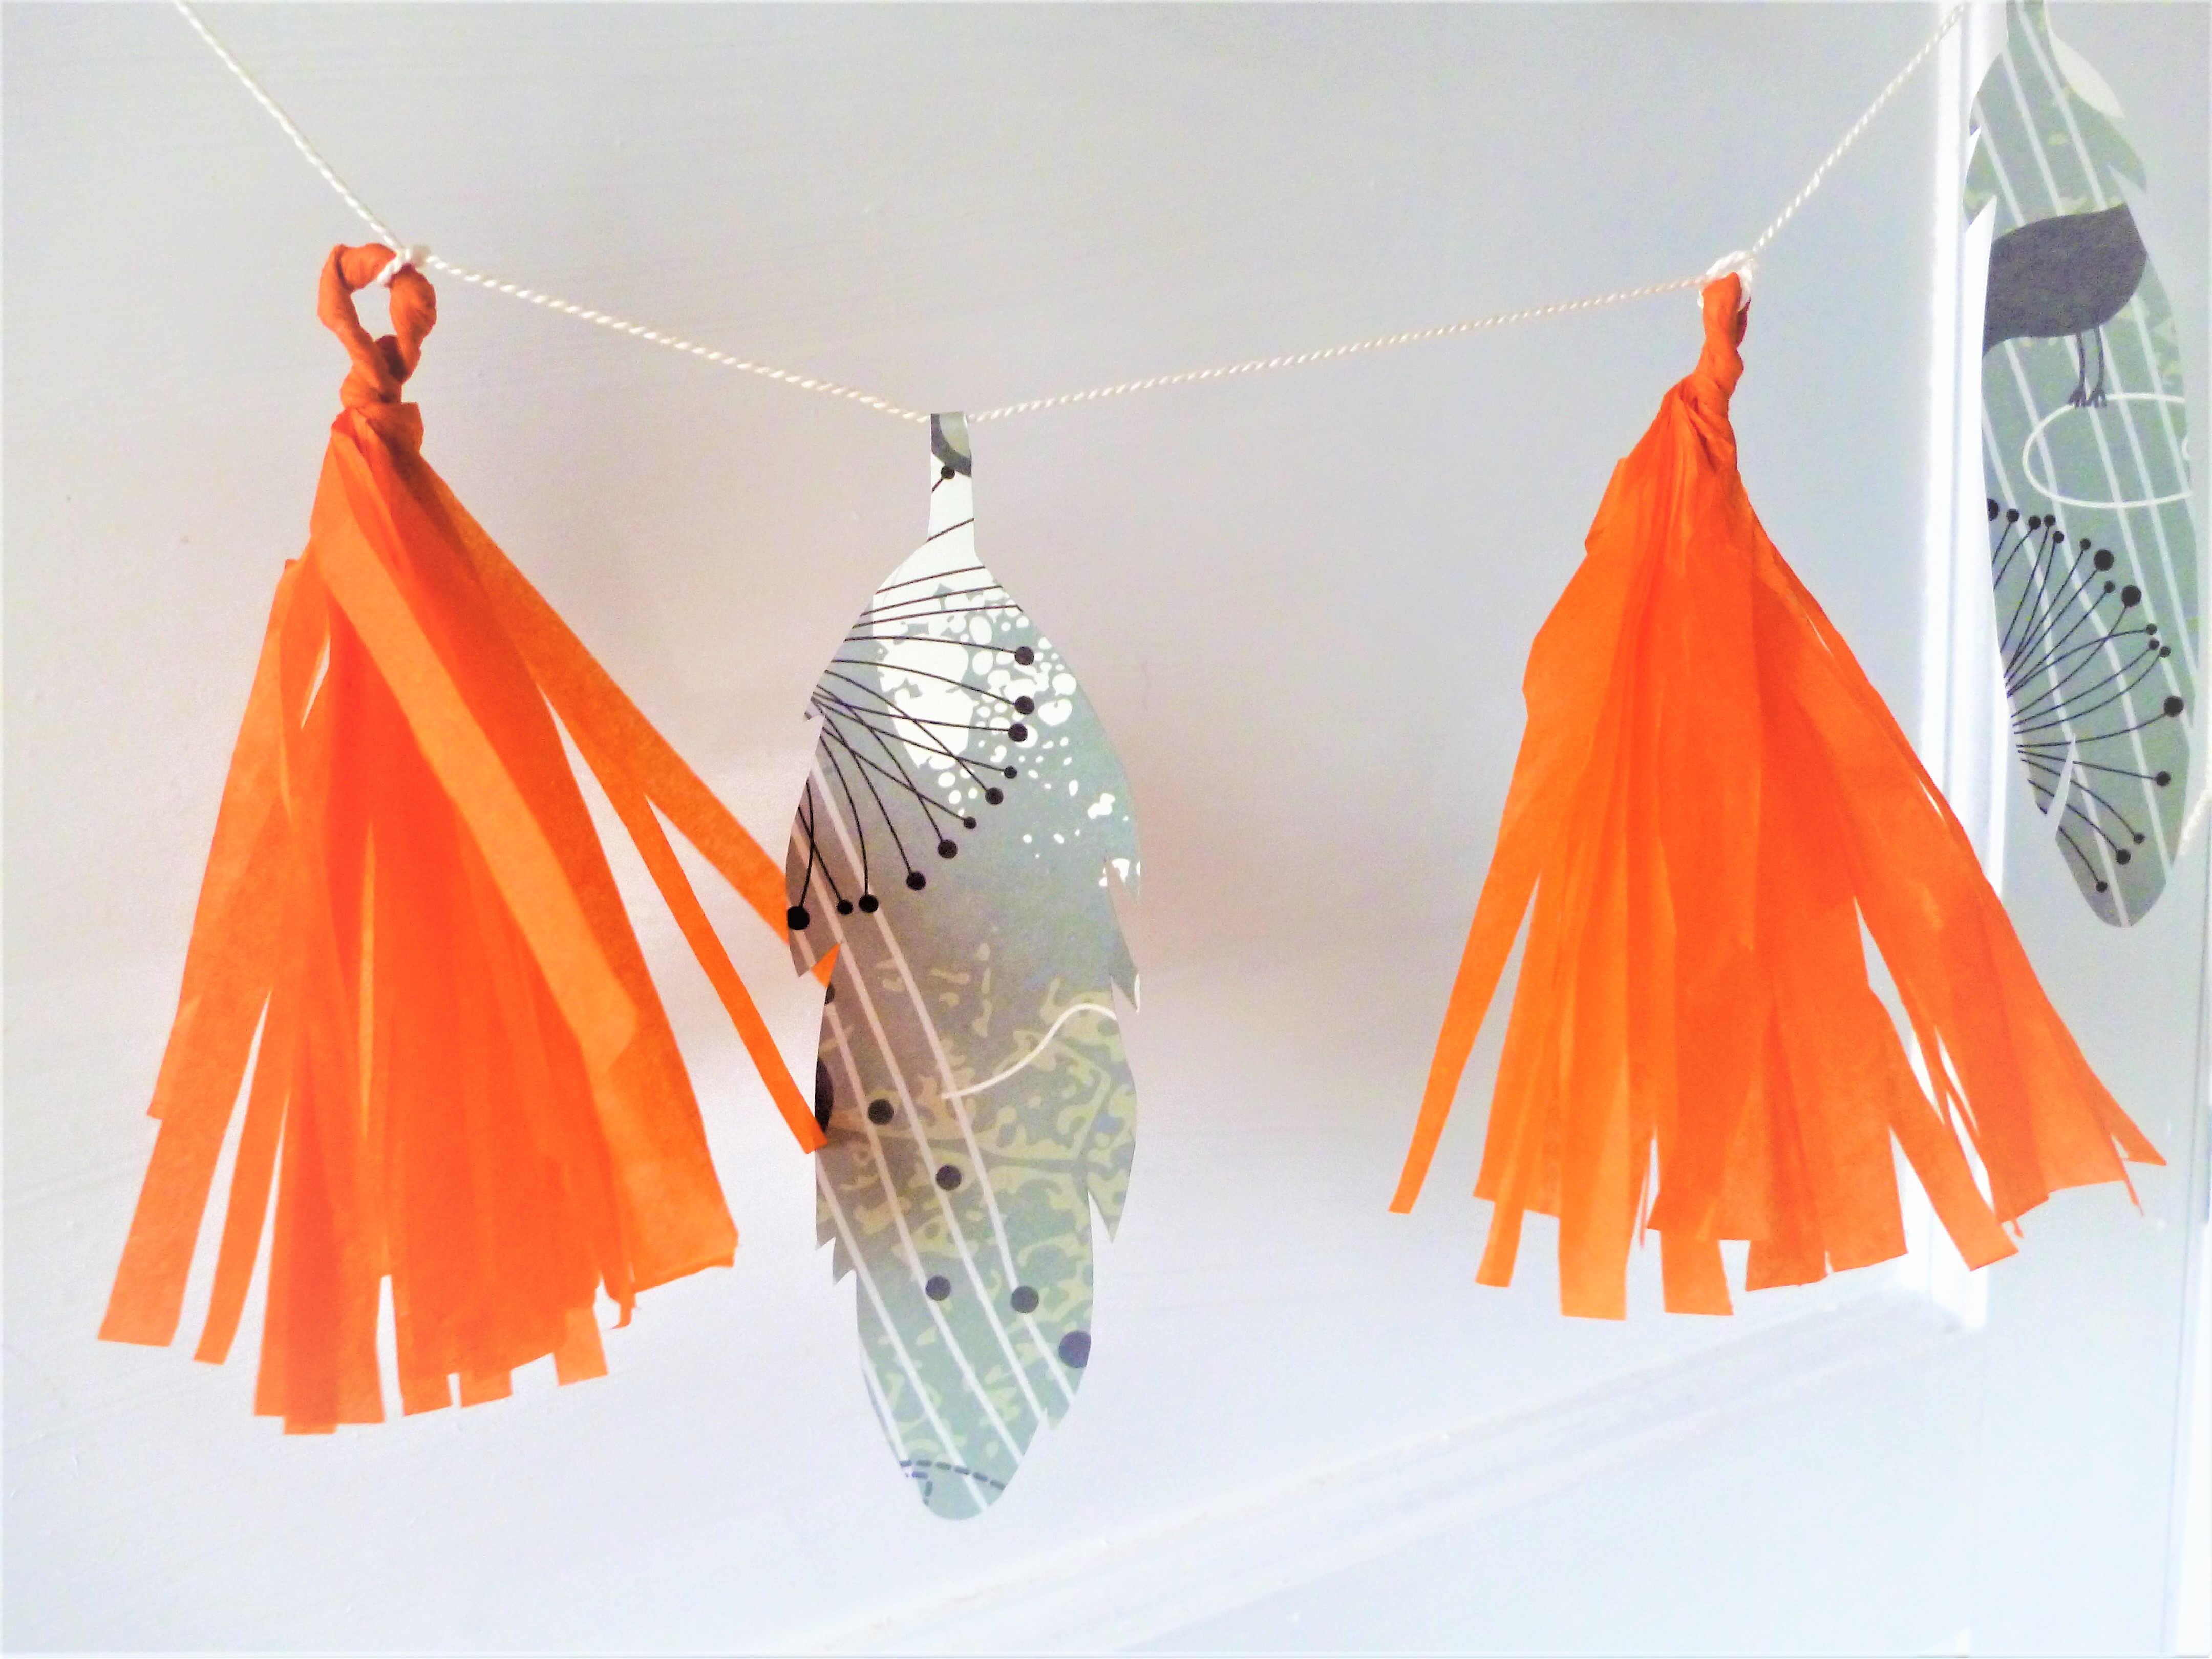
These are simple and cheap to make, and look great using pastel shades or bright colours. You could even use old magazines for the feathers.
What you’ll need:
Tissue paper or thin paper
Thick paper or thin card
Medium-thick string or twine
Scissors
Glue
For the tassels:
The tassels are made from the tissue or thin paper. Cut a rectangular length, twice the height you’d like your finished tassel to be, and fold in half from top to bottom. Take your scissors and fringe the bottom, snipping even strips upwards towards the fold, making sure you stop 2 or 3 cms before you reach it. Unfold, roll up and twist the uncut middle section. Then just fold and twist to make a loop, securing with a bit of glue.
For the feathers:
Use thicker paper or thin card for these. Practice drawing some feather shapes on some scrap paper, till you find one you’re happy with. Use the shapes below as guides or make your own up! Make sure the ‘stem’ of the feather is quite long.

Once you’ve cut your feathers out, fold over the long stem to create a loop (make sure it’s big enough to pass your string through) and dab a spot of glue on the end to secure.
Have a think where you’d like your garland to go and measure the string length accordingly, making sure you leave enough at each end to fasten it onto something.
Now all you need to do it thread your tassels and feathers onto the string and you’ve got yourself a garland! Make as many tassels and feathers to fill it as you’d like; experiment with a spaced out, even look so you can see each individual shape, or try grouping tassels and feathers together in bunches for a fuller feel.
Did you have a go at this? I’d love to know how it turned out!